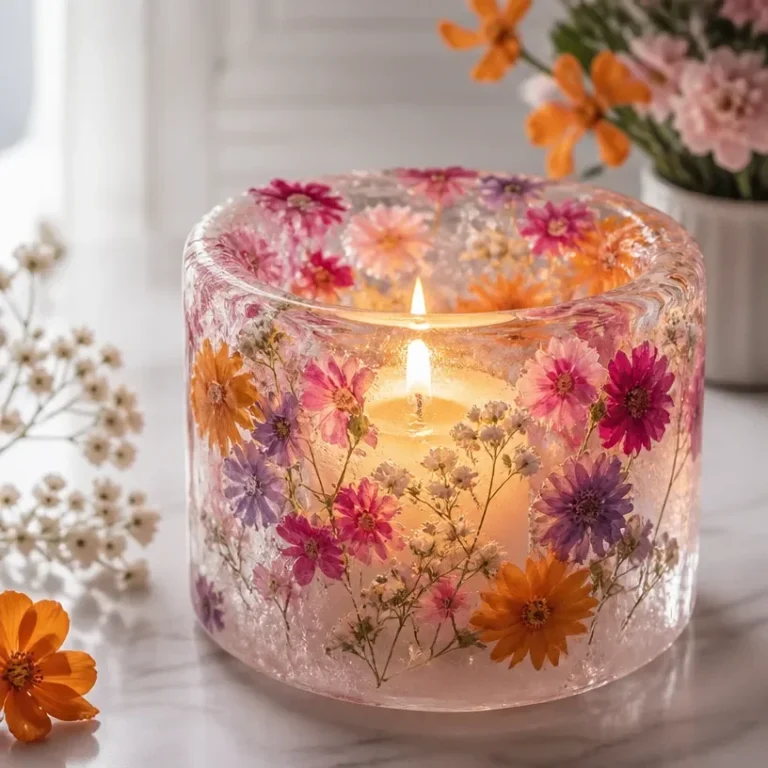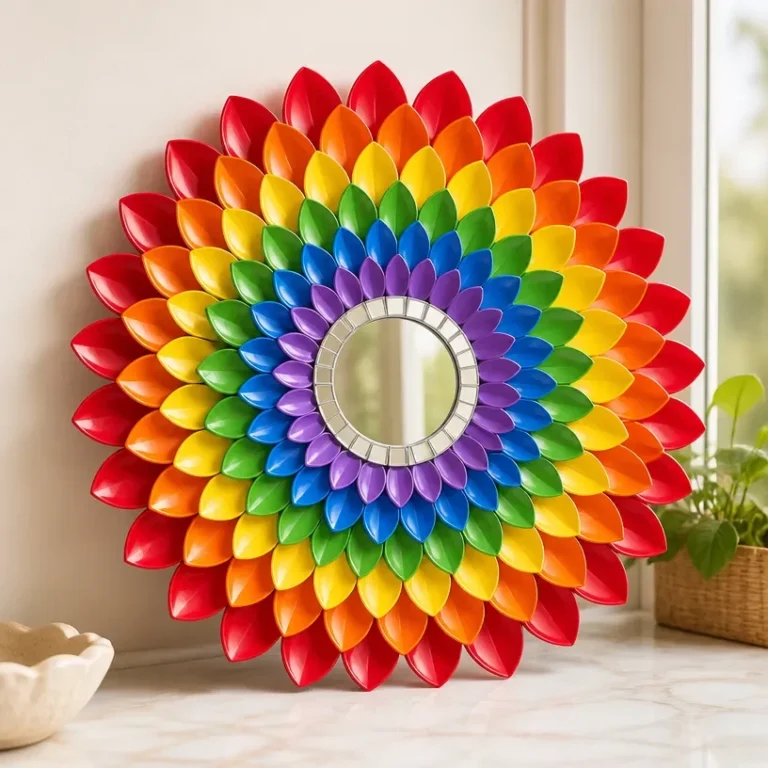
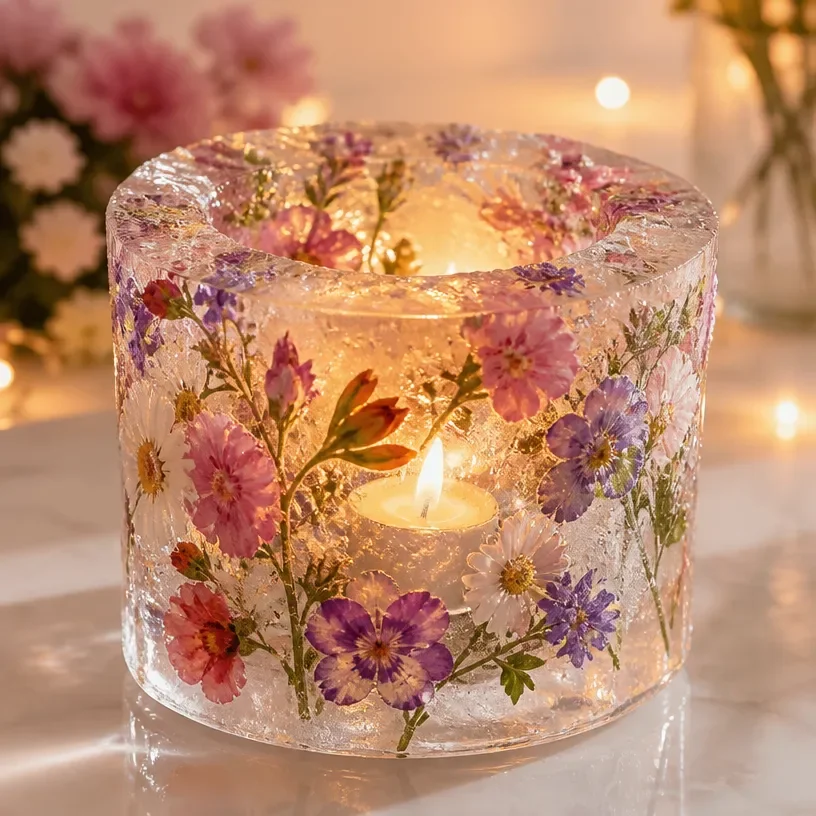
Creating an Icy Crystal Candle is a delightful project that adds a touch of elegance to your home decor. This unique candle, featuring shimmering crystals embedded within a translucent gel, not only provides a warm ambiance but also serves as a stunning centerpiece for your living space. Imagine how beautifully the light dances through the crystals, casting enchanting reflections throughout the room! You may also find How To Make A Diy Crystal Sunburst Mirror For Wall Decor useful.
Whether you’re looking to enhance your seasonal decorating or simply wish to indulge in a nature-inspired craft, this project is both accessible and rewarding. With a few materials and simple techniques, you’ll be able to craft a beautiful, display-worthy candle that elevates the atmosphere of any space. You may also find Diy Crystal Sunburst Mirror Wall Decor useful.
Why You’ll Love This Project
Reasons to Make Your Own Icy Crystal Candle
- Display Worthy: Once completed, the candle becomes a striking display piece, perfect for tables, mantles, or window sills.
- Customization: You can easily customize the colors and types of crystals you use, making it a personal project that reflects your style.
- Light and Reflection: The way the light interacts with the transparent gel and crystals creates captivating reflections, enhancing the overall decor.
- Approachable Technique: This project does not require advanced crafting skills, making it suitable for both beginners and seasoned crafters.
- Versatile Use: Not only does this candle serve as decor, but it can also be gifted for various occasions, making it a meaningful home accessory.
Before You Begin
Before diving into this craft, take a moment to organize your workspace and gather your materials. To protect your surfaces, consider using a silicone mat or newspaper. Ensure that your crystals and container are clean, as any dust or residue can affect the final look of your candle.
Materials You’ll Need
- Clear gel wax this will form the base of your candle.
- Crystals or gemstone chips choose your favorites for a personal touch.
- Candle wick essential for the candle’s flame.
- Candle container sturdy enough to hold the gel once it’s poured.
- Fragrance oil (optional) to add a pleasant scent.
- Dye (optional) if you wish to tint the gel.
Tools
- Double boiler for melting the gel wax.
- Thermometer to monitor the temperature of your melted wax.
- Glue dots or adhesive to secure the wick at the bottom of the container.
- Stirring stick to evenly mix dye and fragrance oil into the melted gel.
How to Make the Project
Step 1: Prepare the Wick
Secure the candle wick in the center of your container using glue dots or adhesive. Make sure it is standing straight so that the candle burns evenly.
Step 2: Melt the Gel Wax
Fill the bottom of your double boiler with water and allow it to simmer. Place the gel wax in the top section and gently heat it until completely melted. Monitor the temperature with a thermometer; it should reach around 190°F (88°C).
Step 3: Add Dye and Fragrance
Once the gel is melted, you can add dye to achieve your desired color. If you’re using fragrance oil, add it now and stir thoroughly to ensure it’s evenly mixed throughout the wax.
Step 4: Incorporate the Crystals
Before pouring the gel wax into the container, arrange your crystals at the bottom. You can either place them in the wick’s path or around the edges for extra decoration.
Step 5: Pour the Wax
Carefully pour the melted gel wax into the container over the crystals and wick. Fill it to your desired height and ensure the wick remains centered.
Step 6: Allow to Set
Let the candle cool and harden completely before moving it. This can take several hours, depending on the size of the candle.
Step 7: Trim the Wick
Once the candle has set, trim the wick to about 1/4 inch above the wax to ensure a clean burn.
Tips for the Best Result
- Work in a well-ventilated area: Ensure proper airflow while melting wax and using fragrances.
- Use quality crystals: Clear and colorful crystals will enhance the aesthetic of your candle.
- Experiment with layers: If you’re feeling adventurous, consider creating layers with different colors for added visual interest.
- Avoid bubbles: When pouring the gel, do so slowly to minimize air bubbles, ensuring a smooth finish.
Customization / Variations
You can easily customize your Icy Crystal Candle by experimenting with different types of crystals, such as quartz or amethyst, for varying effects. Additionally, consider using seasonal colors pastels for spring or deep hues for fall. You can also create themed candles for holidays by incorporating festive decorations or scents.
Ideas for Styling Your Handmade Decor
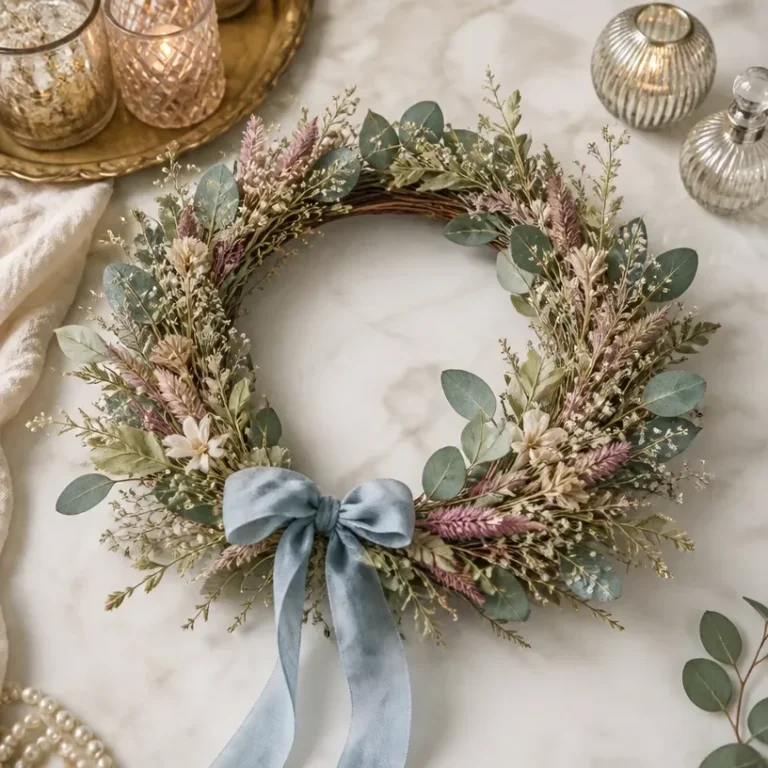
Once your Icy Crystal Candle is ready, consider displaying it as a centerpiece on your dining table or as part of a beautiful vignette on a side table. Pair it with complementary decor items, such as natural elements like dried flowers or other handmade crafts like an elegant wreath to enhance its appeal. It can also be stunning when used alongside an indoor crystal plant decor, creating a harmonious blend of nature and elegance.
Frequently Asked Questions
Frequently Asked Questions
What type of crystals work best?
Clear quartz and amethyst are popular choices, but you can use any decorative, heat-safe crystals that you love.
Can I use regular wax instead of gel?
While you can use regular wax, gel provides a unique clear appearance that showcases the crystals effectively.
How should I care for my candle?
Dust the candle gently and avoid placing it in humid areas to maintain its integrity over time.
How do I choose the right size container?
Select a container that holds at least twice the volume of the wax you plan to use. This ensures enough room for the gel and crystals.
Can I use this technique for other decorations?
Absolutely! This method can be adapted to create various decorative pieces, such as a sea glass mosaic mirror for a unique touch in your home.
Conclusion
In creating your Icy Crystal Candle, you have made a stunning piece of decor that not only beautifies your space but also fulfills the promise of making something beautiful enough to display. The inviting glow of the candlelight combined with the shimmering crystals offers an elegant touch to any room. To further enjoy the ambiance, consider complementing your candle with an Ice Coffee Latte Candle or explore the charm of flameless candles for a stylish and safe option. Happy crafting!
Follow Glow Studio DIY for fresh DIY ideas & inspiration!
Icy Crystal Candle
Would you like to save this project?
By submitting you agree to receive this project and occasional emails. Unsubscribe anytime.
Materials
Candle Ingredients
- 1 container Candle container (sturdy)
- 1 pack Clear gel wax This will form the base of your candle.
- 1 pack Candle wick Essential for the candle's flame.
- 1 pack Crystals or gemstone chips Choose your favorites for a personal touch.
- 1 tablespoon Fragrance oil (optional) To add a pleasant scent.
- 1 tablespoon Dye (optional) If you wish to tint the gel.
Directions
Preparation
- Secure the candle wick in the center of your container using glue dots or adhesive.
- Fill the bottom of your double boiler with water and allow it to simmer.
Melting the Gel Wax
- Place the gel wax in the top section of the double boiler and gently heat it until completely melted.
- Monitor the temperature with a thermometer; it should reach around 190°F (88°C).
Mixing
- Once the gel is melted, add dye and stir thoroughly.
- If using fragrance oil, add it now and stir to mix evenly.
Assembling the Candle
- Arrange your crystals at the bottom of the container before pouring in the gel wax.
- Carefully pour the melted gel wax into the container over the crystals and wick.
- Fill it to your desired height and ensure the wick remains centered.
Finishing Touches
- Let the candle cool and harden completely before moving it.
- Once set, trim the wick to about 1/4 inch above the wax.
Last Step: Don’t forget to leave a rating and comment below! It helps other readers find the best DIY projects — and it helps us too!