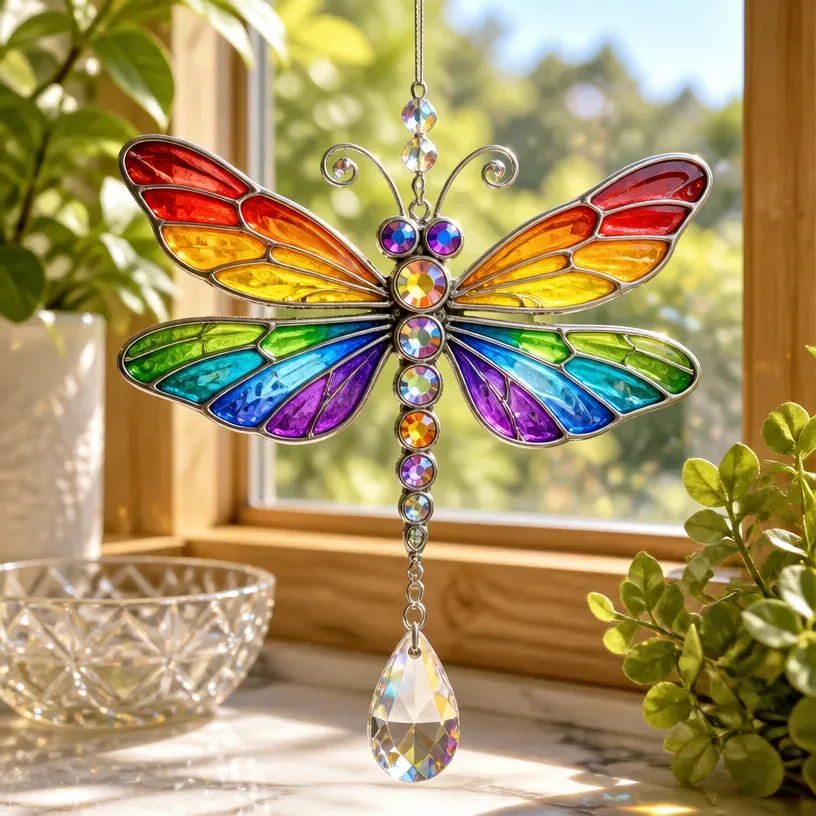
Creating a Dragonfly Glass Ornament with a prismatic layered design adds a charming aesthetic to any space, beautifully reflecting sunlight as it passes through. This handmade decor piece can be displayed in windows, hung from ceilings, or even offered as a thoughtful gift. Not only does it illuminate your surroundings, but its intricate design also draws the eye, making it a captivating addition to your decor collection. You may also find Diy Elegant Faux Sea Glass Vase Home Decor useful.
This project combines simple crafting techniques and readily available materials, allowing you to create a stunning ornament that showcases your creativity. If you’re inspired by the elegance of glass art, this dragonfly ornament is a fantastic project to get started with. You may also find Diy Prismatic Candle Holders Colorful Home Decor useful.
Why You’ll Love This Project
Creating your own Dragonfly Glass Ornament presents several benefits: You may also find Diy Rainbow Sea Glass Vases Coastal Decor useful.
- Visually Appealing: The prismatic design enhances light play, creating a colorful display without needing additional decor.
- Customizable: You can experiment with colors and materials to tailor your ornament to suit your personal style or seasonal themes.
- Approachable Technique: This project uses accessible materials and techniques, making it suitable for both beginners and experienced crafters.
- Ideal Gift: Handmade pieces like this ornament are perfect for gifting, conveying thoughtfulness and personal touch.
- Display Versatility: Whether hanging in a window or as part of a centerpiece, it fits seamlessly into any decor style.
For inspiration on similar decor projects, check out these DIY options: DIY Crystal Firework Ornament and DIY Crystal Glass Suncatcher.
Before You Begin
Before diving into the crafting process, a few preparations can ensure a smoother experience:
- Work Surface Protection: Cover your workspace with a protective mat or old newspaper to catch any spills.
- Material Organization: Gather all materials and tools so everything is within reach.
- Glass Preparation: Ensure your glass pieces are clean and dry to help the adhesive bond effectively.
- Curing Area: Choose a well-ventilated area for adhesive drying and curing as some products may emit fumes during this process.
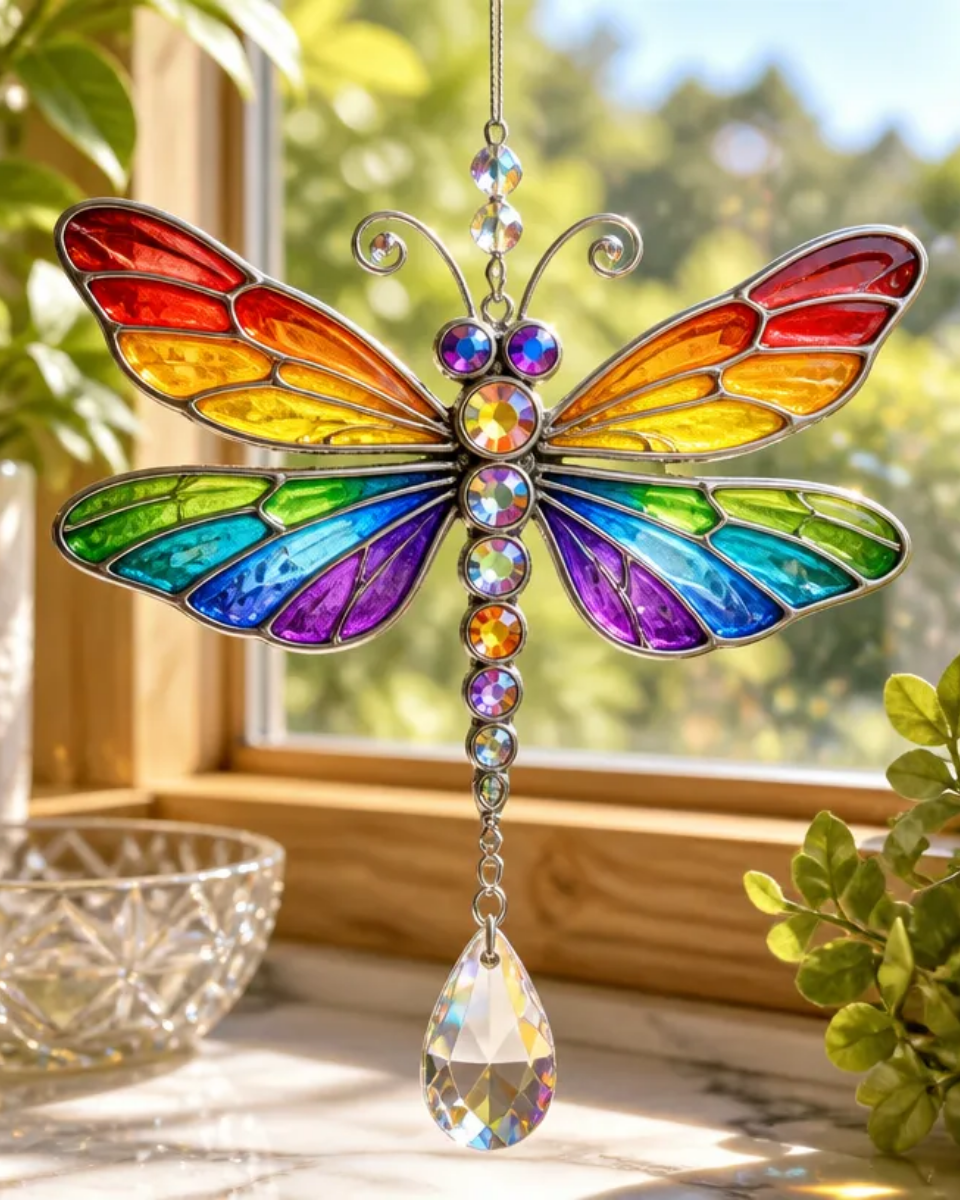
Materials You’ll Need
- Clear glass discs these form the base of your dragonfly ornament.
- Colored glass pieces for creating the layered prismatic effect.
- Strong adhesive suitable for glass to ensure a durable bond.
- Craft knife for trimming and adjusting glass pieces.
- Gloves to protect your hands during handling.
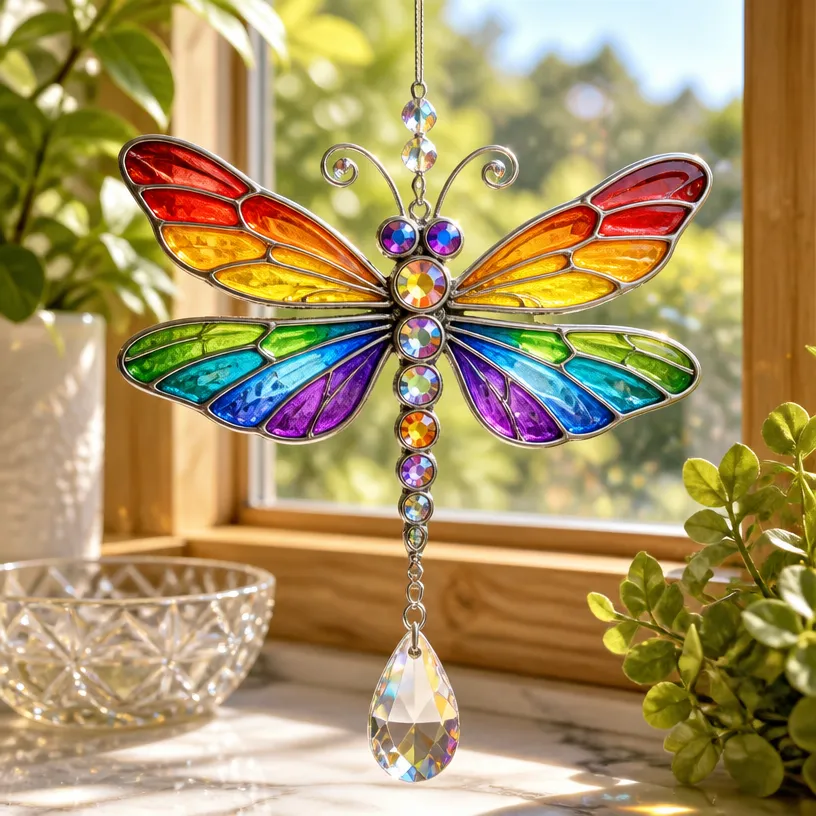
Tools
- Scissors to cut any ribbon or hanging materials.
- Separator tools (optional) for adjusting the position of glass pieces during assembly.
How to Make the Project
Step 1: Prepare Your Glass Base
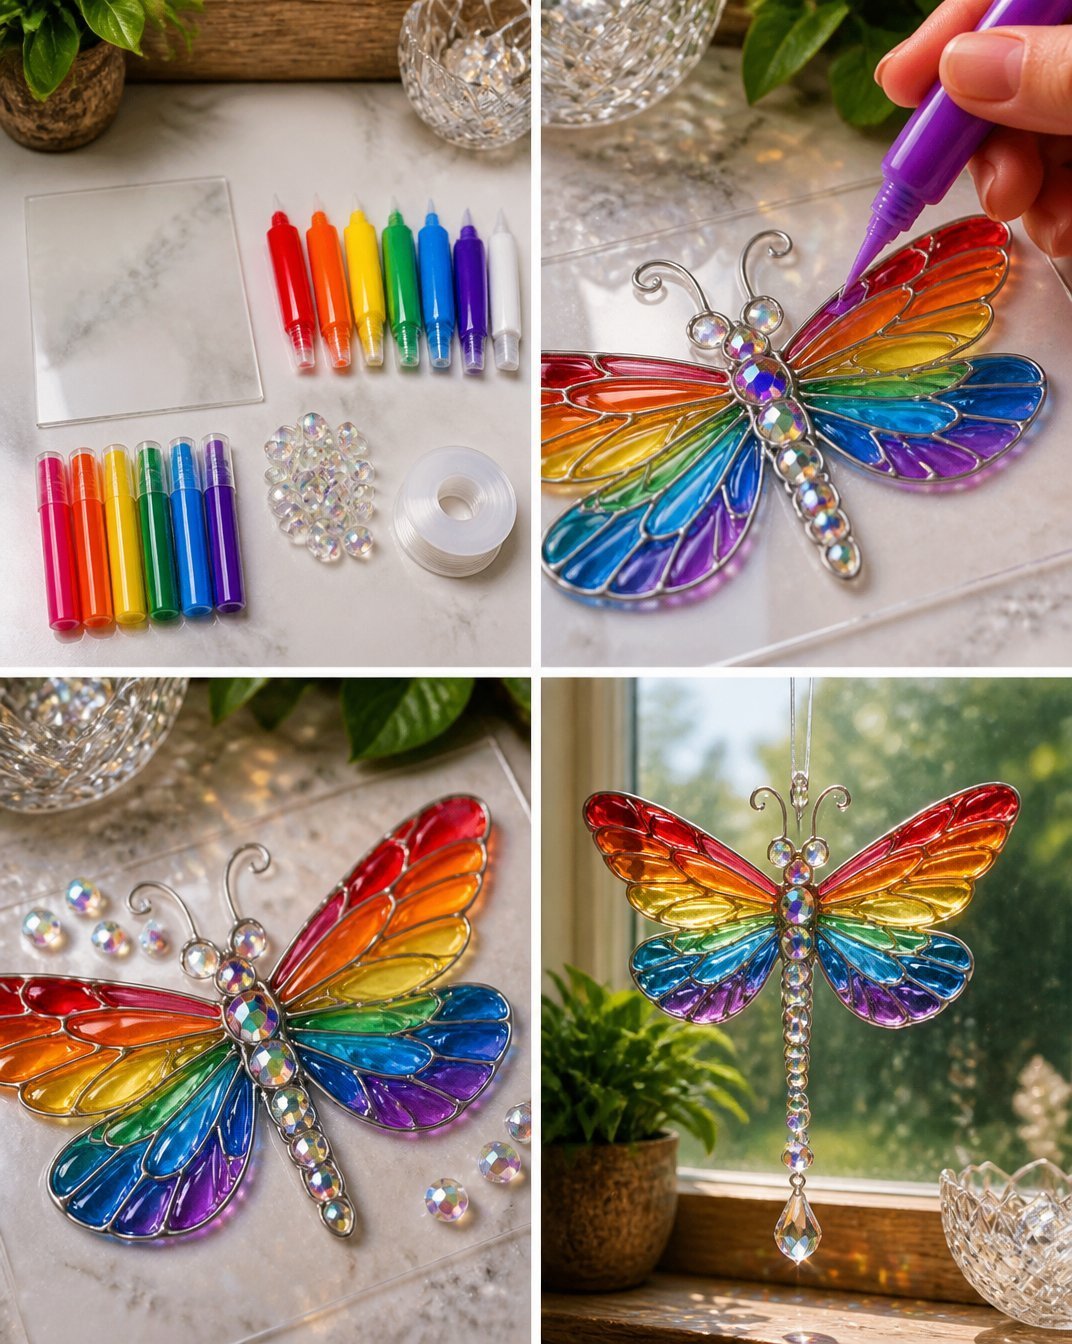
Start by arranging the clear glass disc on a flat surface. This will serve as the foundation for your dragonfly design.
Step 2: Design the Dragonfly
With your colored glass pieces, begin creating the shape of the dragonfly. It helps to plan the layout before applying any adhesive. Lay them out on the glass disc and adjust until you’re satisfied with the design.
Step 3: Secure the Glass with Adhesive
Once the design is arranged, carefully apply your adhesive to the edges of each glass piece. Be sure to use enough to create a solid bond without overwhelming the design.
Step 4: Allow to Dry Completely
After securing your pieces, let the adhesive cure as per the manufacturer’s instructions. This is crucial for ensuring durability in the final product.
Step 5: Add a Hanging Mechanism
If you wish to hang your ornament, attach a small loop of ribbon or string at the top once the adhesive has dried. Make sure it’s secure!
Tips for the Best Result
- Placement: When arranging the colored glass, consider how the light will pass through the different layers for an engaging effect.
- Neat Finishing: Use a damp cloth to clean any excess adhesive for a polished look.
- Alignment Checks: Step back periodically to ensure everything remains aligned as you glue.
- Proportions: Pay attention to the sizes of the colored pieces used, mixing larger and smaller elements for visual interest.
Customization / Variations
Feel free to explore variations in your design by changing:
- Color Palette: Use colors that match your decor or seasonal themes.
- Glass Shapes: Experiment with different glass shapes to create unique designs every time.
- Display Methods: Instead of a hanging ornament, consider using a decorative stand for tabletops.
How to Display Your Finished Project
Your completed Dragonfly Glass Ornament can be showcased in numerous ways:
- Window Display: Hang it in a sunny window to maximize the prismatic effects.
- Table Centerpiece: Use it as a focal point on your dining or coffee table.
- Gift Presentation: Wrap it in a delicate box to pass it off as a beautiful, handmade gift.
Frequently Asked Questions
What substitutes can I use for colored glass pieces?
You can use painted glass or acrylic pieces if glass is not available. Just ensure they are appropriately tinted to achieve the desired prismatic effect.
How do I hang the ornament if it keeps slipping?
Make sure the adhesive has fully cured and reconsider the placement of the hanging loop; it might need to be adjusted for better balance.
Can I use this design for seasonal decorations?
Absolutely! You can change colors and motifs in line with different seasons or holidays.
What do I do if there’s excess adhesive showing?
Allow the adhesive to dry fully before carefully scraping away excess with a craft knife.
Is this project suitable for beginners?
Yes, this project is quite approachable, making it an excellent choice for beginners looking to build their crafting skills.
Conclusion
Creating a Dragonfly Glass Ornament with a prismatic design is a fulfilling and visually rewarding DIY project. This elegant ornament not only brightens your home but also allows for personalization and creativity. Consider exploring additional decorative pieces like those found at the Dragonfly Window – Etsy or gather artistic ideas at Prismatic Designs Art. Brighten your space with this charming handmade ornament, and enjoy the beauty it brings to your environment.
Follow Glow Studio DIY for fresh DIY ideas & inspiration!
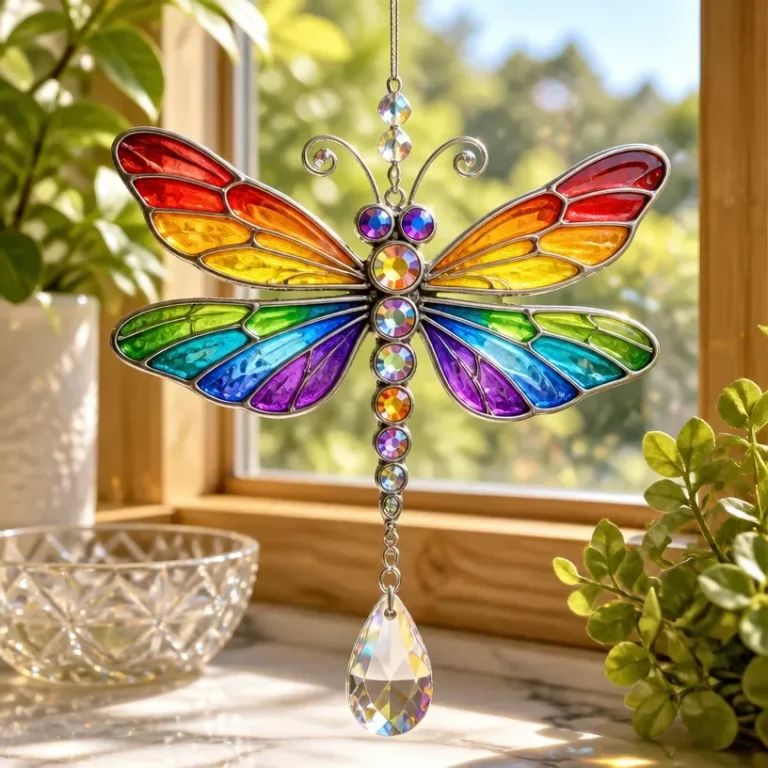
Dragonfly Glass Ornament
Would you like to save this project?
By submitting you agree to receive this project and occasional emails. Unsubscribe anytime.
Materials
Materials
- 1 piece Clear glass disc This forms the base of your dragonfly ornament.
- assorted pieces Colored glass pieces For creating the layered prismatic effect.
- 1 tube Strong adhesive Suitable for glass to ensure a durable bond.
- 1 piece Craft knife For trimming and adjusting glass pieces.
- 1 pair Gloves To protect your hands during handling.
Tools
- 1 pair Scissors To cut any ribbon or hanging materials.
- optional tools Separator tools For adjusting the position of glass pieces during assembly.
Directions
Preparation
- Start by covering your workspace with a protective mat or old newspaper.
- Gather all materials and tools so everything is within reach.
- Ensure your glass pieces are clean and dry.
- Choose a well-ventilated area for adhesive drying and curing.
Assembly
- Arrange the clear glass disc on a flat surface.
- Using colored glass pieces, create the shape of the dragonfly on the glass disc.
- Carefully apply adhesive to the edges of each glass piece to secure them.
- Let the adhesive cure according to the manufacturer's instructions.
- Attach a small loop of ribbon or string at the top to hang the ornament, if desired.
Last Step: Don’t forget to leave a rating and comment below! It helps other readers find the best DIY projects — and it helps us too!