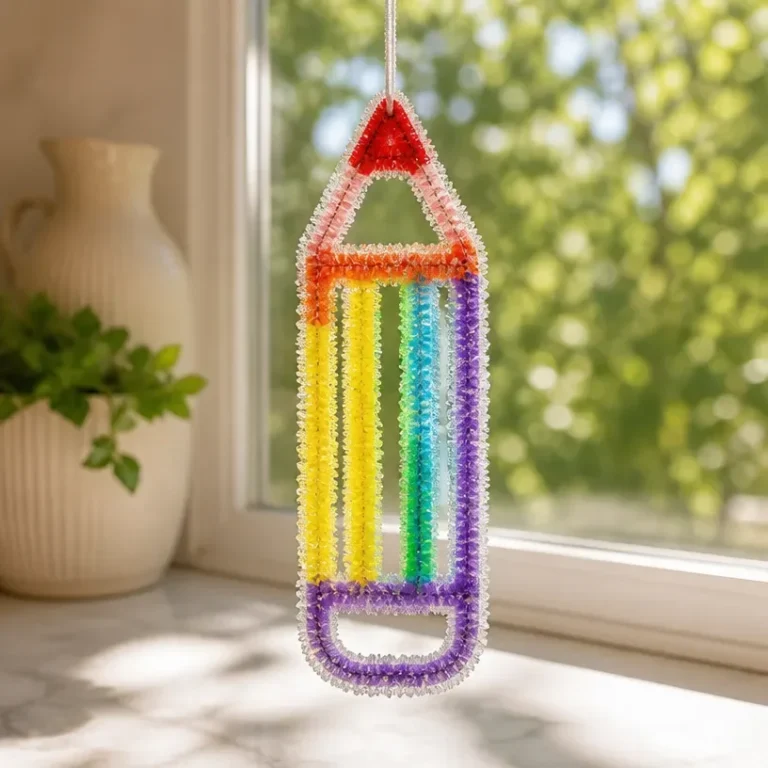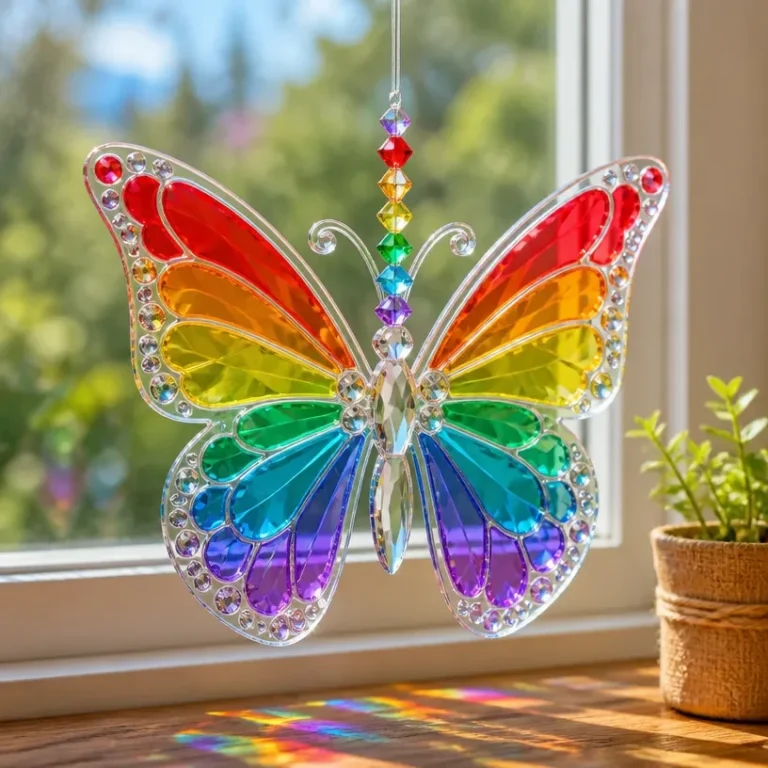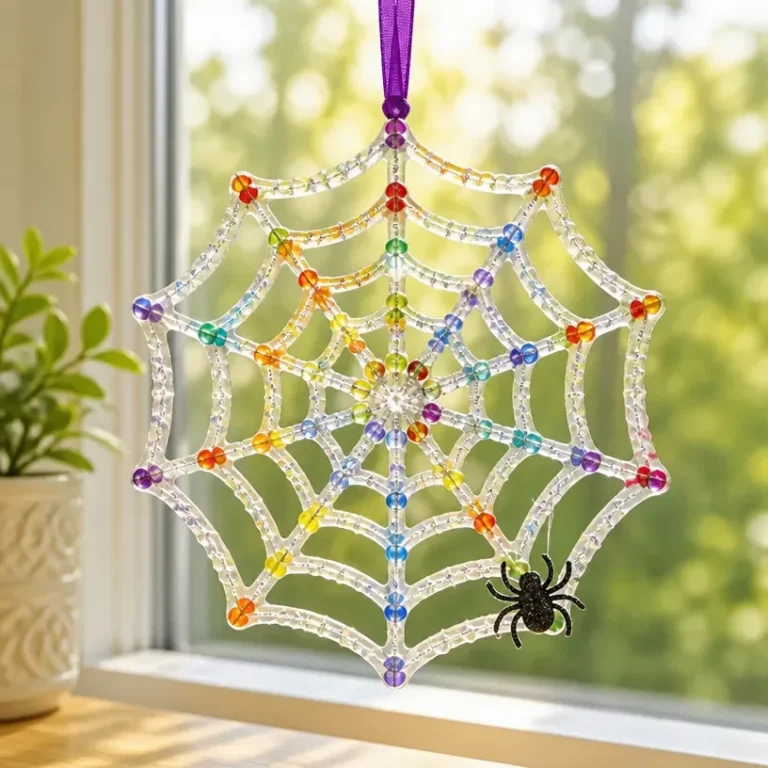
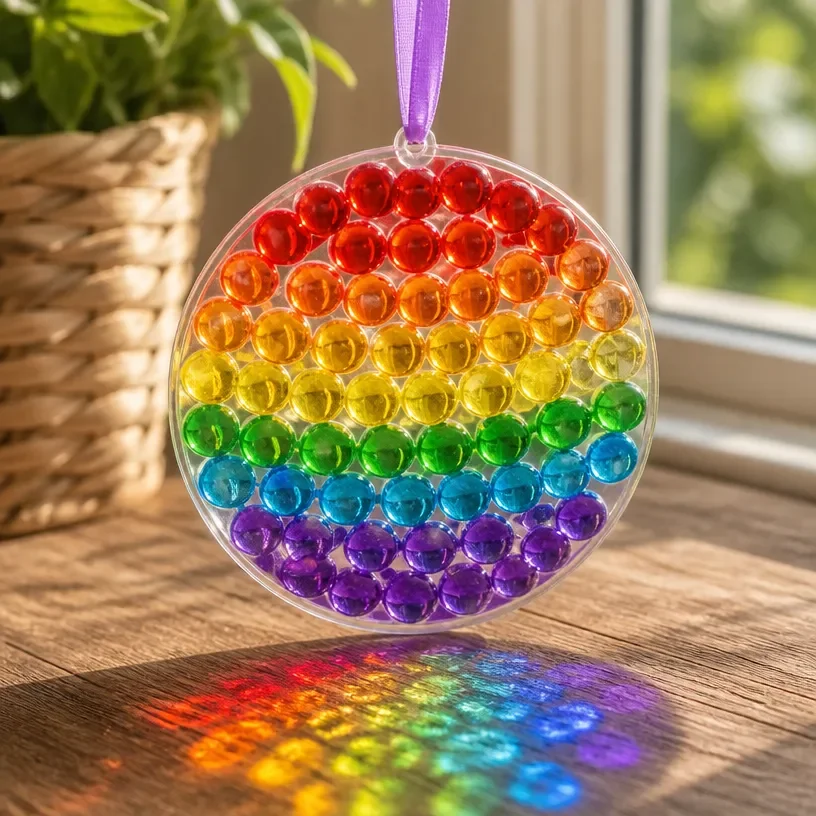
Creating a Multicolor Crystal Ice Prism Sun Catcher for Windows is a delightful DIY project that transforms natural light into vibrant displays of color. Once completed, this stunning suncatcher can beautifully illuminate any window while casting a spectrum of pastel hues around your space. Not only does it serve as a brilliant decorative element, but it also exudes a sense of tranquility and joy that can enhance your home decor. You may also find Diy Rainbow Prism Suncatcher For Windows useful.
Whether you’re looking to add a touch of creativity to your living room, bedroom, or even a children’s room, this suncatcher provides an eye-catching focal point. With simple materials and straightforward steps, you’ll soon see how easy it is to craft something that feels polished and professional. You may also find Diy Colorful Rainbow Prism Pencil Suncatcher For Window Decor useful.
Why You’ll Love This Project
Making your own crystal suncatcher comes with numerous benefits: You may also find Diy Pink Crystal Unicorn Suncatcher For Clear Glass Window Decor useful.
- Display-worthy Result: The vibrant colors created by the sunlight passing through your suncatcher enhance any window’s appearance, making it a beautiful addition to your decor.
- Customizable Colors: You can choose the colors and materials that best match your interior design or seasonal themes, ensuring your piece is as unique as you are.
- Inexpensive Materials: With generally affordable materials, you can create a stunning visual centerpiece without breaking the bank.
- Approachable Technique: The crafting process is straightforward and can be enjoyed by both beginners and experienced DIY enthusiasts alike.
- Gift Potential: This handmade piece could make a thoughtful gift for friends or family members who appreciate personalized decor.
For inspiration and ideas, check out other stunning options like the prismatic rainbow crystal ice window suncatcher project that showcases similar techniques.
Before You Begin
Before diving into your crafting session, make sure your workspace is protected. Consider covering surfaces with a plastic sheet or newspapers to catch any debris or spills from materials. Organizing your materials will also help streamline the process, allowing you to craft without interruption.
Materials You’ll Need
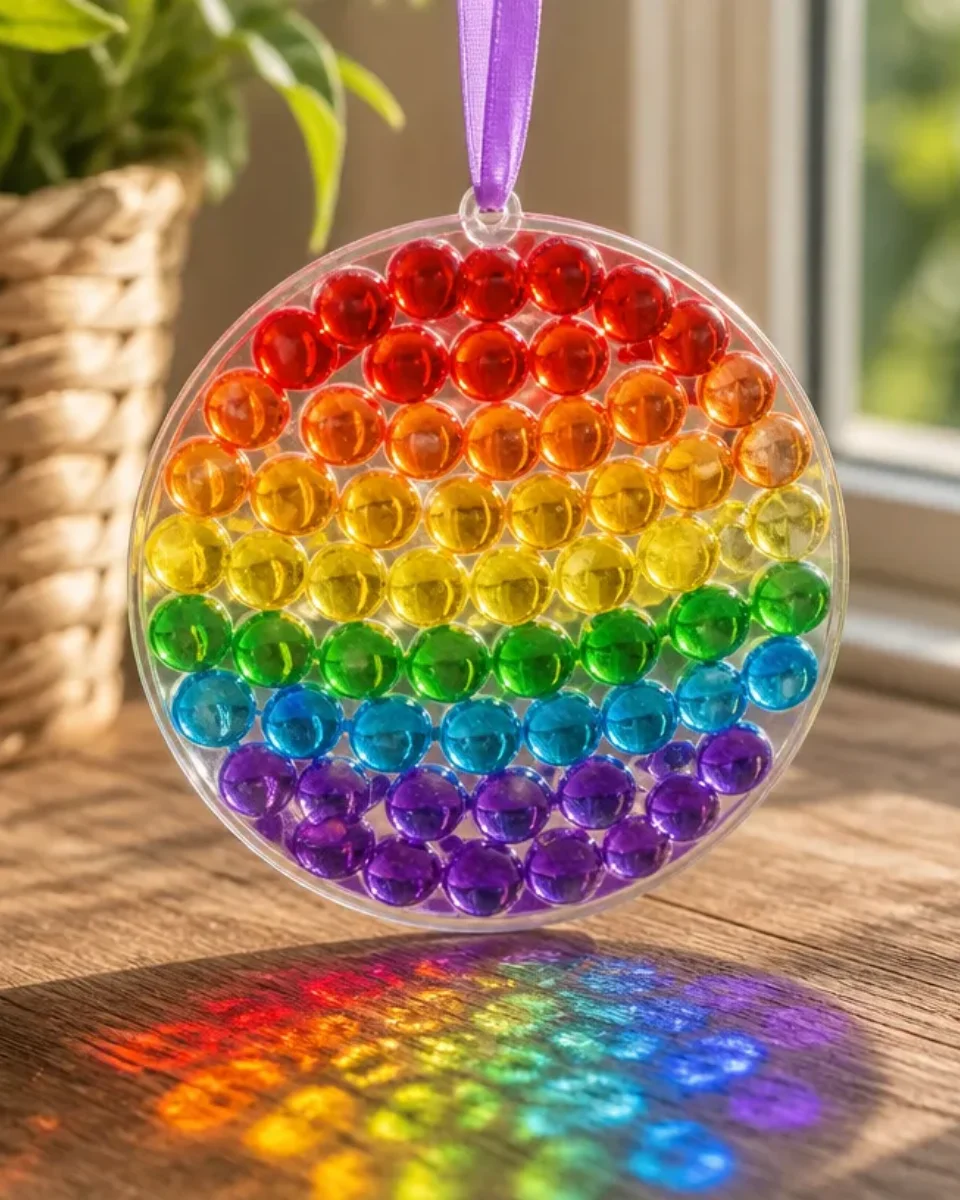
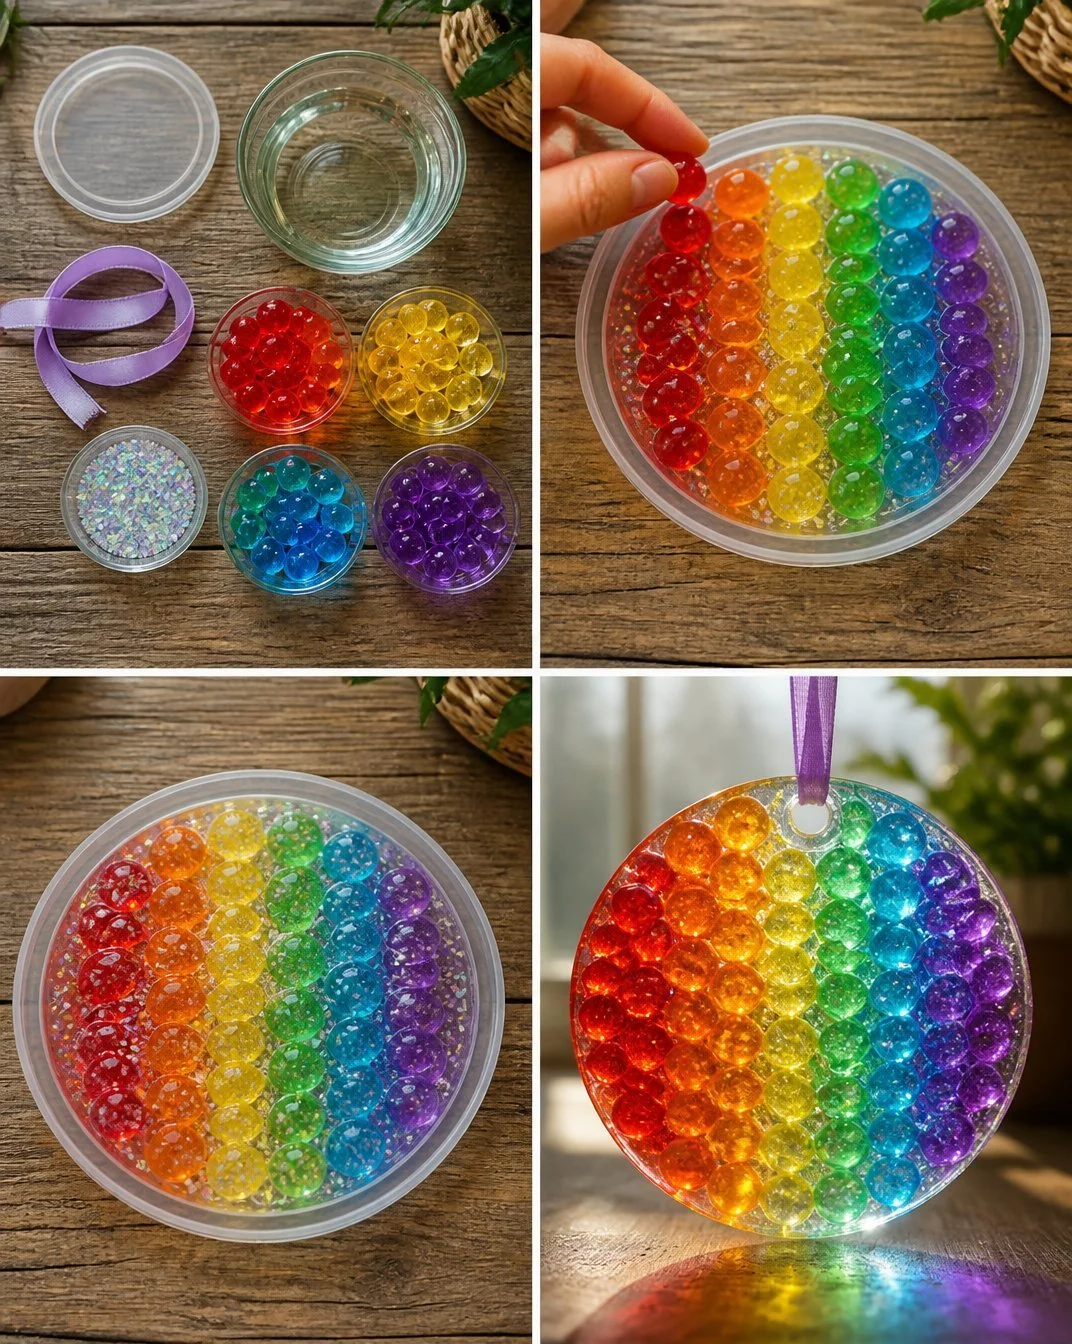
- Clear acrylic disc serves as the transparent base for your suncatcher.
- Colored beads or small crystals these will create the colorful effects when light passes through.
- Fishing line or strong thread for hanging the suncatcher securely in your window.
- Glue (strong adhesive) to secure the beads and embellishments to the acrylic disc.
- Scissors to trim the fishing line to your desired length.
- Optional embellishments consider small charms or other decorative items to enhance the overall design.
Tools
- Hot glue gun ideal for quickly securing beads and embellishments.
- Pencil for marking placement on the acrylic disc if needed.
How to Make the Project
Step 1: Prepare Your Base
Start with your clear acrylic disc. Ensure it is clean and free from dust or fingerprints. Any residue will detract from the overall clarity and beauty of your finished suncatcher.
Step 2: Arrange Your Design
Take your colored beads or crystals and arrange them on the acrylic disc to visualize your design. Leave space between each piece to allow light to pass through effectively. This step is crucial for maximizing the light dispersion when the suncatcher hangs in a window.
Step 3: Secure Your Design
Once you’re satisfied with the arrangement, use your hot glue gun to secure each bead or crystal to the disc. Make sure to apply a generous amount of glue to ensure everything holds firmly in place.
Step 4: Attach the Hanging Mechanism
Cut a piece of fishing line to your desired length, allowing extra length for knots. Insert one end through a small hole or attach it to the top of the disc using glue. Ensure the line is securely fastened before proceeding.
Step 5: Hang and Enjoy
Find the perfect window location to hang your suncatcher. Ideally, choose a spot that receives direct sunlight, where you can fully appreciate the colorful reflections it creates.
Tips for the Best Result
- Placement: Hang your suncatcher in a location where it can catch the most sunlight for the best visual effect.
- Handling: Handle the acrylic disc carefully to avoid scratches or damage during the crafting process.
- Test Light Exposure: Before finalizing the position, test in different spots to see where you achieve the most captivating light display.
- Polish the Finish: If there are any glue strings or residue, gently clean the surface to ensure a polished appearance.
For additional ideas on suncatchers, you might enjoy making a stained glass sun catcher as a lovely variation.
Customization / Variations
Consider customizing your multicolor suncatcher by experimenting with different color palettes, such as seasonal themes or favorite color combinations. You might also include pressed flowers or leaves among the beads for a more natural look, allowing you to reflect your personal style.
How to Display Your Suncatcher
Your finished suncatcher is best displayed in a bright, sunny window. Consider grouping it with other handmade decorations or placing it alone for a clean modern look. It can even serve as a thoughtful gift, adding a personal touch to anyone’s home decor.
Frequently Asked Questions
Frequently Asked Questions
-
Can I use different materials? Yes, you can substitute beads with other decorative items, such as small charms or even pressed flowers, to achieve different effects.
-
What’s the best glue for this project? A strong adhesive like a hot glue gun works best to ensure everything stays securely in place.
-
How do I avoid excess glue? Use a small amount of glue on each piece and apply it directly from the glue gun tip for more control.
-
What if I want to make it larger or smaller? Adjust the size of your acrylic disc and the number of beads according to your preference.
Conclusion
In creating your Multicolor Crystal Ice Prism Sun Catcher for Windows, you not only produce a visually stunning piece but also cultivate a sense of accomplishment through the DIY process. This project promises to bring delightful reflections into your home. Should you be interested in expanding your suncatcher collection, consider exploring options like Woodstock Chimes for additional decorative elements or enhancing your windows with holographic film sheets for even more light effects.
Multicolor Crystal Ice Prism Sun Catcher
Ingredients
Method
- Step 1: Prepare Your Base - Start with your clear acrylic disc. Ensure it is clean and free from dust or fingerprints.
- Step 2: Arrange Your Design - Take your colored beads or crystals and arrange them on the acrylic disc to visualize your design.
- Step 3: Secure Your Design - Use your hot glue gun to secure each bead or crystal to the disc.
- Step 4: Attach the Hanging Mechanism - Cut a piece of fishing line to your desired length, allowing extra length for knots. Insert one end through a small hole or attach it to the top of the disc using glue.
- Step 5: Hang and Enjoy - Find the perfect window location to hang your suncatcher.