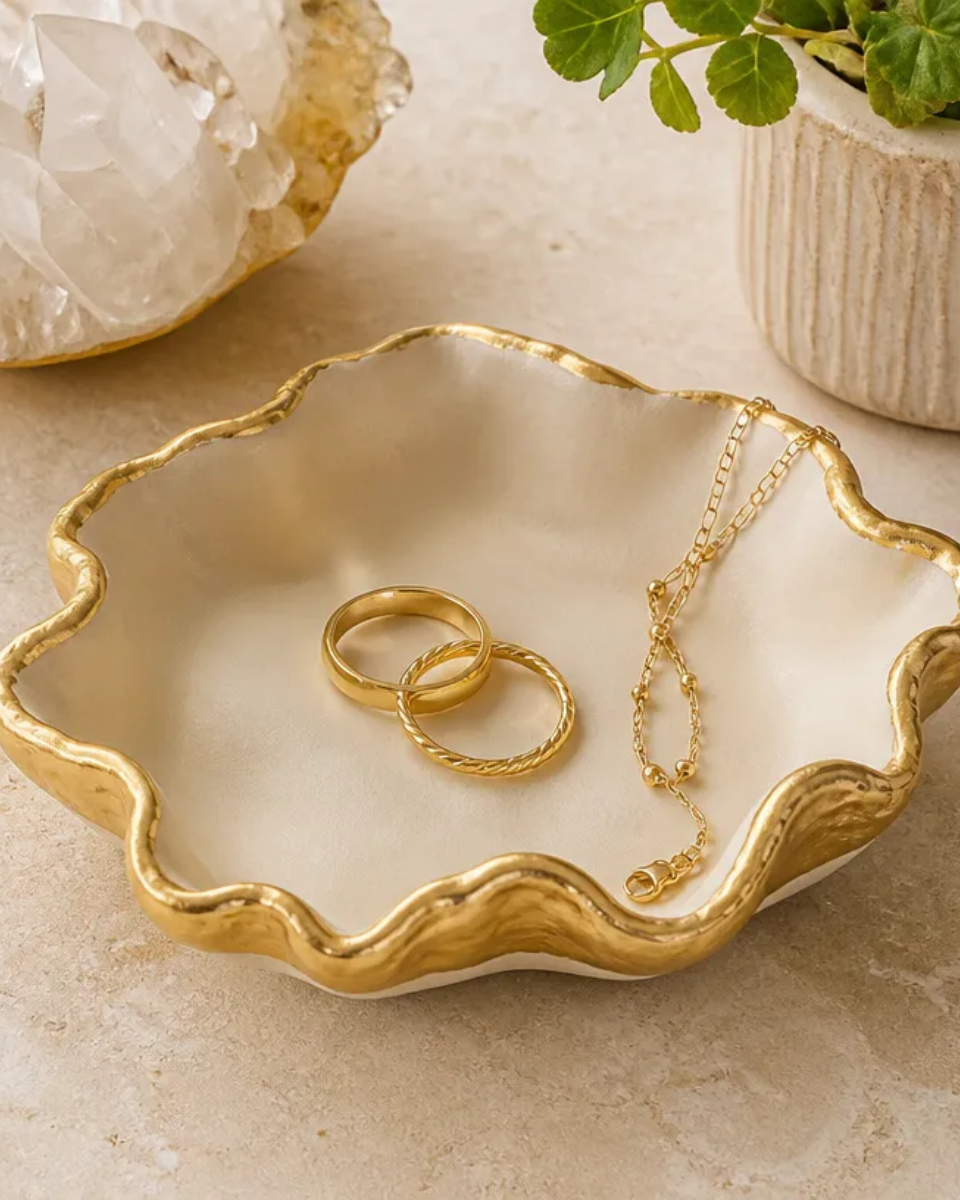
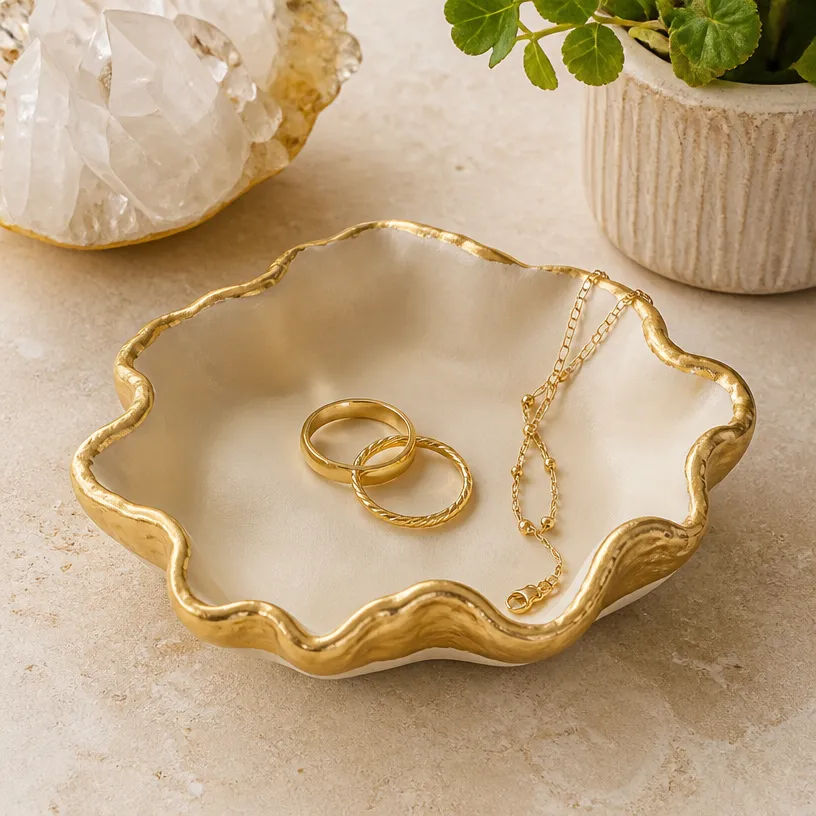
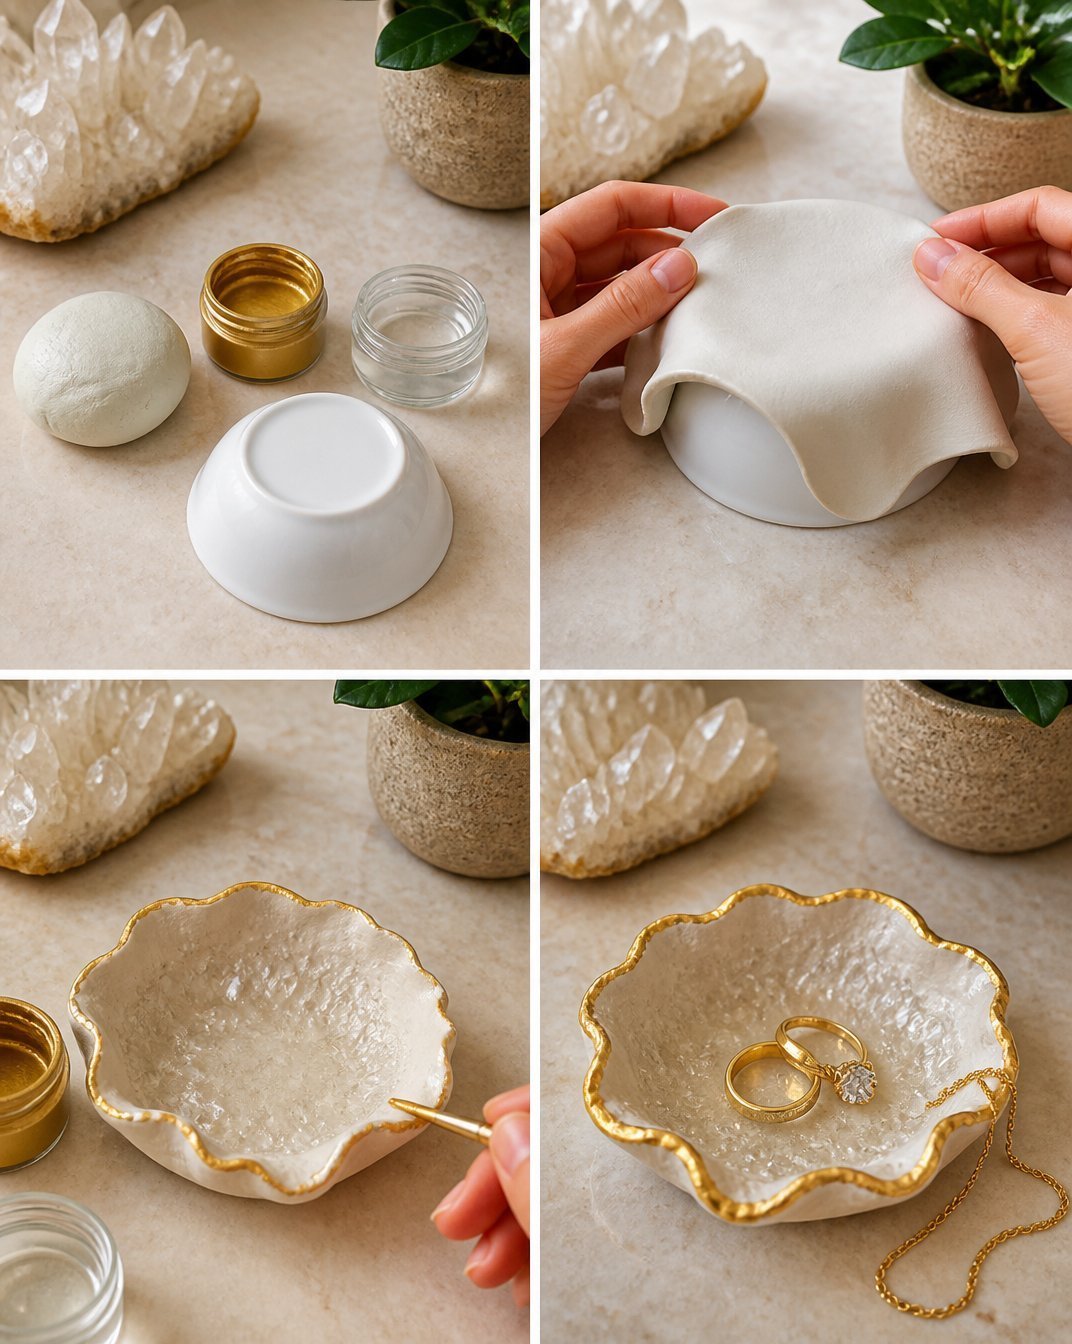
Creating a crystal ring tray is a wonderful way to organize your jewelry while adding elegance to your decor. This beautiful DIY project not only keeps your rings easily accessible but also serves as a stunning decorative piece on your dresser or vanity. The shimmering crystals and unique design ensure that your rings will be displayed in style, making it a centerpiece in your home. You may also find Crystal Lotus Prism Mirror Frame Diy Elegant Home Decor useful.
In this article, we will guide you through each step required to make your own elegant jewelry organizer. You’ll find that this project is both practical and aesthetically pleasing, allowing you to transform simple materials into an eye-catching accessory. If you are looking to elevate your decor or create a thoughtful gift, a crystal ring tray is the perfect choice. You may also find Diy Crystal Ice Candle Elegant Home Decor useful.
Why You’ll Love This Project
-
Display-worthy Finished Result: The crystal ring tray adds a touch of sophistication to any space, elevating your jewelry organization to a decorative art form. You may also find Diy Elegant Crystal Butterfly Mobile Nursery Decor useful.
-
Customizable Colors and Materials: You can select colors and styles that align with your personal taste or home decor. Consider using different types of crystals or embellishments to make it truly your own. You may also find Diy Icy Crystal Candle Elegant Home Decor useful.
-
Approachable Technique: This project combines simple crafting techniques that are manageable even for beginners. You’ll have the satisfaction of creating something beautiful without a steep learning curve.
-
Gift Potential: Handmade gifts carry a personal touch, and a crystal ring tray is a lovely choice for birthdays, anniversaries, or holidays.
-
Affordable Materials: You won’t need to break the bank to create an elegant piece; many of the materials are budget-friendly and easy to find.
Before You Begin
Before diving into your project, it’s important to prepare your workspace. Ensure that you have a clean, flat surface to work on and gather all materials and tools in one place. This will help keep you organized throughout the crafting process. Additionally, ensure adequate ventilation when working with adhesives or any finishing sprays to maintain a safe environment.
Materials You’ll Need
- Clear acrylic disc forms the transparent base that showcases your rings.
- Decorative crystals these will be used to embellish your ring tray and add visual interest.
- Strong adhesive used for securing the crystals to the base. Make sure to follow the manufacturer’s instructions for best results.
- Optional decorative elements (like beads or small flowers) personalize your ring tray further by incorporating these elements.
Tools
- Craft knife for trimming any materials to the desired size.
- Ruler to measure the dimensions accurately.
- Pencil useful for marking where to place your crystals or decorations.
- Tweezers helpful for placing small crystals precisely.
How to Make the Project
Step 1: Prepare the Base
Start by measuring and marking where you want to position your crystals on the clear acrylic disc. This helps in visualizing the final design before adhering anything down.
Step 2: Arrange the Crystals
Lay out your decorative crystals according to your marked areas. You can create patterns or clusters based on your style preference. This is the fun part where you can experiment with different arrangements!
Step 3: Secure the Design
Once you are happy with the arrangement, use strong adhesive to attach each crystal to the base. Apply the adhesive sparingly, ensuring it doesn’t overflow, as this can detract from the neat appearance.
Step 4: Allow to Dry
Give your ring tray ample time to dry completely. Follow the adhesive manufacturer’s curing instructions to ensure a strong bond between the crystals and the base.
Step 5: Final Touches
After the tray is fully cured, check for any excess adhesive or unevenness in your crystals. You can carefully trim any loose ends with a craft knife for a polished finish.
Tips for the Best Result
- Placement Matters: Arrange crystals in an aesthetically pleasing way that draws the eye, considering how light will interact with them.
- Finishing Touches: Make sure the edges of the acrylic disc are smooth. You can lightly sand them if necessary to avoid sharp edges.
- Avoid Excess Adhesive: Too much glue can be unsightly. A small dab is usually sufficient for most crystals.
Customization / Variations
Feel free to change up your design! You can choose a variety of colors when selecting crystals or add different materials such as beads, glitter, or even small flowers. The size of your tray can be adjusted based on the acrylic disc you choose to work with.
Ideas for Styling Your Handmade Decor
When displaying your finished crystal ring tray, consider using it on a bedside table or vanity to showcase your favorite pieces. It can easily become a conversation piece, especially if paired with complementary decor items like a vase or scented candles.
If you want to enhance the display even further, try adding an elegant candle arrangement nearby. For inspiration, check out this elegant DIY crystal orb centerpiece for table decor here.
Care and Storage
To maintain the beauty of your crystal ring tray, dust it gently with a soft cloth. Avoid prolonged exposure to moisture, as it may damage the adhesive or the acrylic base over time. Store your finished tray in a place where it won’t be easily knocked over or scratched.
Frequently Asked Questions
Q: What types of crystals can I use for my tray?
A: You can use any decorative crystals that suit your style, such as glass gems or even small gemstones, as long as they adhere properly.
Q: How do I prevent the crystals from falling off?
A: Use a strong adhesive that is appropriate for both the acrylic and the crystal material. Allow adequate drying time as per the product instructions.
Q: Can I make a larger tray?
A: Yes, simply find a larger acrylic disc and scale your design accordingly. Just keep in mind the weight of the crystals used.
Q: Is this project suitable for beginners?
A: Absolutely! This project uses simple techniques that are perfect for anyone looking to try their hand at DIY crafting.
Q: How can I gift this project?
A: Consider filling the tray with meaningful rings or small tokens that are special to the recipient. This adds a personal touch that enhances the gift.
Conclusion
Creating a crystal ring tray not only organizes your jewelry beautifully but also adds a touch of elegance to your decor. Feel free to explore customization options that align with your style. Each tray not only serves its function but becomes a piece of art in itself. If you’re interested in more elegant storage solutions, you may want to look into a stylish crystal ring holder from Amazon or explore elegant keepsakes from Waterford.

Crystal Ring Tray
Ingredients
Method
- Prepare your workspace by ensuring a clean, flat surface.
- Gather all materials and tools in one place.
- Step 1: Prepare the Base - Measure and mark where you want to position your crystals on the clear acrylic disc.
- Step 2: Arrange the Crystals - Lay out your decorative crystals according to your marked areas.
- Step 3: Secure the Design - Use strong adhesive to attach each crystal to the base.
- Step 4: Allow to Dry - Give your ring tray time to dry completely.
- Step 5: Final Touches - Check for any excess adhesive or unevenness in your crystals and trim if necessary.