

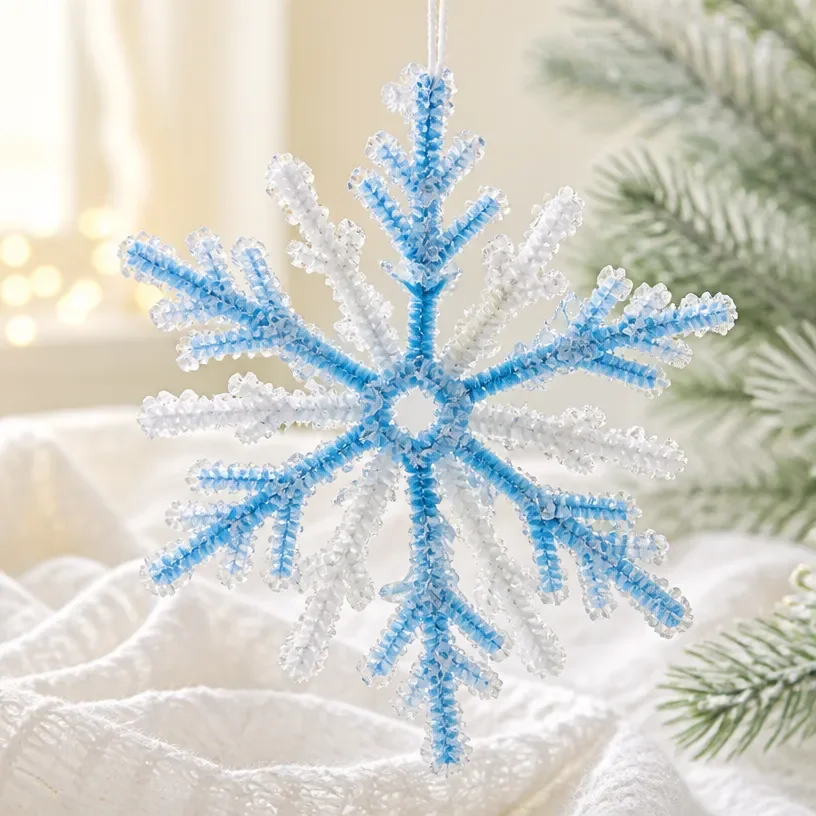
Creating a beautiful Crystal Snowflake Ornament is a delightful way to bring a touch of winter elegance into your home. These dazzling ornaments catch and reflect light, creating an enchanting sparkle that can enhance any seasonal decor. Perfect for hanging on your Christmas tree, in a window, or as a decorative piece on a mantel, they add a festive charm wherever they’re placed. You may also find Crystal Lotus Prism Mirror Frame Diy Elegant Home Decor useful.
In this DIY guide, we’ll walk you through making your own crystal snowflake ornaments. Not only are they visually stunning, but they also provide an excellent opportunity to showcase your crafting skills. Whether you’re an experienced DIY enthusiast or a beginner, this project is sure to deliver satisfyingly beautiful results. You may also find Diy Crystal Firework Ornament Christmas Decor useful.
Why You’ll Love This Project
Benefits of Making Your Own Crystal Snowflake Ornaments
- Display-Worthy Finish: The crystals create a mesmerizing effect, making your finished ornaments beautiful enough to show off.
- Customizable Design: You can choose your colors and styles, allowing for a truly personalized ornament.
- Affordable Materials: This project uses inexpensive materials, making it budget-friendly while still being impressive.
- Approachable Crafting Technique: The steps are straightforward, making this project accessible to all skill levels.
- Perfect for Gifting: Handmade ornaments make thoughtful gifts that friends and family will cherish.
Before You Begin
To ensure a smooth crafting experience, here are a few preparation tips: You may also find Diy Crystal Ice Candle Elegant Home Decor useful.
- Protect Your Workspace: Lay down newspapers or a silicone mat to catch any adhesive spills.
- Organize Materials: Gather all your materials beforehand, so everything is easily accessible.
- Measure Carefully: Plan the size of your snowflakes before cutting to ensure a balanced look in your decoration.
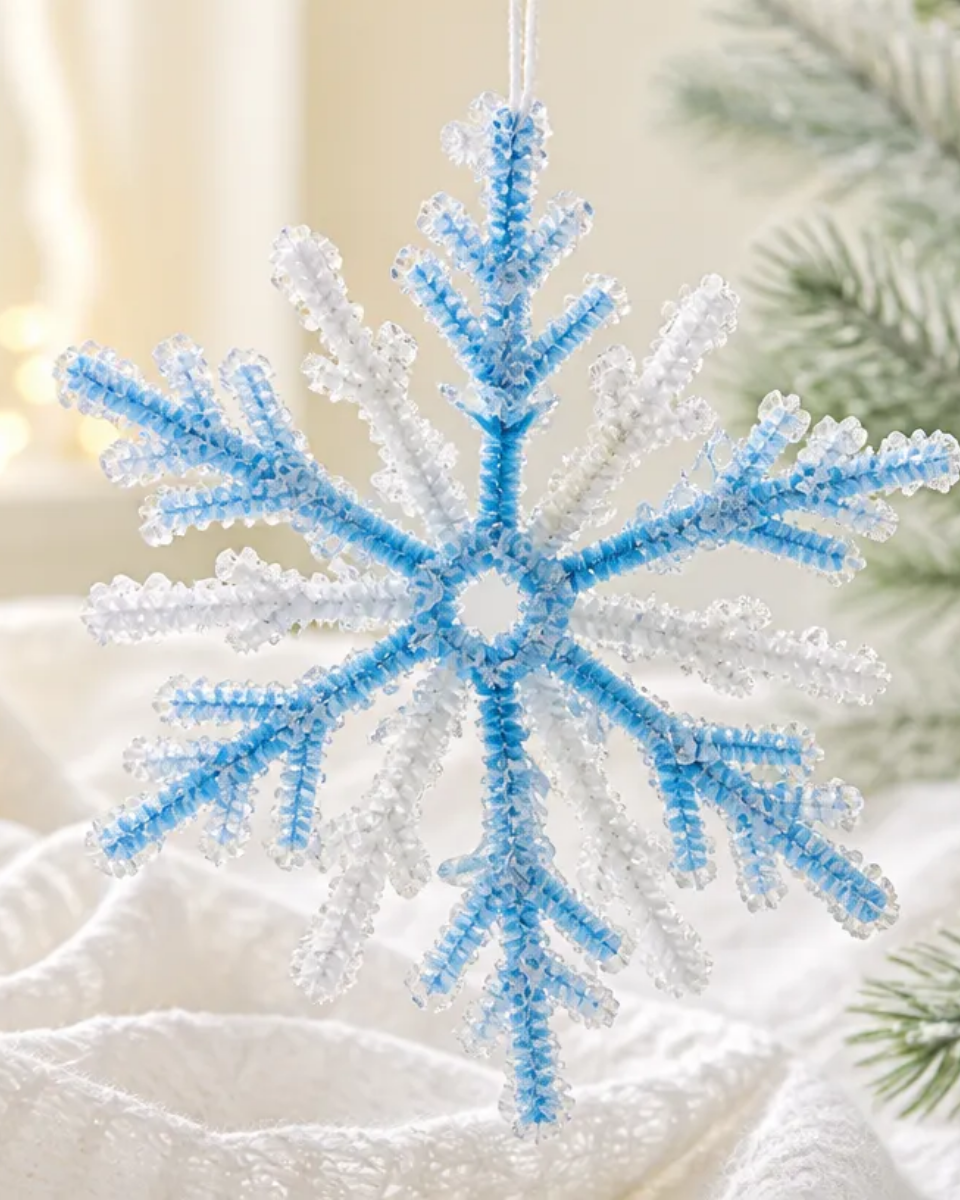
You may also find Diy Crystal Sparkle Firework Ornament Holiday Decor useful.
Materials You’ll Need
- Clear acrylic discs forms the base of your ornament.
- Crystal beads adds sparkle and enhances the snowflake effect.
- Transparent string for hanging your ornament.
- Adhesive glue securely holds the beads to the acrylic disc.
- Scissors for cutting string to the desired length.
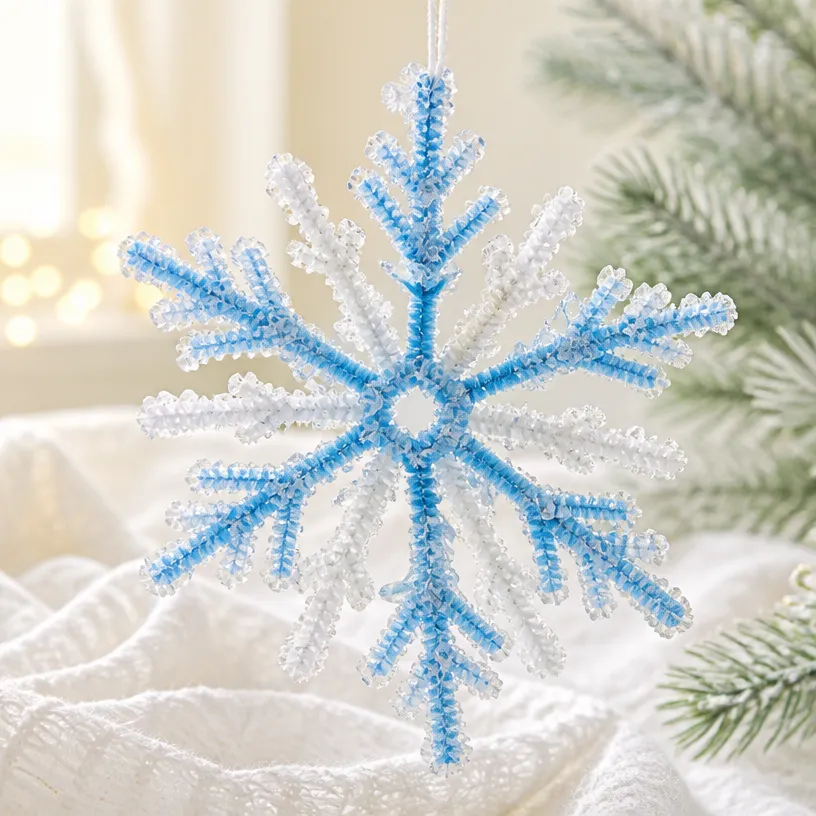
Tools
- Craft knife used for precision cutting, if needed.
- Ruler for measuring string length or arranging beads.
How to Make the Project
Step 1: Prepare Your Base
Start by taking your clear acrylic disc and making sure it is clean and free of dust. This will help the adhesive bond more effectively. You may also find Diy Elegant Crystal Butterfly Mobile Nursery Decor useful.
Step 2: Arrange the Crystal Beads
Lay out your crystal beads in a snowflake pattern on the disc. You might consider a classic six-pointed snowflake for the most memorable look.
Step 3: Secure the Design
Use a small amount of adhesive glue to attach each bead to the disc. Follow the manufacturer’s instructions for drying times to ensure they’re firmly in place.
Step 4: Cut the String
After your beads are secure and dry, cut a piece of transparent string to your desired length for hanging. This can be adjusted based on where you plan to display your ornament.
Step 5: Attach the Hanging String
Puncture a small hole at the top of the acrylic disc with a craft knife and thread your string through it, securing it with a knot.
Tips for the Best Result
- Bead Placement: Ensure that your beads are evenly spaced to achieve a symmetrical look.
- Use Clear Adhesive: This helps keep the focus on the beauty of the crystals and ensures a clean finish.
- Check for Dryness: Make sure each bead is firmly set before moving on to avoid any shifts.
Customization / Variations
Feel free to experiment with various colors of beads to match your home’s decor or personal style. You might switch out crystal colors for more seasonal variations consider icy blues for winter or warm golds during the holidays.
How to Display Your Finished Project
Once completed, there are numerous ways to showcase your beautiful snowflake ornaments. Hang them by your windows to catch the sunlight, adorn your Christmas tree, or even use them in a seasonal centerpiece for your dining table.
Care and Storage
To keep your ornaments looking their best, gently dust them with a soft cloth to remove any build-up. Avoid exposing them to prolonged moisture to prevent damage to the materials.
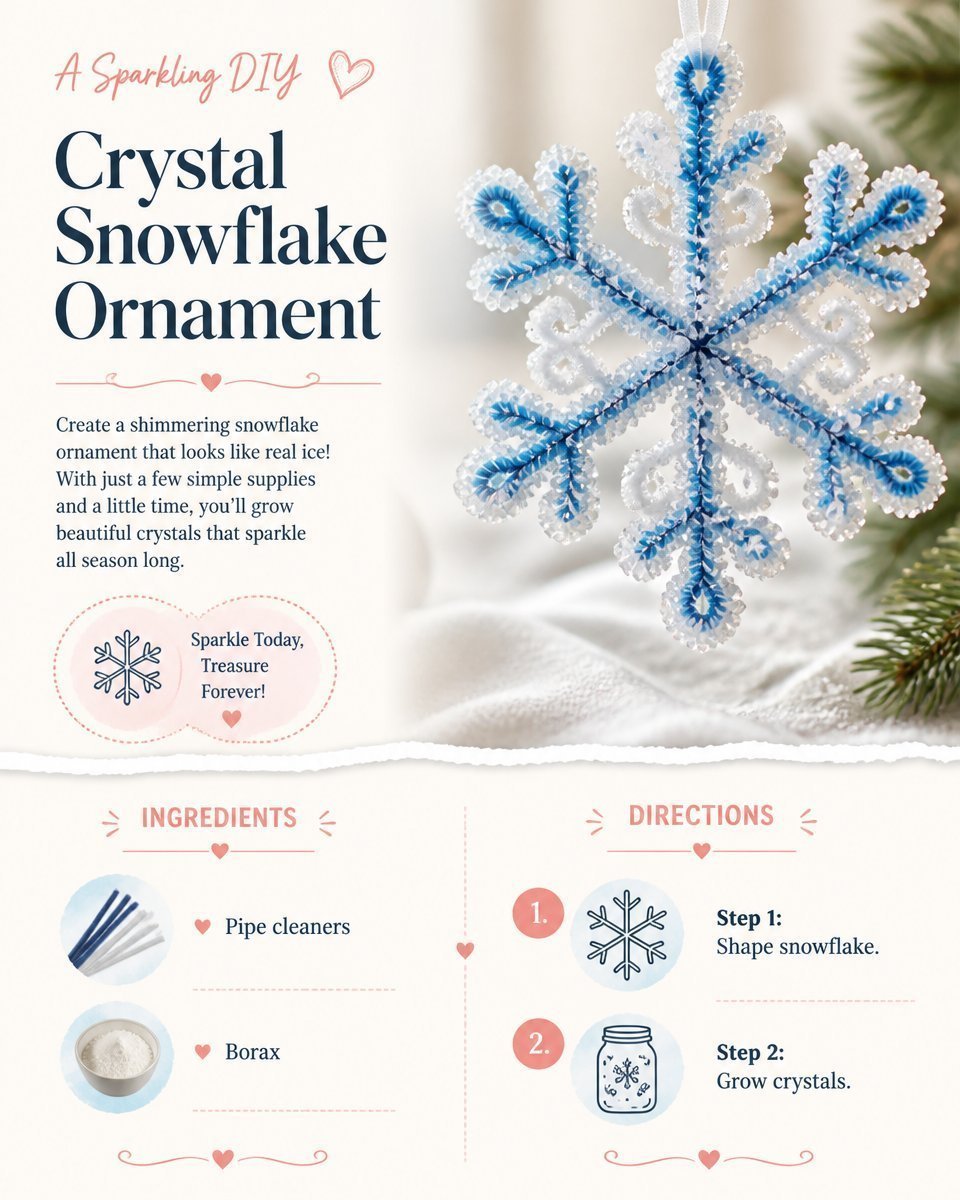
Frequently Asked Questions
Q1: Can I use other materials besides acrylic for the base?
Yes, you can substitute acrylic with a sturdy cardboard or wood base if preferred.
Q2: How do I fix a bead that isn’t sticking?
If a bead becomes loose, simply apply a small amount of adhesive beneath it and hold it in place until it dries.
Q3: Is there a specific length for the hanging string?
The length can vary based on your display preference; typically, 10-12 inches works well for most setups.
Q4: Can I make the snowflakes in different sizes?
Absolutely! Varying sizes can create a visually interesting display when hung together.
Q5: What if I want to change the color scheme for different seasons?
You can easily swap out the bead colors for a fresh look to match the upcoming season.
Conclusion
Making your own Crystal Snowflake Ornament is a wonderful way to embrace the winter season and add beauty to your home decor. They not only sparkle with light but also reflect your personal touch and creativity. For more inspiration, check out options for other decorative crystal ornaments, such as the ones available in collections of Crystal Snowflake Ornaments – Amazon.com or explore unique Crystal Star Ornaments for Christmas Tree available on Amazon. Enjoy your crafting journey!
Follow Glow Studio DIY for fresh DIY ideas & inspiration!

Crystal Snowflake Ornament
Would you like to save this project?
By submitting you agree to receive this project and occasional emails. Unsubscribe anytime.
Materials
Materials
- 1 piece Clear acrylic disc Forms the base of your ornament.
- various units Crystal beads Adds sparkle and enhances the snowflake effect.
- 1 piece Transparent string For hanging your ornament.
- 1 bottle Adhesive glue Secures the beads to the acrylic disc.
- 1 piece Scissors For cutting string to the desired length.
Tools
- 1 piece Craft knife Used for precision cutting, if needed.
- 1 piece Ruler For measuring string length or arranging beads.
Directions
Preparation
- Prepare your workspace by laying down newspapers or a silicone mat to catch any adhesive spills.
- Organize all your materials beforehand for easy access.
- Make sure your clear acrylic disc is clean and free of dust.
Assembly
- Lay out your crystal beads in a snowflake pattern on the disc.
- Use a small amount of adhesive glue to attach each bead to the disc, following the manufacturer's instructions for drying times.
- Cut a piece of transparent string to the desired length for hanging.
- Puncture a small hole at the top of the acrylic disc with a craft knife and thread your string through it, securing it with a knot.
Last Step: Don’t forget to leave a rating and comment below! It helps other readers find the best DIY projects — and it helps us too!



