Go Back
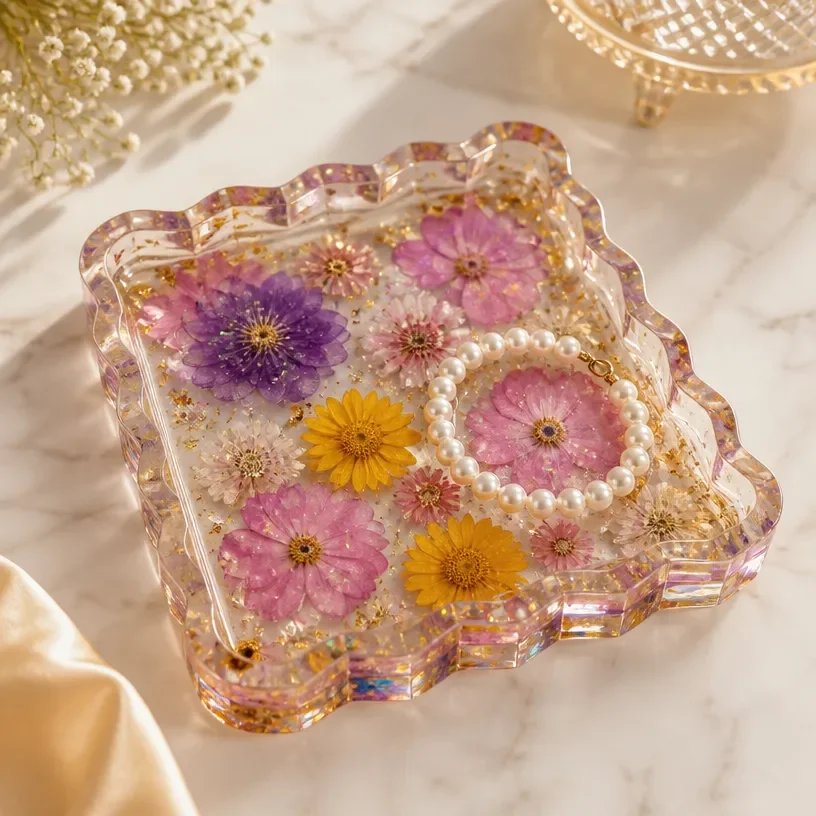
Pressed flower resin trinket tray with colorful flowers encased in resin

Pressed Flower Resin Trinket Tray

Create a stunning pressed flower resin trinket tray to showcase the beauty of nature in your home. This project is easy for all skill levels and allows for personal creativity.
Prep Time 30 minutes
Cook Time 6 hours
Total Time 6 hours 30 minutes
Servings: 1 tray
Course: Craft
Cuisine: DIY, Home Decor

Ingredients
  

Materials
  • 1 unit Silicone tray mold Creates the shape of the tray.
  • 1 kit Casting resin Provides the clear, glossy finish.
  • variety units Pressed flowers Choose flat, fully dried blooms for the best effect.
  • as needed set Mixing supplies Necessary for combining resin.
  • 1 pair Gloves Keep your hands protected while working with resin.
  • as desired units Decorative flakes Add extra visual interest and sparkle.

Method
 

Preparation
  1. Follow the manufacturer's instructions to prepare the resin, mixing with a hardener in the correct ratio. Wear gloves during this step.
  2. Arrange the pressed flowers in the silicone mold, placing larger flowers first, followed by smaller ones for a layered effect.
  3. Pour the prepared resin into the mold over the arranged flowers, adding in layers if using thicker blooms while pouring slowly to minimize bubbles.
Curing
  1. Follow the manufacturer's curing instructions, letting the resin set fully, which may take several hours to a full day.
  2. Once fully cured, gently unmold your tray and finish the edges with sandpaper for a smooth appearance.

Notes

Choose flat flowers to prevent them from floating during curing. Minimize bubbles by stirring resin slowly, and keep the project in a dry environment while curing.