Go Back
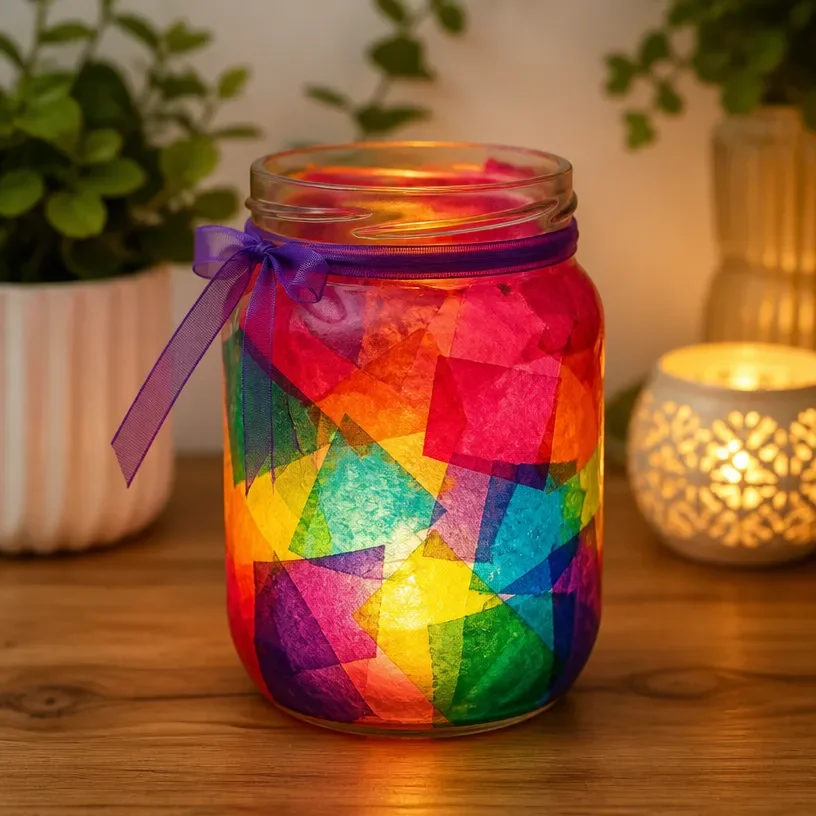
DIY vibrant stained glass candle lantern for stylish home decor

Stained Glass Candle Lantern

Create a stunning vibrant stained glass candle lantern that adds an artistic touch to your home décor.
Prep Time 2 hours
Total Time 2 hours
Servings: 1 lantern
Course: Decoration, Home Decor
Cuisine: Craft

Ingredients
  

Materials
  • 1 set Colored glass pieces Choose vibrant hues to form the body of the lantern.
  • 1 roll Copper foil tape Used to adhere the glass pieces together.
  • 1 pack Flux Helps the solder to easily bond to the copper foil.
  • 1 pack Lead-free solder Ideal for joining glass pieces without harmful effects.
  • 1 unit Soldering iron Tool to melt the solder to connect the glass pieces.
  • 1 unit Small candles or LED tea lights To illuminate your lantern safely.
  • 1 unit Glass cutter For shaping your glass pieces into desired sizes.
Tools
  • 1 pair Safety glasses To protect your eyes while cutting glass.
  • 1 unit Ruler For measuring and cutting precise sizes.
  • 1 unit Pencil To mark glass before cutting.
  • 1 unit Soldering stand To hold the soldering iron when not in use.

Method
 

Preparation
  1. Begin by measuring and cutting your colored glass into pieces of various shapes and sizes.
  2. Lay out the pieces on your work surface in the desired shape of the lantern.
  3. Wrap the edges of each glass piece with copper foil tape.
  4. Heat your soldering iron and apply solder to the seams where the glass meets.
  5. Piece together your lantern and ensure it holds securely using additional solder.
  6. Clean up any excess solder with a damp cloth and allow the piece to cool.

Notes

Display your lantern on a mantle, table, or as part of centerpieces. Dust gently with a soft cloth to keep it beautiful. Use LEDs for safety.