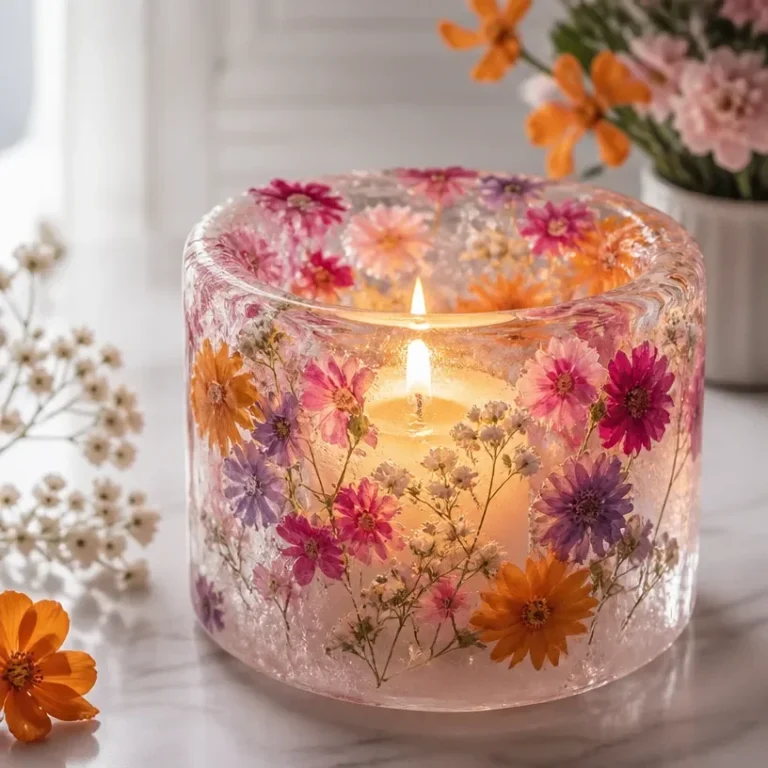
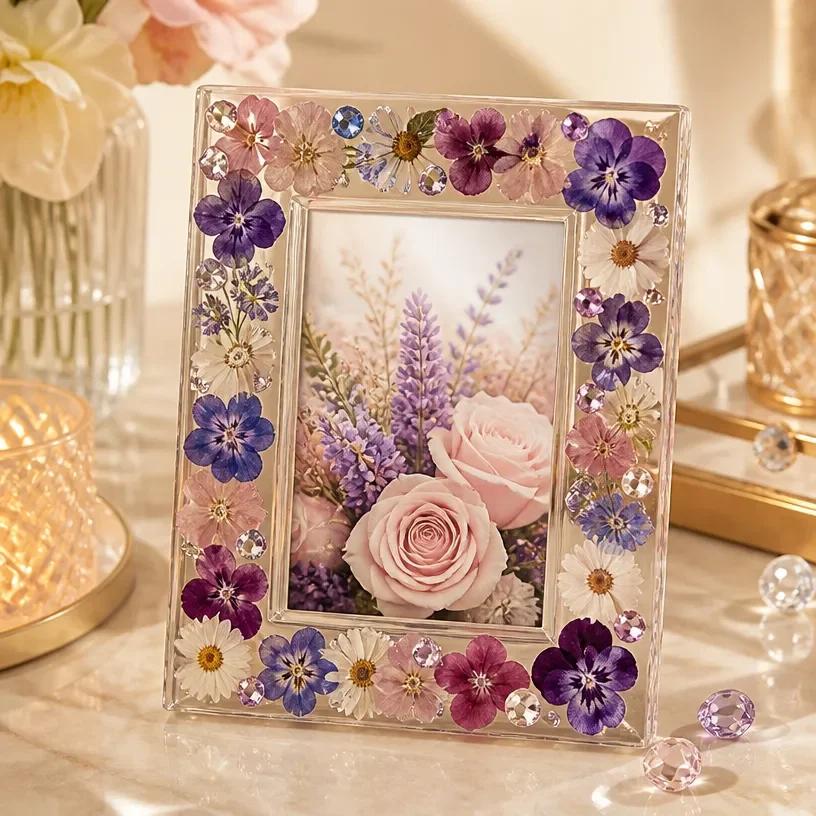
Creating a Pressed Flower Crystal Picture Frame is a delightful way to display natural beauty while adding a touch of elegance to your space. This DIY project allows you to use pressed flowers and crystal gems to transform a simple picture frame into a stunning piece of art. Whether it’s for showcasing a cherished photograph, a favorite piece of art, or simply as a decorative element, this frame will become a beautiful focal point in any room.
The final result is not only visually appealing but also incredibly customizable. You can choose your favorite flowers, select different shapes or sizes of frames, and play with the arrangement to suit your style. This makes it an excellent choice for anyone who enjoys artistic projects that reflect their personality.
Why You’ll Love This Project
Unique and Personalized Decor
This project provides a beautiful, one-of-a-kind piece that will stand out in your home. Each flower arrangement is unique, offering a personalized touch that’s hard to find in store-bought decor.
Natural Beauty
Incorporating pressed flowers brings a sense of nature into your space, making it feel fresher and more inviting. The gentle colors and textures of the flowers offer a calming aesthetic.
Easy to Make
With just a few materials and simple steps, this DIY project is approachable for crafters of all skill levels. You don’t need advanced crafting skills, just some patience and a little creativity.
Versatile Display Options
The finished picture frame can be used in any room of your home, hung on walls or added to shelves. It also makes for a thoughtful handmade gift for friends and family.
Budget-Friendly
This project uses affordable materials, and it’s a great way to utilize dried flowers you may already have from your garden or hikes.
Before You Begin
Before diving into this project, make sure to protect your work surface. Lay down a craft mat or newspaper to catch any spills from the adhesive. Organizing your materials will help the process go smoothly, allowing you to focus on the creative aspects. If your pressed flowers are not already dried, ensure they are fully dried to prevent any moisture from affecting the frame.
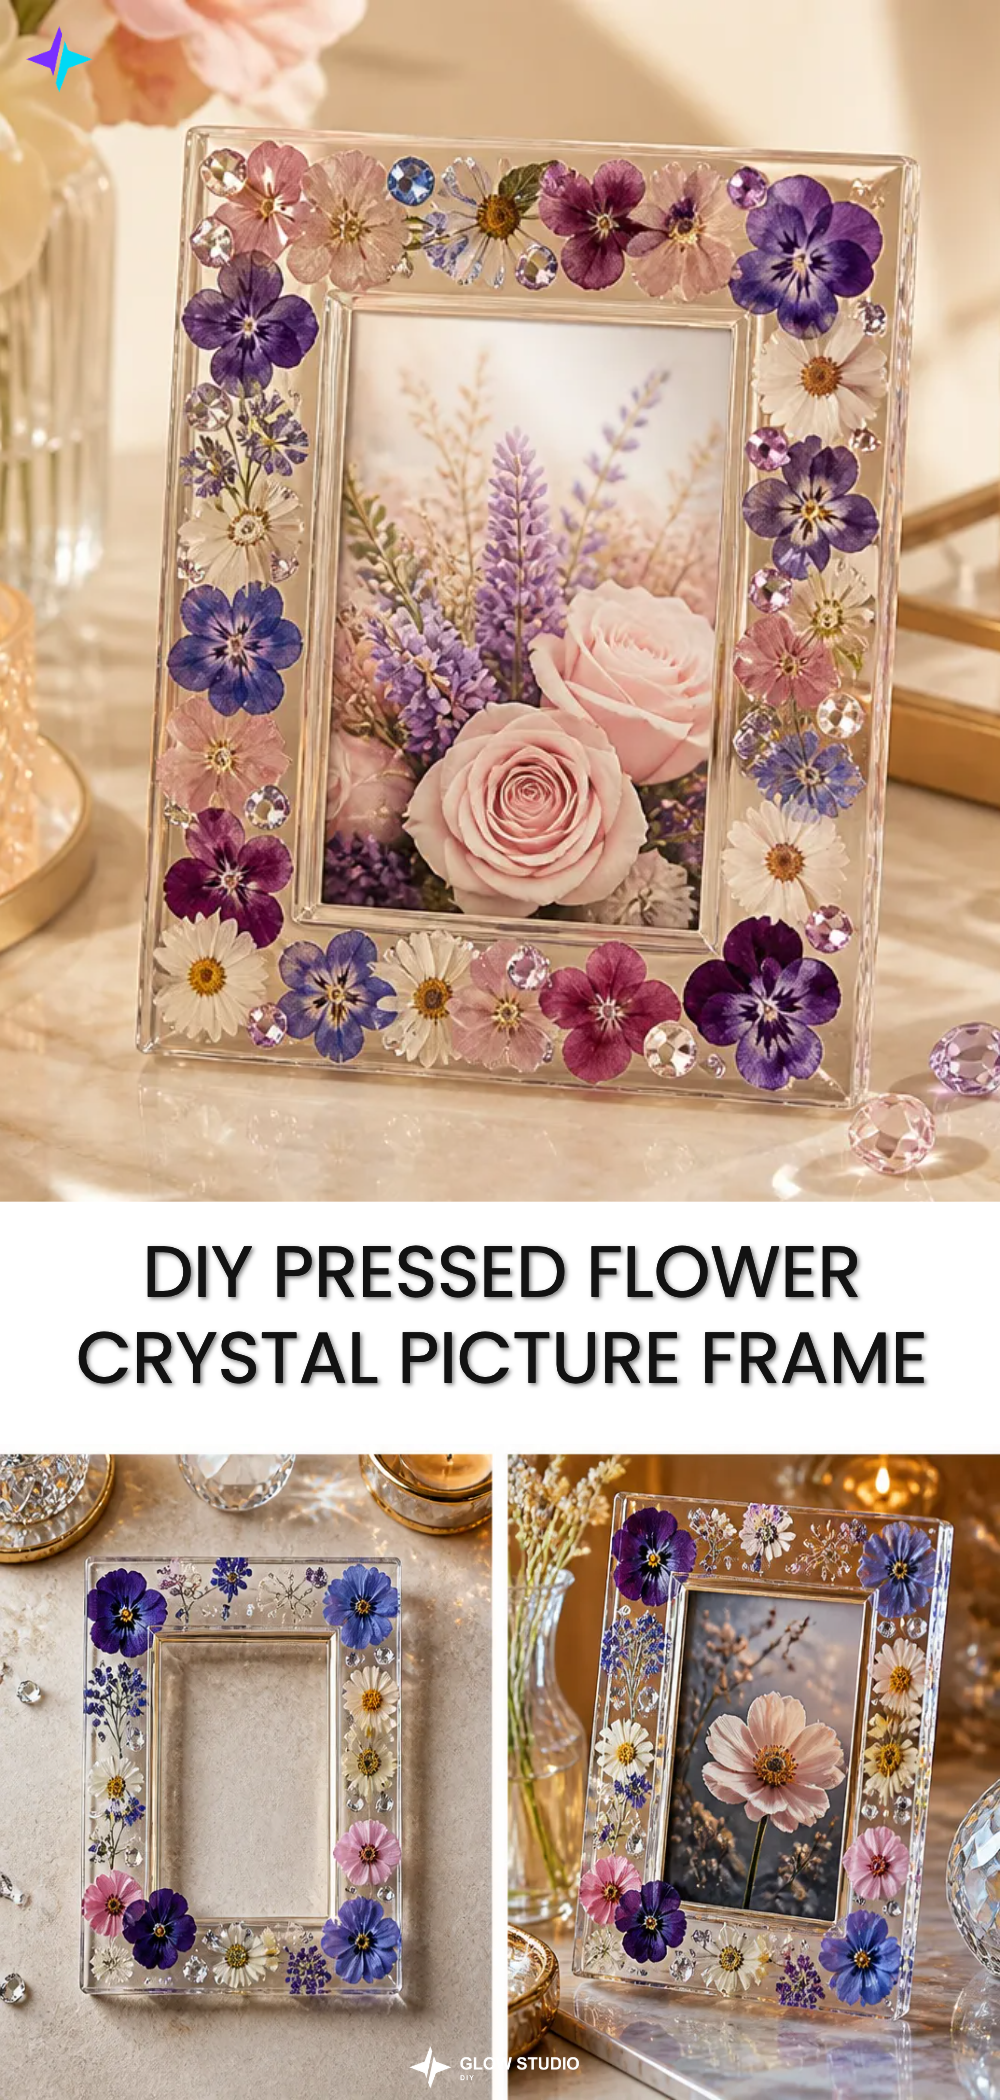
Materials You’ll Need
- Plain picture frame
- Pressed flowers choose flat, fully dried blooms.
- Small crystal-style gems these can add sparkle and dimension to your frame.
- Clear craft adhesive for securing the flowers and gems.
- Tweezers to help place delicate flowers without damaging them.
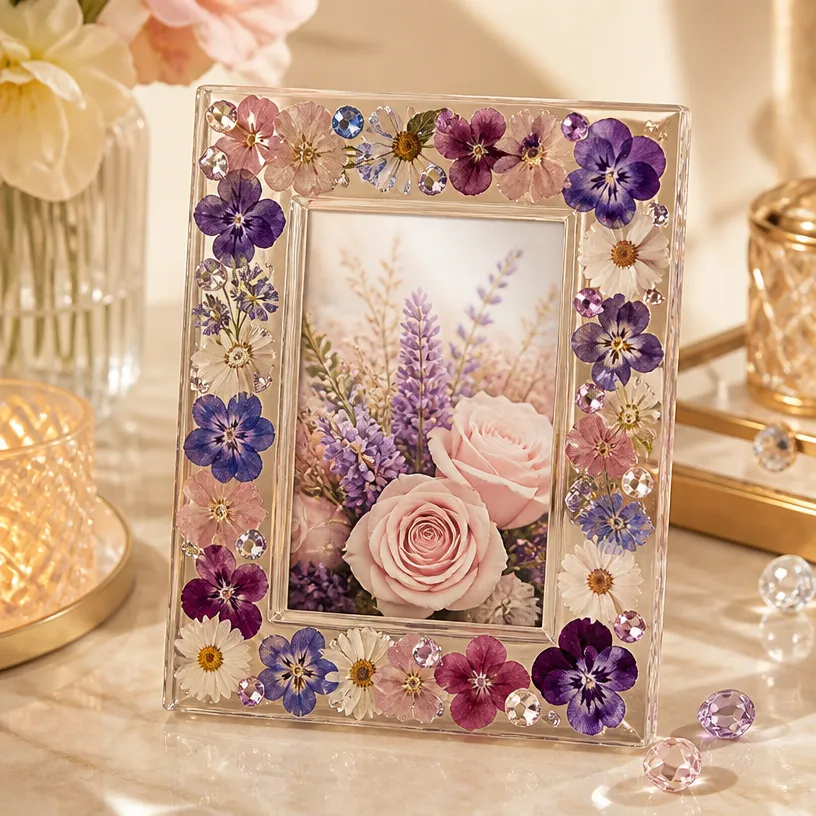
How to Make the Project
Step 1: Arrange the Pressed Flowers
Begin by arranging your pressed flowers around the border of the frame. Play around with different placements until you find a layout that you love. Remember to consider the size and shape of the frame when arranging.
Step 2: Secure the Design
Once you’re happy with your arrangement, carefully secure the flowers using the clear craft adhesive. Use the tweezers to gently position them without disturbing their shape.
Step 3: Add Small Crystal Accents
After the flowers are secured, take the small crystal-style gems and add them to your design. Position them in spaces between the flowers for added sparkle and visual interest.
Step 4: Let Dry
Allow the frame to dry completely according to the adhesive manufacturer’s instructions. This step is crucial to ensure everything stays in place.
Step 5: Insert a Favorite Photograph or Artwork
After drying, insert your chosen photograph or artwork into the frame. This final touch will make the piece truly special and personal.
Tips for the Best Result
- Avoid Excess Adhesive: Use just enough glue to secure the flowers and gems without making them appear messy.
- Keep Flowers Flat: Ensure that your pressed flowers stay flat during the drying process to maintain their shape.
- Balance Colors: When arranging, consider the color palette of the flowers and the frame to create a harmonious look.
- Clean the Glass: Once your frame is fully assembled, clean the glass to ensure it’s clear and enhances your display.
Customization / Variations
Feel free to get creative with the materials! You can use different frame shapes, color palettes, or even add ribbon to the top for an added decorative element. Seasonal flowers can change the vibe of the frame throughout the year, allowing for numerous variations.
Ideas for Styling Your Handmade Decor
Your finished Pressed Flower Crystal Picture Frame can beautifully complement your home decor. Consider placing it on a mantle, on a shelf alongside other decorative items, or even grouping it with other frames of varying sizes for an eclectic gallery wall. It also makes a thoughtful gift, especially for occasions like birthdays, anniversaries, or housewarmings.
Frequently Asked Questions
Frequently Asked Questions
Can I use fresh flowers instead of pressed flowers?
Fresh flowers typically won’t hold up in the frame over time, but you can press them before using.
How do I dry flowers for this project?
Place flowers between the pages of a heavy book for a couple of weeks or use a flower press.
What should I do if some flowers don’t stay flat?
If a flower isn’t lying flat after applying adhesive, use the tweezers to gently adjust it until it’s positioned correctly.
What type of frame works best?
A simple frame is preferred, so the focus remains on the flowers. An ornate frame may distract from the natural elements.
How can I store leftover materials?
Keep unused flowers and craft supplies in a cool, dry place. Flowers can be stored in airtight containers to maintain their quality.
How should I care for my finished frame?
Dust the frame gently to keep it clean and avoid exposing it to moisture.
Conclusion
In summary, creating a Pressed Flower Crystal Picture Frame not only results in a stunning piece of decor but also allows you to bring a touch of nature into your home. Its unique beauty can brighten any space while showcasing cherished memories or artwork. For those looking to take this project further, consider using kits like the BBTO 10 Pcs Glass Frame for Pressed Flowers or explore options like the Dried Flower Art Frame LingStar Inch DIY Double Glass Pressed to expand your creative possibilities.
Follow Glow Studio DIY for fresh DIY ideas & inspiration!
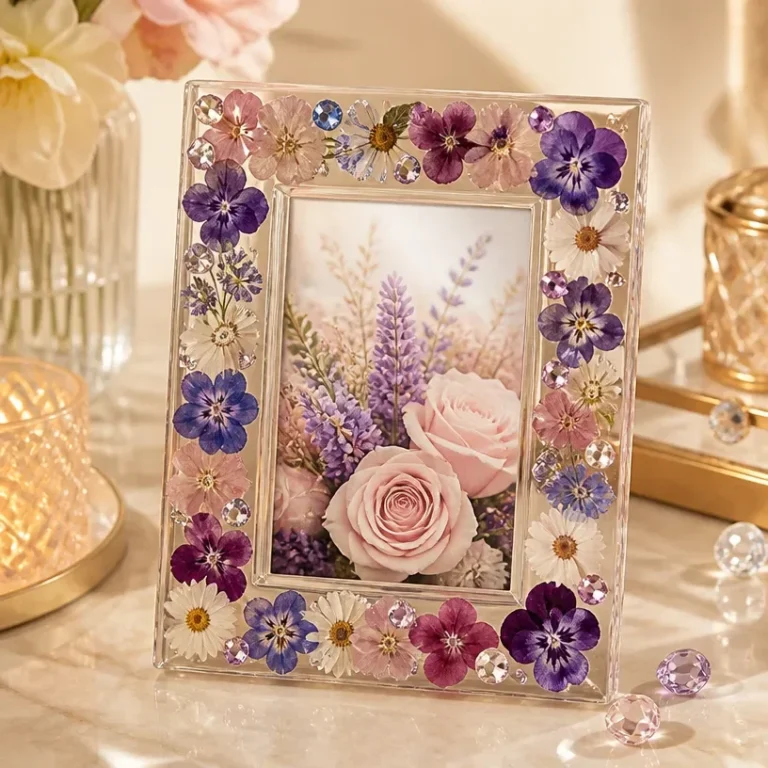
Pressed Flower Crystal Picture Frame
Would you like to save this project?
By submitting you agree to receive this project and occasional emails. Unsubscribe anytime.
Materials
Materials Needed
- 1 piece Plain picture frame Choose a simple frame to keep the focus on the flowers.
- as needed various Pressed flowers — choose flat, fully dried blooms. You can use flowers from your garden or hikes.
- as needed various Small crystal-style gems These add sparkle and dimension to your frame.
- as needed various Clear craft adhesive For securing the flowers and gems.
- 1 piece Tweezers To help place delicate flowers without damaging them.
Directions
Creating the Frame
- Begin by arranging your pressed flowers around the border of the frame. Play around with different placements until you find a layout that you love.
- Once you’re happy with your arrangement, carefully secure the flowers using the clear craft adhesive. Use the tweezers to gently position them without disturbing their shape.
- After the flowers are secured, take the small crystal-style gems and add them to your design. Position them in spaces between the flowers for added sparkle and visual interest.
- Allow the frame to dry completely according to the adhesive manufacturer’s instructions.
- Once dried, insert your chosen photograph or artwork into the frame.
Last Step: Don’t forget to leave a rating and comment below! It helps other readers find the best DIY projects — and it helps us too!