Ingredients
Method
Creating the Frame
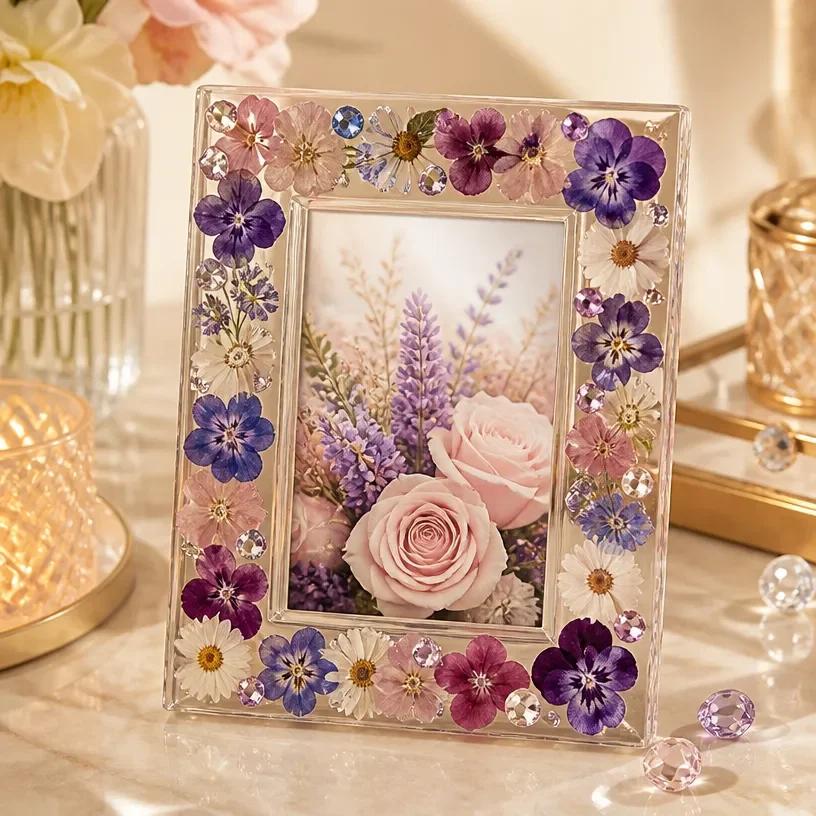
- Begin by arranging your pressed flowers around the border of the frame. Play around with different placements until you find a layout that you love.
- Once you’re happy with your arrangement, carefully secure the flowers using the clear craft adhesive. Use the tweezers to gently position them without disturbing their shape.
- After the flowers are secured, take the small crystal-style gems and add them to your design. Position them in spaces between the flowers for added sparkle and visual interest.
- Allow the frame to dry completely according to the adhesive manufacturer’s instructions.
- Once dried, insert your chosen photograph or artwork into the frame.
Notes
For best results, avoid excess adhesive and keep flowers flat during the drying process. Clean the glass once assembled to enhance your display.