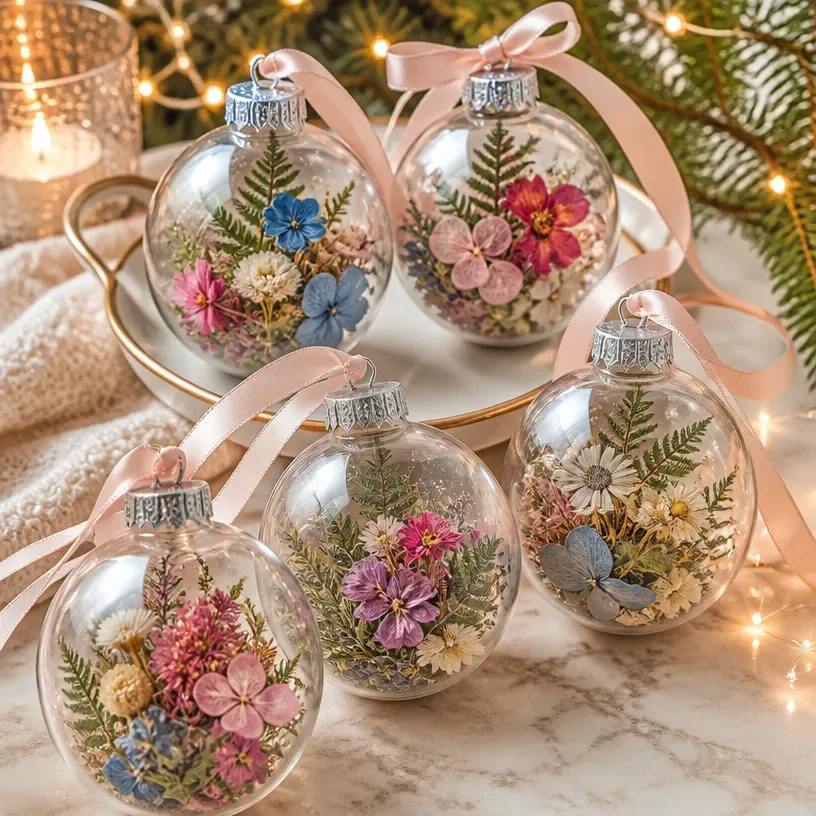
Pressed Flower Botanical Christmas Ornaments
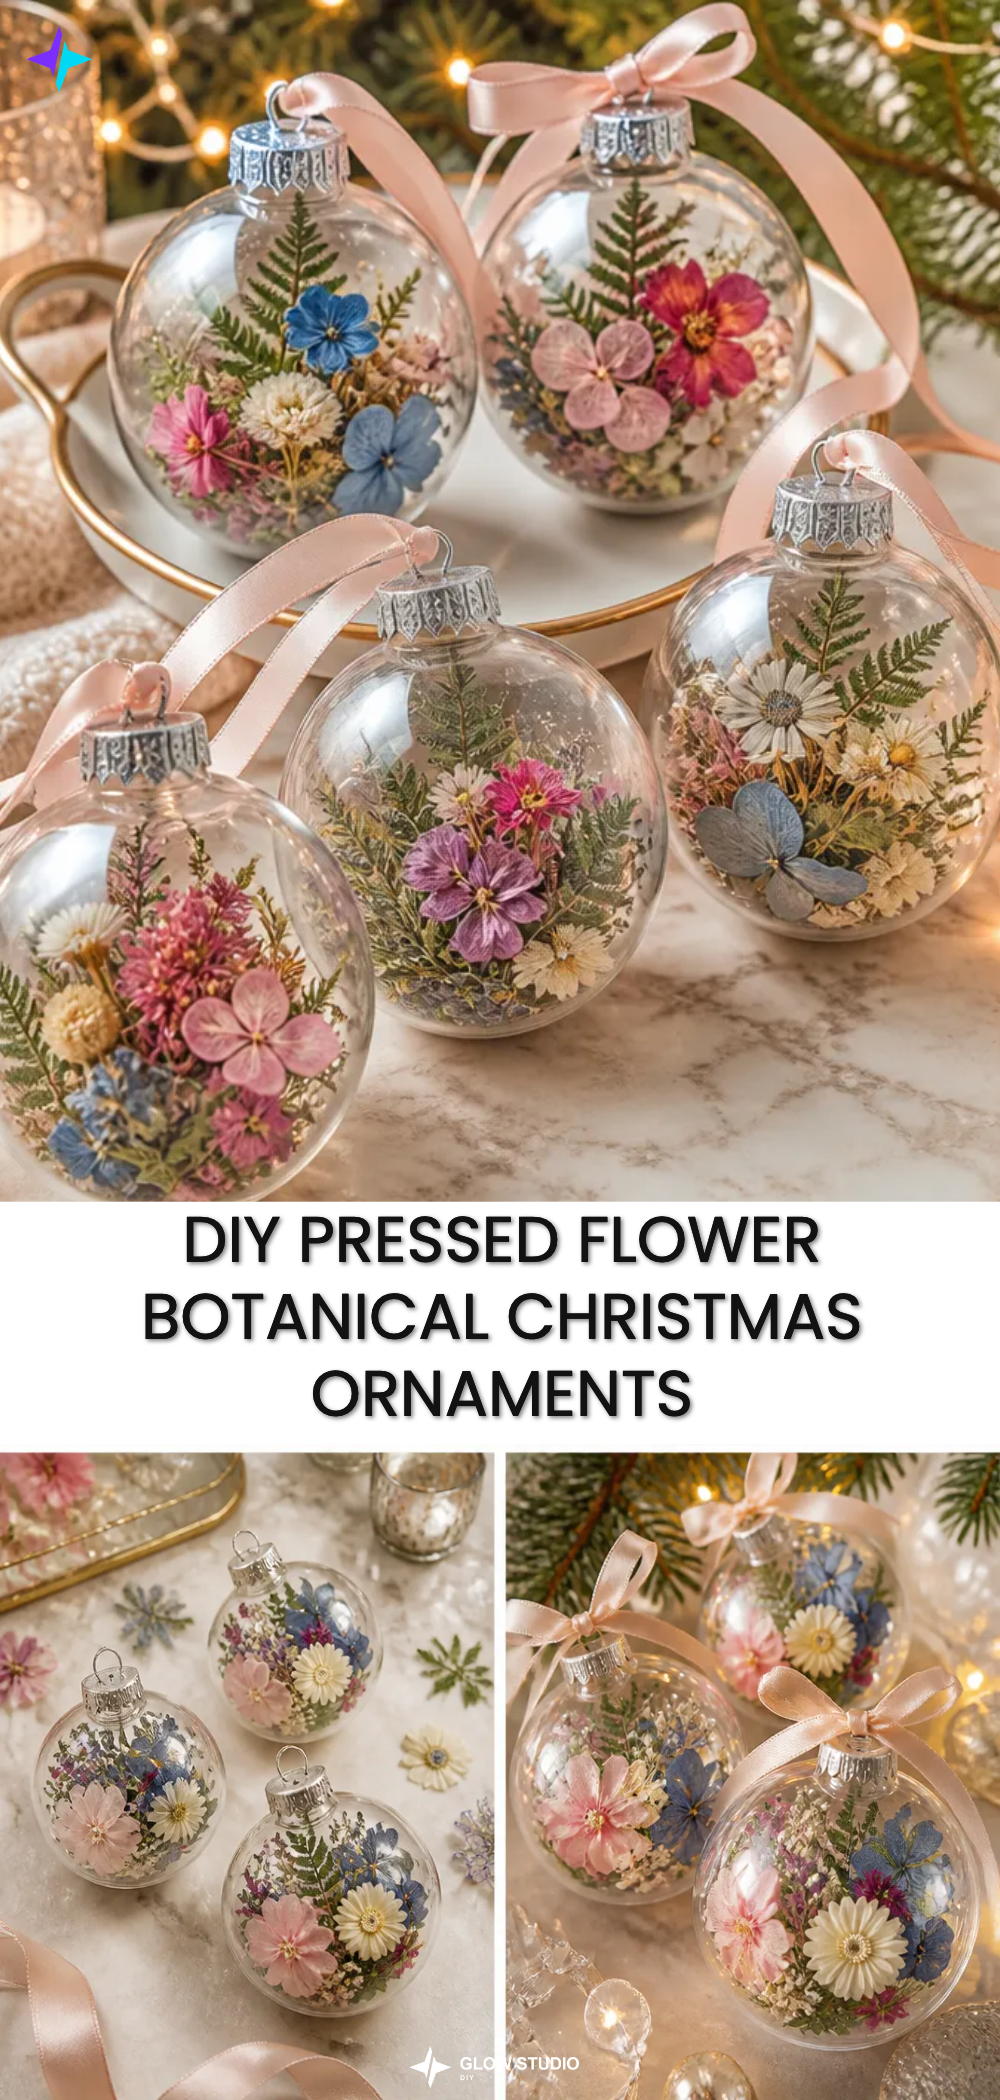
Creating pressed flower botanical Christmas ornaments is a delightful project that allows personal expression and infuses your holiday decor with a touch of nature. These ornaments, filled with beautiful pressed flowers and greenery, can add a charming aesthetic to your Christmas tree, window displays, or holiday gift wrapping.
Not only are these ornaments visually appealing, but they also serve as a wonderful way to preserve special memories associated with specific blooms or plant life. The process is straightforward and encourages creativity as you combine different shapes, colors, and textures.
Why You’ll Love This Project
Unique Display
Each ornament is a unique piece of art, showcasing your choice of pressed flowers and greenery. This individuality makes them perfect for displaying on your holiday tree or as part of a festive centerpiece.
Easy to Create
With just a few materials and simple steps, you can create beautiful ornaments without the need for advanced crafting skills. This project is accessible to all skill levels, making it a fantastic family activity.
Customizable Designs
You have complete control over the color palette and floral selections. Choose seasonal flowers to complement your holiday decor, or personalize the designs with blooms that hold special significance.
Perfect Gifts
These ornaments are not only decorative; they also make thoughtful gifts. Handmade decorations carry a personal touch, making them cherished keepsakes for friends and family.
Affordable and Eco-Friendly
Utilizing dried flowers and clear ornaments allows you to create beautiful decor without breaking the bank. This eco-conscious project also encourages using sustainable materials found in nature.
Before You Begin
Make sure to protect your work surface as you assemble the ornaments. Gather all your materials in one place for an organized crafting experience. If needed, clean the clear ornaments with a soft cloth to ensure they are free from dust before filling them with botanicals.
Materials You’ll Need
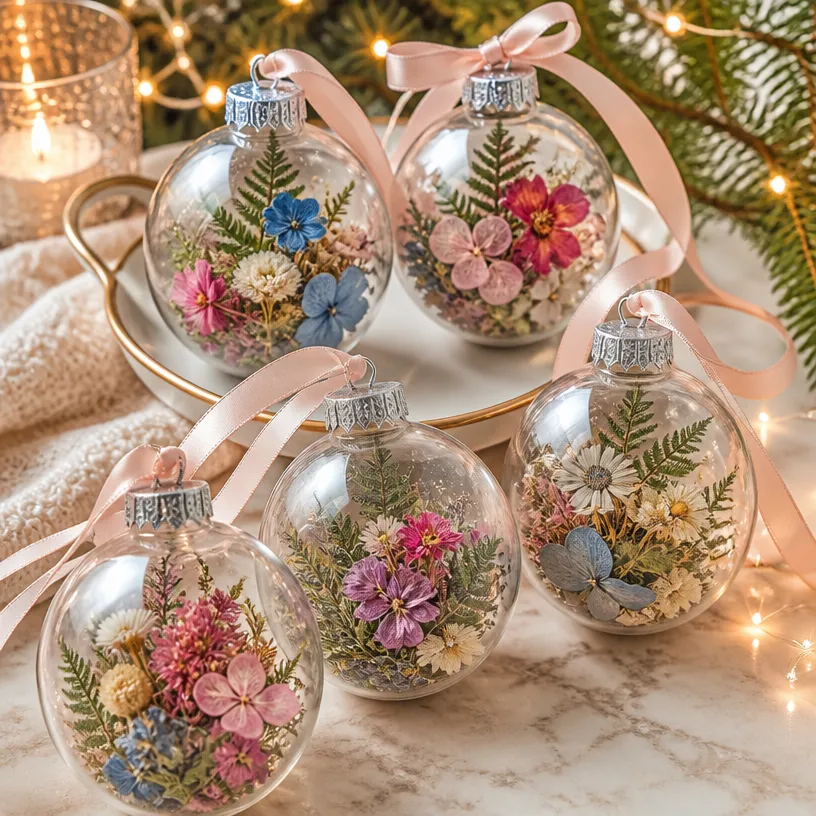
- Clear fillable ornaments the base for your botanical designs.
- Fully dried pressed flowers these will lend color and visual interest.
- Dried greenery adds texture and a natural touch.
- Ribbon used to hang the ornaments.
- Tweezers helpful for precise placement of delicate botanicals.
How to Make the Project
Step 1: Place the Dried Botanicals
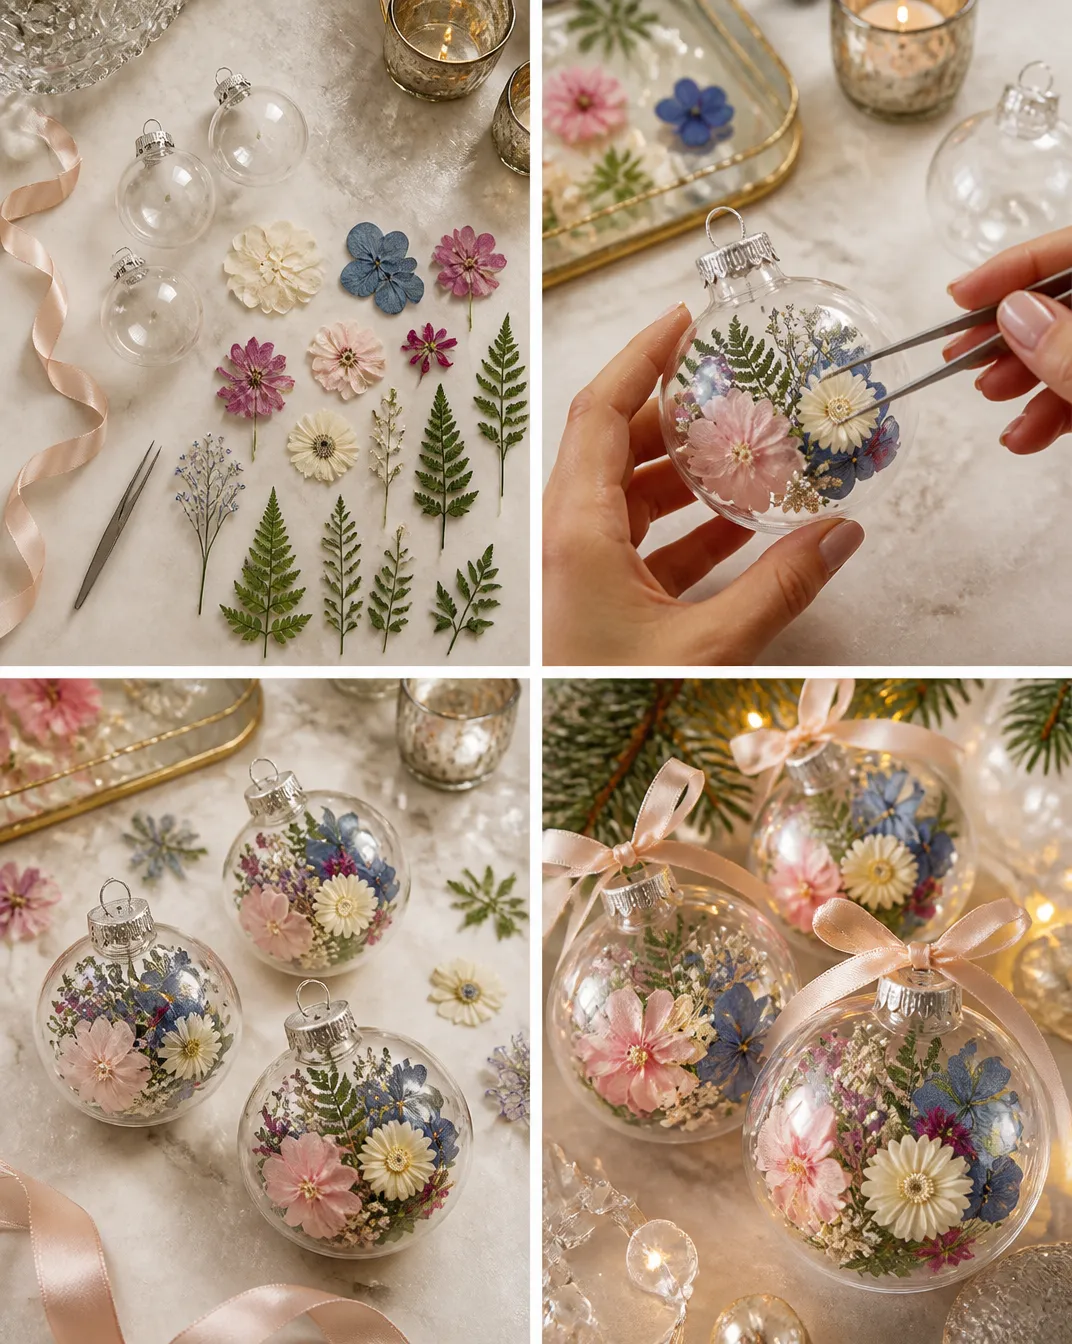
Carefully place your chosen dried flowers and greenery inside each clear ornament. Take your time to select the arrangement that suits your aesthetic.
Step 2: Arrange with Tweezers
Using tweezers, adjust the placement of the dried botanicals to achieve your desired look. Ensure the flowers are positioned beautifully and that the ornament feels balanced visually.
Step 3: Secure the Ornament
Close the ornament securely. Check that the top cap is tightly fastened to prevent anything from falling out.
Step 4: Add Hanging Ribbon
Finally, attach a coordinating ribbon to the top of each ornament, making sure it’s secure enough for hanging.
Tips for the Best Result
- Layer Your Botanicals: Layer different sizes and types of flowers to create a more dynamic look.
- Use Dried Flowers: Ensure that your flowers are fully dried to avoid moisture build-up inside the ornament.
- Experiment with Colors: Try contrasting colors or sticking to a monochrome palette for a modern look.
- Take Your Time: Don’t rush the arrangement process; enjoy the creativity of combining your botanicals thoughtfully.
Customization / Variations
Consider using various shapes or sizes of clear ornaments to vary your display. You might also experiment with seasonal palettes, incorporating holly for Christmas or pastel blooms for spring decor.
Ideas for Styling Your Handmade Decor
Once made, these ornaments can be displayed on the tree, hung in windows to catch the light, or used as gift tags for presents. Their natural beauty will effortlessly enhance your holiday setting.
Frequently Asked Questions
How do I preserve pressed flowers?
Use a flower press or place them between heavy books for several weeks until completely dry.
Can I use fresh flowers?
Fresh flowers won’t last long; always opt for fully dried botanicals for durability.
What if the ornaments are too heavy?
Make sure to balance the placement of flowers and choose lightweight materials to prevent strain on the hanging points.
How should I store them?
Store your ornaments in a cool, dry place, away from direct sunlight to maintain their color and integrity.
Can I customize the ribbons?
Absolutely! Use any type of ribbon to match your decor theme or personal taste.
Conclusion
Creating pressed flower botanical Christmas ornaments is a wonderful way to celebrate the beauty of nature during the holiday season. These charming ornaments not only enhance your decor but can also be precious gifts for loved ones. For inspiration and further ideas on crafting pressed floral ornaments, check out this article on Pressed Floral Glass Ornaments – A Handmade Christmas. Additionally, you can find unique supplies on Etsy to customize your ornaments even further. Happy crafting!
Follow Glow Studio DIY for fresh DIY ideas & inspiration!
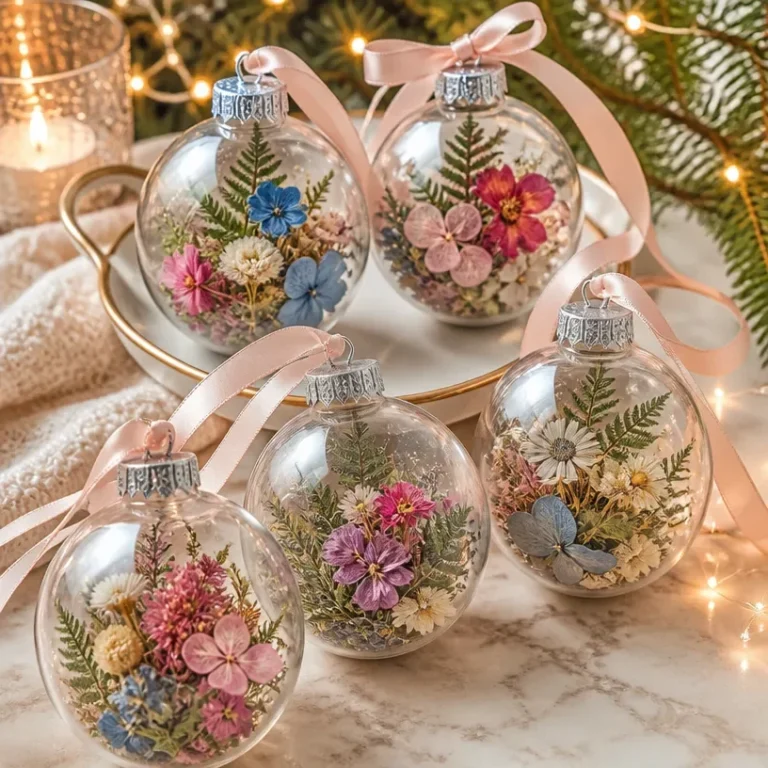
Pressed Flower Botanical Christmas Ornaments
Would you like to save this project?
By submitting you agree to receive this project and occasional emails. Unsubscribe anytime.
Materials
Materials Needed
- 10 pieces Clear fillable ornaments The base for your botanical designs.
- various Fully dried pressed flowers These will lend color and visual interest.
- various Dried greenery Adds texture and a natural touch.
- 1 roll Ribbon Used to hang the ornaments.
- 1 piece Tweezers Helpful for precise placement of delicate botanicals.
Directions
Preparation
- Gather all materials and protect your work surface.
- If needed, clean the clear ornaments with a soft cloth to ensure they are free from dust.
Creating Ornaments
- Carefully place your chosen dried flowers and greenery inside each clear ornament.
- Using tweezers, adjust the placement of the dried botanicals.
- Close the ornament securely, ensuring the top cap is tightly fastened.
- Attach a coordinating ribbon to the top of each ornament.
Last Step: Don’t forget to leave a rating and comment below! It helps other readers find the best DIY projects — and it helps us too!