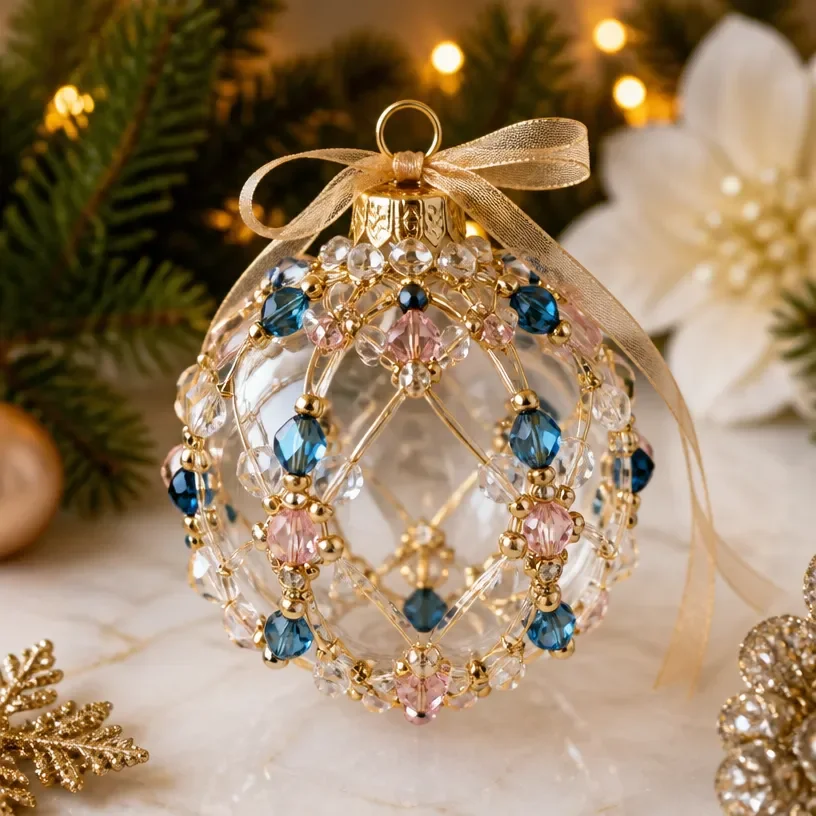
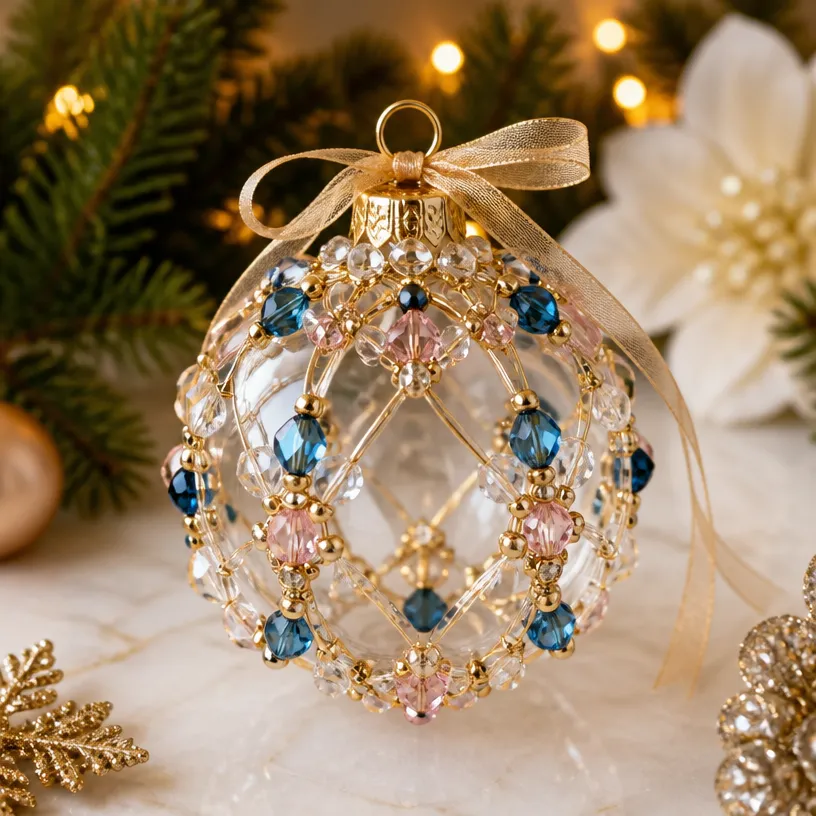
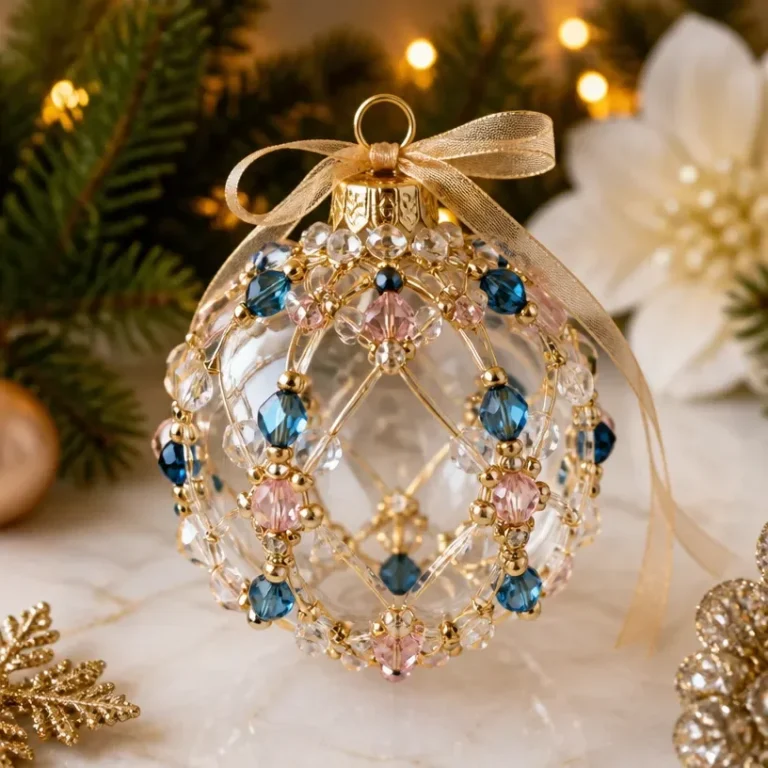
Creating a Crystal Beaded Christmas Ornament is a delightful way to add a touch of elegance to your holiday decor. The finished ornament, adorned with sparkling crystal beads, refracts light beautifully, casting colorful reflections throughout your space. This ornament can be displayed on your Christmas tree, hung in a window, or even used as a lovely decoration for a festive gathering.
In this guide, we’ll walk you through the steps to make your own stunning crystal ornament, using easy-to-find materials and a straightforward approach that anyone can follow.
Why You’ll Love This Project
The Joy of Crafting
Making this ornament is a rewarding experience that combines creativity with a hands-on approach, allowing you to design a piece that reflects your personal style.
Stunning Visual Appeal
The crystal beads used in this project create a dazzling effect as they catch the light, making your ornament a eye-catching focal point during the holiday season.
Simple and Accessible
With just a few basic materials and tools, this project is perfect for crafters of all skill levels. You don’t need to be an expert to create something beautiful.
Customizable Options
Feel free to experiment with different colors and types of beads to develop a unique ornament that fits your holiday decor theme.
Perfect for Gifting
Handmade ornaments make thoughtful gifts. You can personalize each ornament for friends or family, making for cherished holiday keepsakes.
Before You Begin
To ensure a smooth crafting experience, take a moment to organize your workspace and gather all necessary materials before starting. This will help you maintain focus on the creative process and avoid any interruptions.
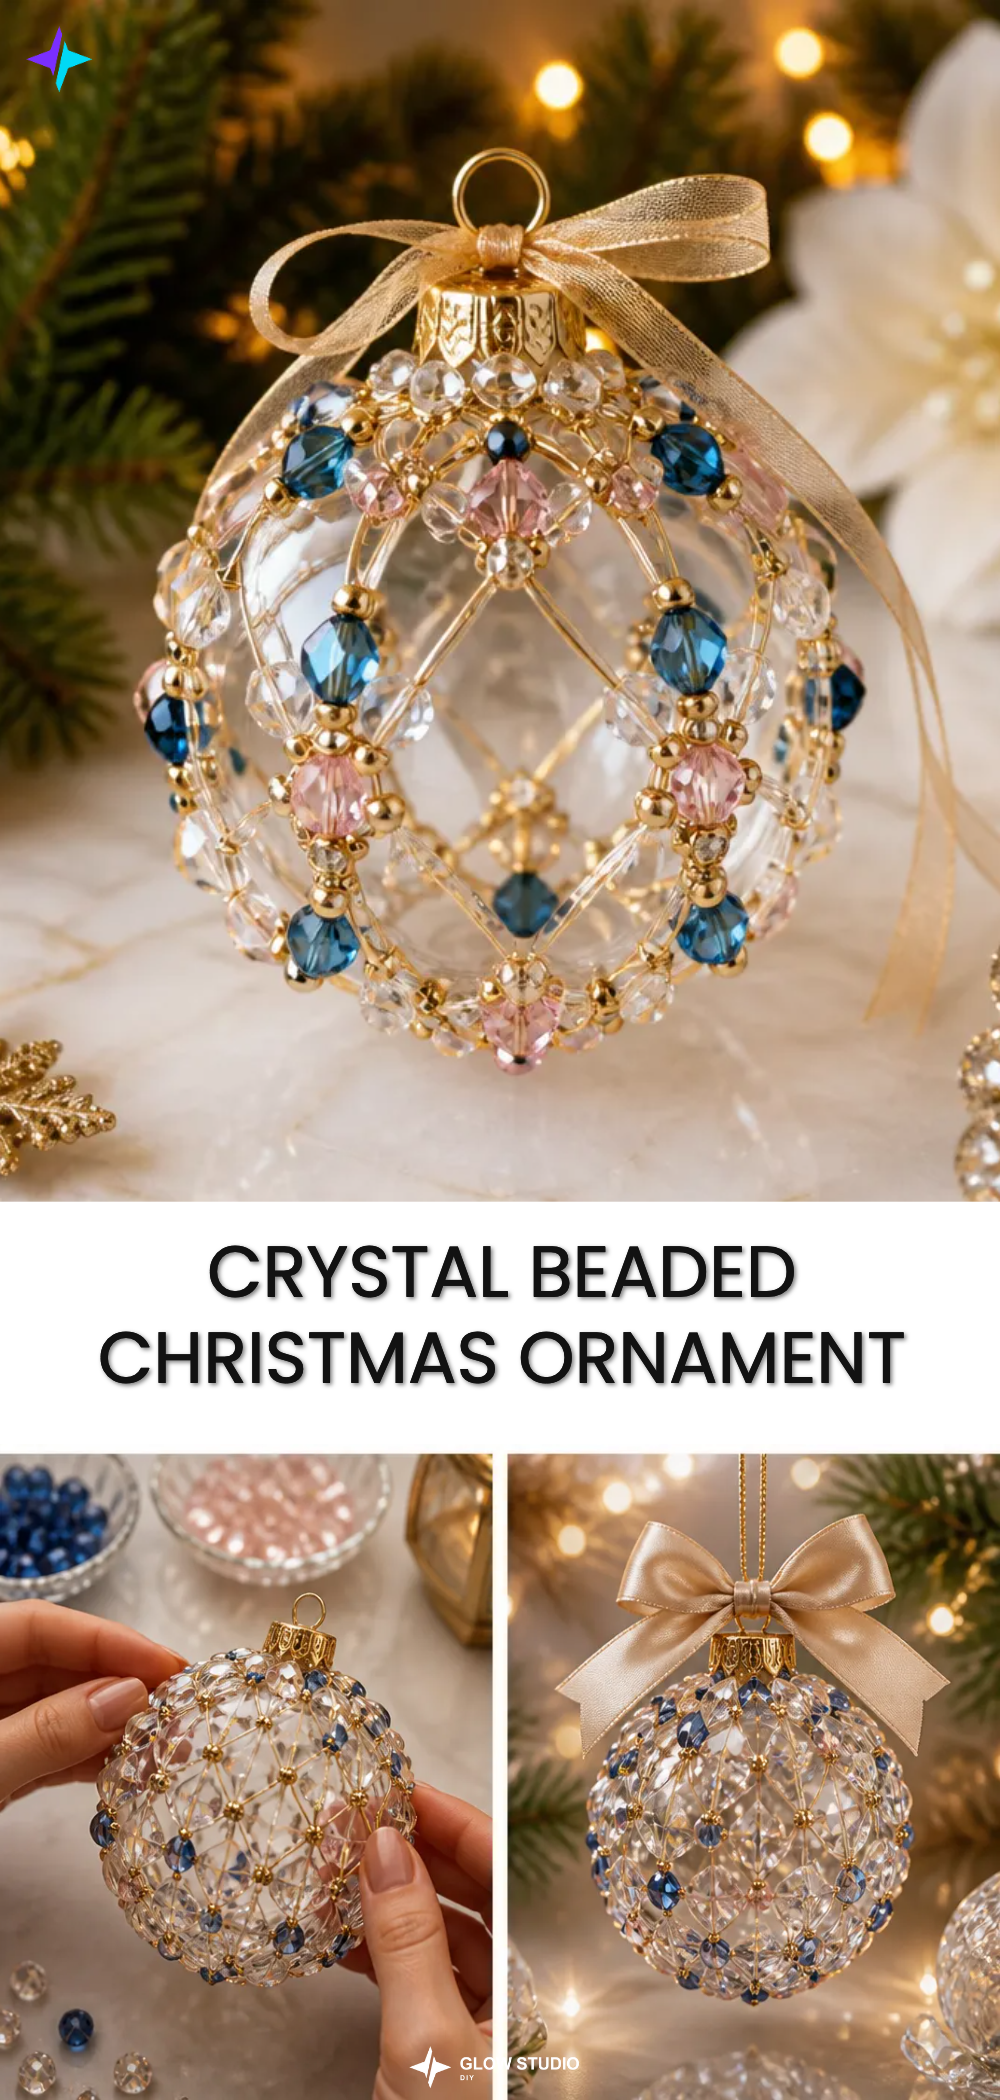
Materials You’ll Need
- Clear ornament or metal ornament frame serves as the base for your design
- Crystal beads for adding sparkle and color
- Jewelry wire to secure the beads in place
- Ribbon for hanging your ornament and adding a decorative touch
- Small decorative accents optional, but can enhance the overall look
Tools
While crafting this ornament, you’ll need the following tools:
- Pliers useful for bending and cutting the jewelry wire
- Scissors for trimming ribbon to your desired lengths
How to Make the Project
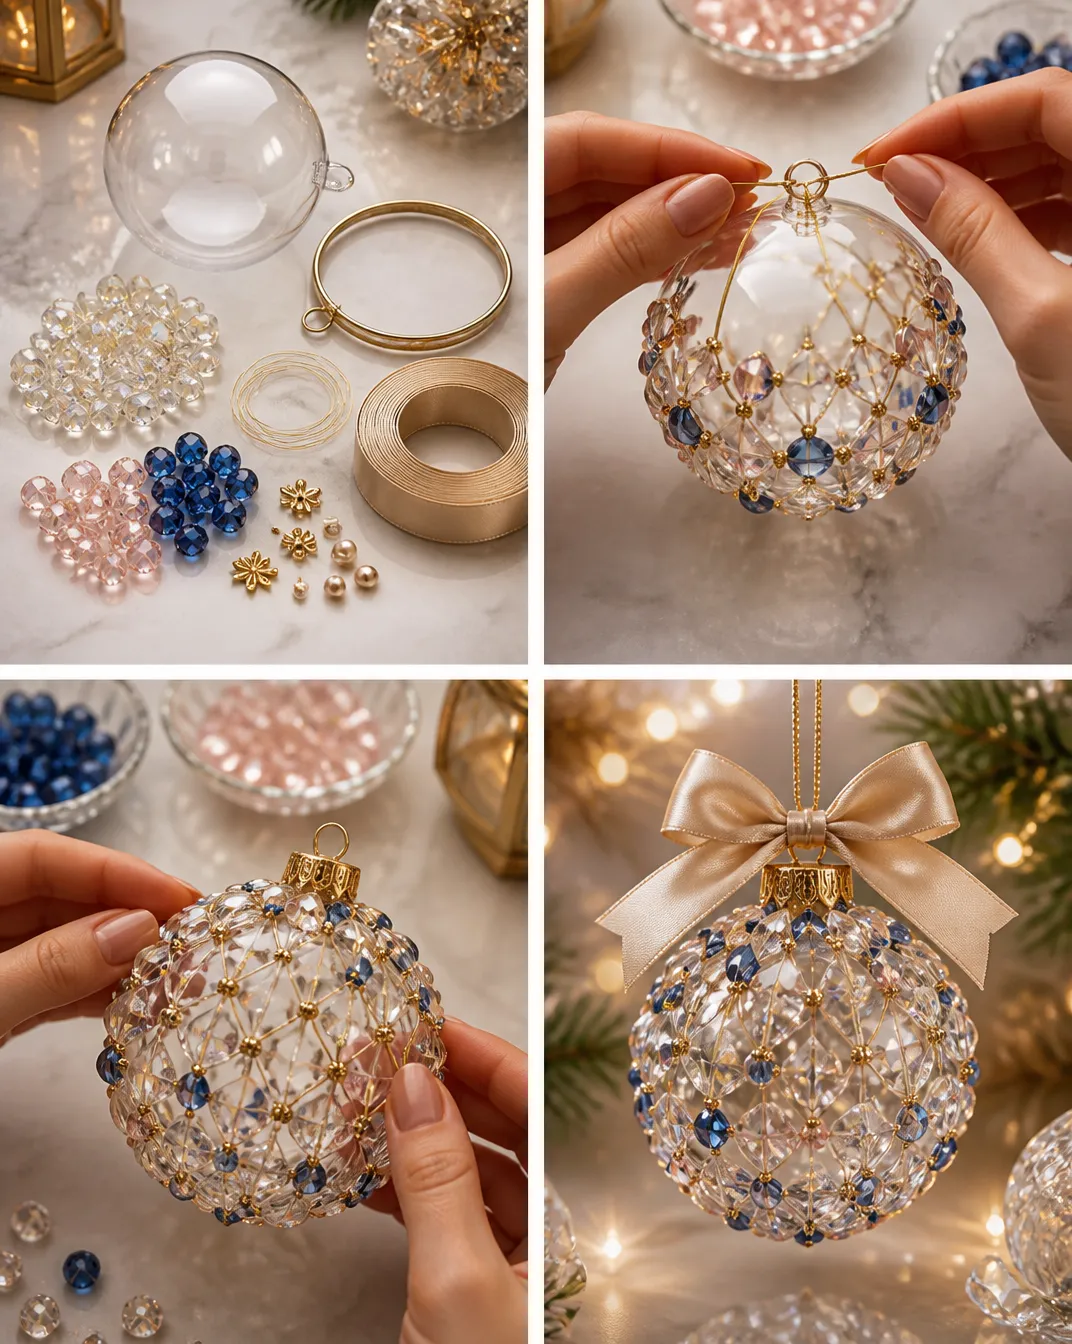
Step 1: Arrange the Crystal Beads
Start by planning your design on the clear ornament or metal frame. Lay out your crystal beads in a pleasing arrangement around it. This will help you visualize the final look before securing them.
Step 2: Secure the Design
Using the jewelry wire, carefully attach the crystal beads to the ornament. Twist and wrap the wire to ensure the beads are securely held in place. Make sure to check that the beads do not interfere with other components of the ornament.
Step 3: Finish with Ribbon
Once the beads are securely attached, take your ribbon and cut a length that’s long enough to hang your ornament. Attach the ribbon by tying it at the top, ensuring it’s tight enough to support the weight of the ornament.
Step 4: Hang It Up
Find a suitable spot to display your newly crafted ornament. Hang it in an area where light can interact with the crystals, allowing for a glowing display throughout your home.
Tips for the Best Result
- Be Mindful of Color: Choose crystal beads that complement each other and match your overall holiday decor theme for a cohesive look.
- Work in Layers: Start with a base layer of larger beads and add smaller ones on top to create depth and interest.
- Avoid Clutter: Keep the design clean and balanced; too many accents can detract from the beauty of the crystal beads.
Customization / Variations
Feel free to explore different variations for your ornament. Consider using colored beads for a vibrant twist, or add unique accents like small bells or natural elements such as twigs or pine cones for a rustic touch.
Ideas for Styling Your Handmade Decor
To showcase your ornament beautifully, consider hanging it where sunlight can catch the crystals like a window or next to holiday lights. You might also group several ornaments together at varying heights to create a stunning visual display on a mantle or table.
Frequently Asked Questions
Frequently Asked Questions
Can I use other types of beads?
Yes! While crystal beads are recommended for their reflective qualities, you can experiment with other types as long as they fit your ornament’s style.
What should I do if my wire isn’t holding the beads securely?
Ensure you’re wrapping the wire tightly around the beads and twisting it securely. If needed, you can use more wire for extra support.
How do I care for my ornament?
Dust gently with a soft cloth. Avoid exposing it to moisture to keep the crystals and materials in good condition.
Can I make this ornament with children?
This project can be adapted for children, but adult supervision is recommended, especially when using wire and pliers.
How can I store these ornaments after the season?
Store your ornaments in a box lined with tissue paper to prevent them from getting scratched or damaged.
Conclusion
By creating your own Crystal Beaded Christmas Ornament, you have not only crafted a beautiful piece of decor but also embraced the joy of making something unique for your home. The way the crystals catch and reflect light brings a festive sparkle to your surroundings. For additional ornament hooks to hang your creations, consider checking out this selection of silver S-shaped hangers. If you’re looking for inspiration for more decorative pieces, the Beaded Crystal Christmas Ornament with Faceted Glass Drops can provide great ideas! Enjoy your crafting adventure!
Follow Glow Studio DIY for fresh DIY ideas & inspiration!
Crystal Beaded Christmas Ornament
Would you like to save this project?
By submitting you agree to receive this project and occasional emails. Unsubscribe anytime.
Materials
Materials
- 1 piece Clear ornament or metal ornament frame Base for your design
- 1 pack Crystal beads For adding sparkle and color
- 1 roll Jewelry wire To secure the beads in place
- 1 piece Ribbon For hanging your ornament
- Optional Small decorative accents Can enhance the overall look
Directions
Crafting Steps
- Step 1: Arrange the Crystal Beads - Plan your design on the clear ornament or metal frame and lay out your crystal beads in a pleasing arrangement.
- Step 2: Secure the Design - Using the jewelry wire, attach the crystal beads to the ornament, twisting and wrapping the wire to ensure they are secure.
- Step 3: Finish with Ribbon - Cut a length of ribbon and attach it at the top with a tight knot to support the weight of your ornament.
- Step 4: Hang It Up - Choose a suitable spot to hang your ornament where light can interact with the crystals.
Last Step: Don’t forget to leave a rating and comment below! It helps other readers find the best DIY projects — and it helps us too!