Pressed Flower Resin Bookmarks
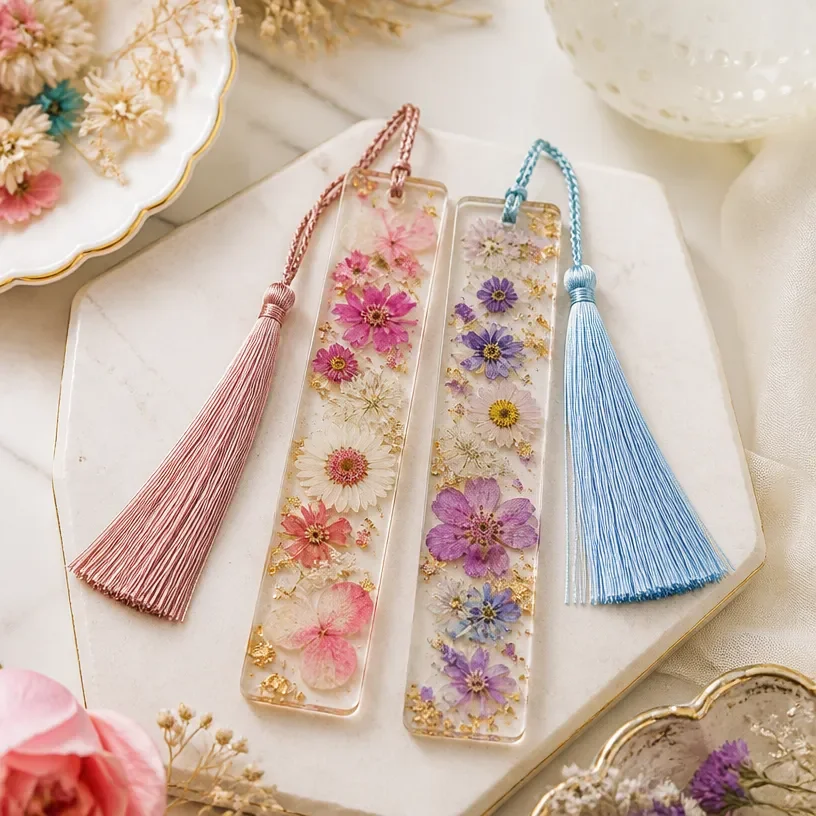
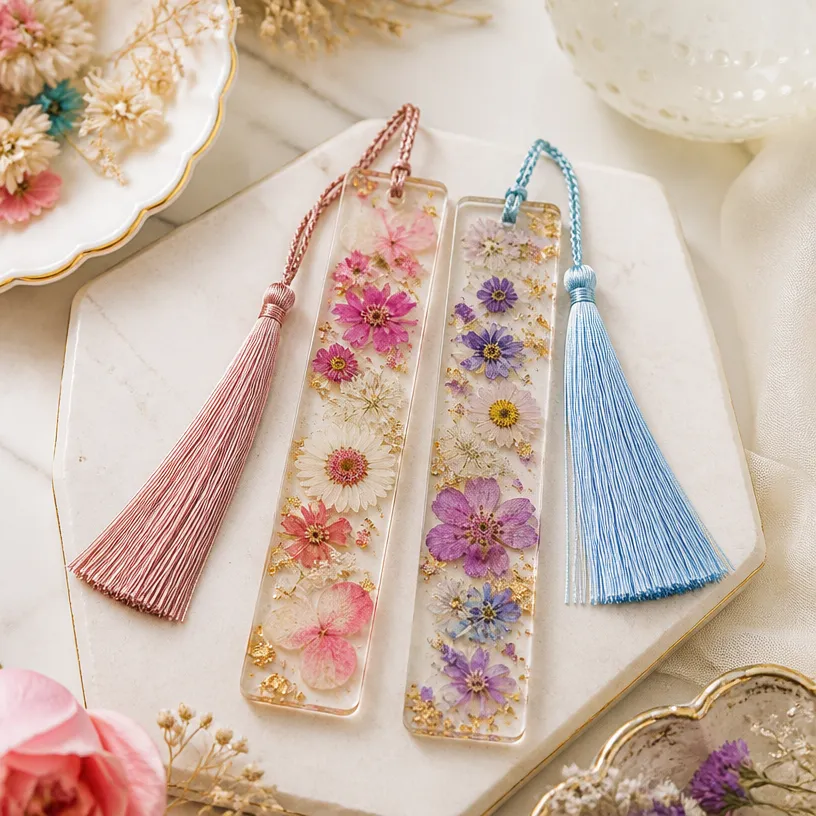
Creating pressed flower resin bookmarks is a delightful way to combine your love for crafting with the beauty of nature. These bookmarks not only serve their practical purpose of marking your page but also act as a charming piece of art that showcases the delicate beauty of pressed flowers. Perfect for your own personal library, these bookmarks make lovely, handmade gifts that will surely impress friends and family.
In this project, you’ll learn how to encapsulate tiny pressed flowers within resin, preserving their beauty for years to come. With just a few materials and careful steps, you can create beautiful decorations that brighten up your reading experience.
Why You’ll Love This Project
Making pressed flower resin bookmarks offers several appealing benefits:
- Display-worthy Aesthetic: The vibrant colors and natural look of pressed flowers encapsulated in resin create an eye-catching finish that can enhance any book or desk.
- Customizable Designs: Each bookmark can be uniquely personalized with different flowers and decorative flakes, making the crafting process as creative as it is rewarding.
- Thoughtful Gifts: Handmade bookmarks make for delightful gifts, especially for book lovers and friends who appreciate personalized touches in their belongings.
- User-friendly Technique: The process is straightforward and accessible to crafters of all skill levels, making it a perfect project to try out.
- Natural Elements: Incorporating botanical designs adds a lovely touch of nature to your crafting and home decor.
Before You Begin
Before starting the project, it’s essential to prepare your workspace. Here are a few suggestions to ensure optimal results:
- Protect Your Work Surface: Cover your crafting area with a silicone mat or old newspaper to catch any spills from the resin.
- Organize Your Materials: Lay out all your materials in an orderly fashion to avoid confusion during the crafting process.
- Ventilation: Make sure you work in a well-ventilated area, as some resins can emit fumes that are best avoided.
Materials You’ll Need
- Bookmark resin mold
- Casting resin
- Tiny pressed flowers
- Decorative flakes
- Tassels
- Gloves (for safety and handling resin)
How to Make the Project
Step 1: Arrange the Pressed Flowers
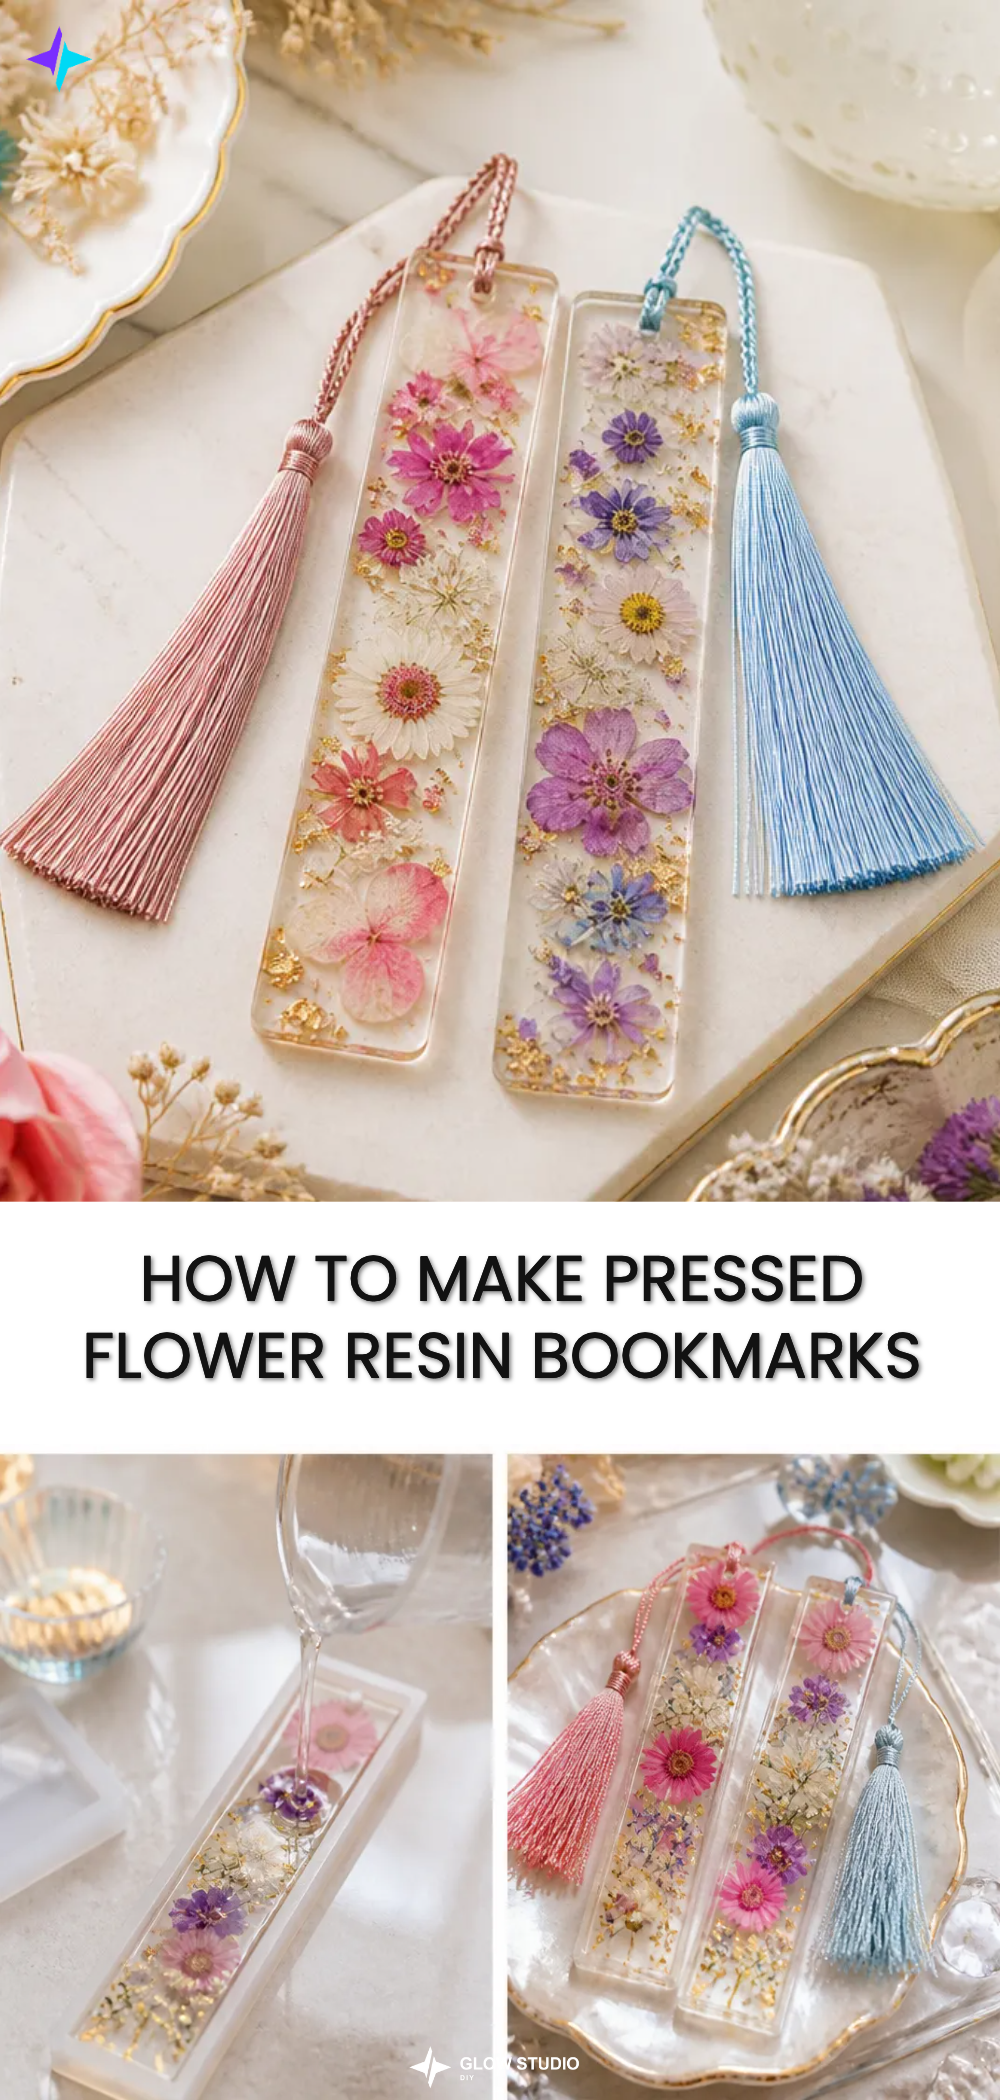
Begin by arranging your dried pressed flowers in the bookmark mold. Feel free to create your design by mixing different colors and types of flowers. Make sure the flowers lay flat within the mold for an even finish once the resin cures.
Step 2: Secure the Design
Prepare your resin according to the manufacturer’s instructions. Once mixed, carefully pour the casting resin over the arranged flowers in the mold. Ensure all flowers are submerged and that the resin reaches the edges of the mold.
Step 3: Cure According to Instructions
Let the resin cure as specified in the manufacturer’s instructions. This usually requires a few hours to a day, depending on the resin used. Check occasionally to ensure that there are no bubbles forming in the mixture.
Step 4: Unmold the Bookmark
Once fully cured, gently push on the back of the resin mold to release your new bookmark. Take care not to bend it too much, as resin, while durable, can still crack if handled roughly.
Step 5: Finish with a Tassel
To add a touch of flair, attach a tassel to the top of your bookmark. You can use any color that complements your design. This final touch adds a charming detail that enhances the overall look.
Tips for the Best Result
- Use Dried Flowers: Fresh flowers may not hold up well in resin, so always opt for thoroughly dried specimens.
- Avoid Overfilling: When pouring the resin, avoid overfilling the mold, as this can lead to drips and uneven edges.
- Work Quickly: Resin can begin to set quickly, so be prepared to work fast once it’s mixed.
- Check Your Work: After pouring, inspect for air bubbles, which can be popped with a toothpick for a smoother appearance.
Customization / Variations
You can customize your bookmarks by changing up the flowers, adding colored flakes, or even incorporating small keepsakes or personal notes sealed within the resin. Seasonal flowers can also create variations that reflect different times of the year, making each bookmark truly one-of-a-kind.
Ideas for Styling Your Handmade Decor
Your finished bookmarks are not just for books; they can also be displayed as part of your home decor. Consider placing them in a small frame or on a decorative stand. They also make excellent gifts, presented inside a beautifully crafted gift box, adding a personal touch to any occasion.
Frequently Asked Questions
Can I use fresh flowers?
It’s best to use dried flowers, as fresh flowers may not retain their appearance once preserved.
How long will the resin take to cure?
Curing time depends on the resin brand used; always follow the manufacturer’s directions for best results.
What if I get bubbles in my resin?
You can carefully pop the bubbles with a toothpick or a heat gun if they appear while pouring.
Can I add glitter or colors to the resin?
Absolutely! You can mix in glitter or pigments before pouring to customize the appearance further.
How do I clean my mold?
Clean your mold with warm, soapy water once the project is complete and the resin is fully cured.
Conclusion
In summary, creating pressed flower resin bookmarks is a delightful and rewarding craft that combines beauty and functionality. These stunning creations can enhance your reading experience and add a touch of nature to your decor. For those interested in exploring more creative projects, check out this guide on how to make resin flower bookmarks or consider purchasing additional supplies from Amazon for your next crafting adventure!