Botanical Pressed Flower Wall Art
Creating beautiful wall art with botanical elements not only adds a touch of nature to your home but also serves as a unique expression of your personal style. Botanical pressed flower wall art transforms delicate flowers into everlasting pieces that can brighten any space. These artworks are eye-catching and can be displayed in various places, from cozy living rooms to serene bedrooms.
In this project, we’ll guide you through a simple method to create a stunning piece of art using pressed flowers. With just a few materials and an easy-to-follow process, you can create a decor item that reflects your aesthetic and connects you with nature.
Why You’ll Love This Project
Creating pressed flower wall art has several appealing benefits:
- Display-Worthy Result: The finished art becomes a striking focal point for your wall, drawing attention and admiration.
- Customizable Design: You can personalize your artwork by choosing flowers that reflect your style or season, making it versatile for any decor.
- Approachable Technique: This project is perfect for both beginners and experienced crafters, as it doesn’t require complex skills or significant time commitments.
- Natural Beauty: Using real flowers creates an organic charm, bridging the indoors with the beauty of the outdoors.
- Thoughtful Gift: Handmade art can be a sentimental gift for friends or family, capturing memories through personalized floral selections.
Before You Begin
Before diving into your project, take a moment to gather all your materials and organize your workspace. Ensure that you have a clean surface to work on. It’s helpful to lay everything out so you can easily access what you need as you go through the steps. Additionally, carefully select your pressed flowers; ensure they are fully dried and free of moisture to avoid any mold or decay.
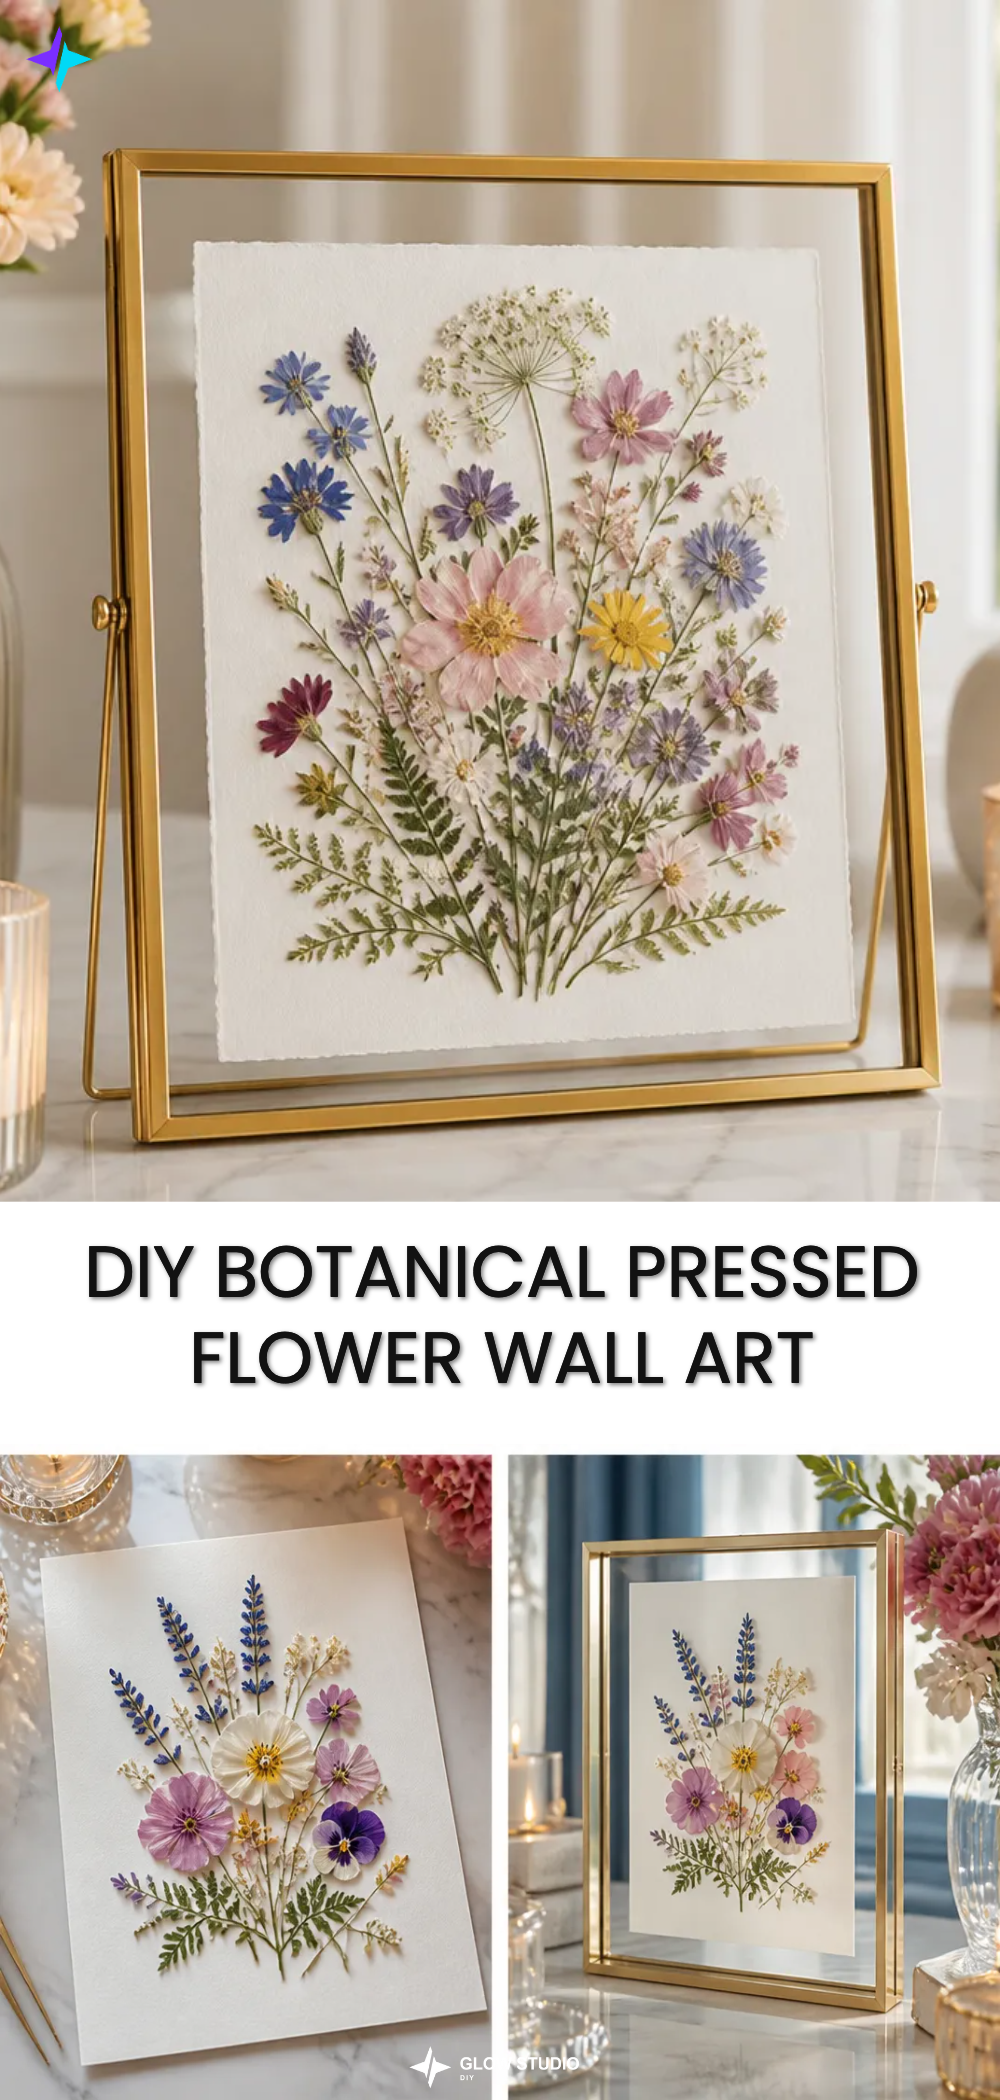
Materials You’ll Need
- Pressed flowers choose flat, fully dried blooms.
- Heavyweight paper serves as the backing for your artwork.
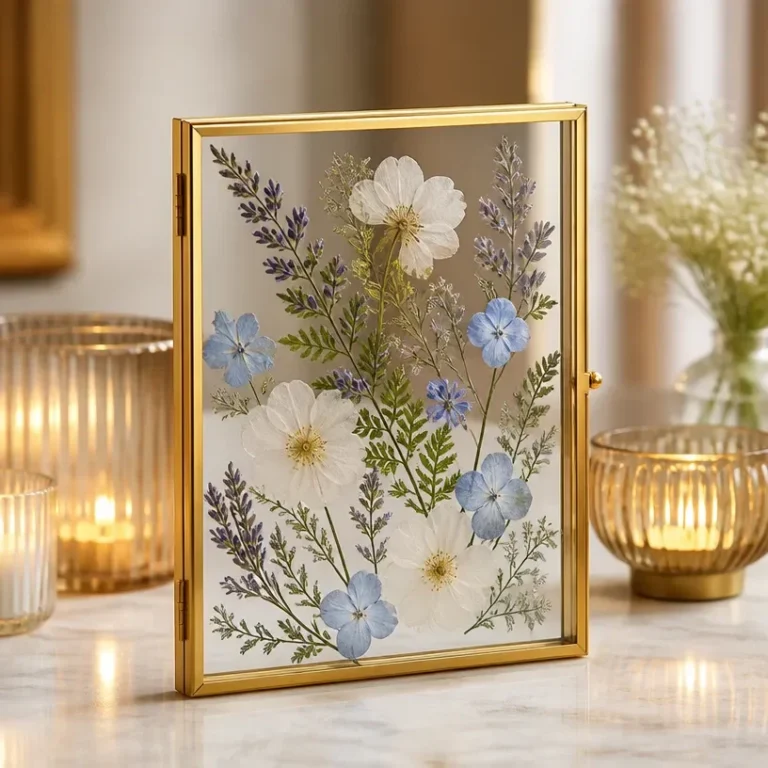
- Floating frame highlights the artwork while keeping it secure.
- Tweezers perfect for handling the delicate flowers without damaging them.
- Clear craft adhesive used to securely affix the flowers to the backing.
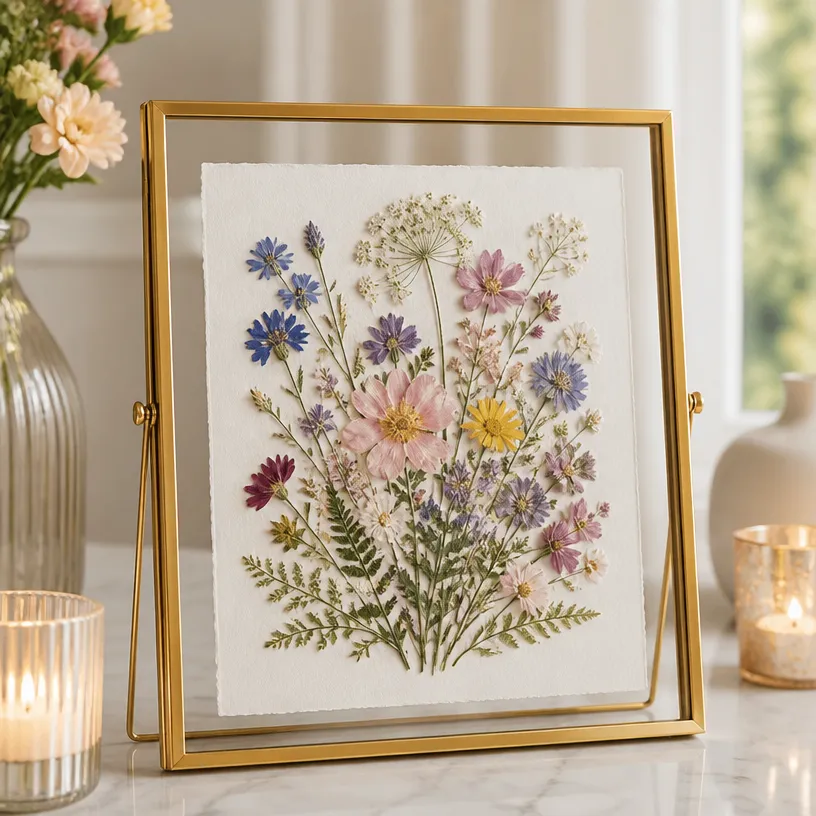
How to Make the Project
Step 1: Plan a Balanced Botanical Composition
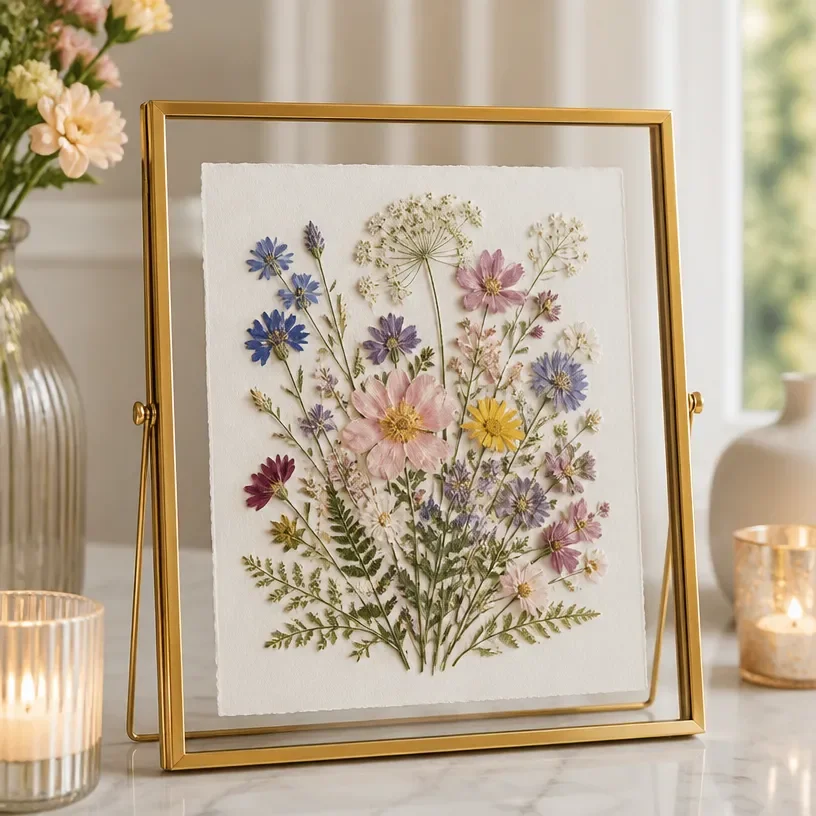
Begin by arranging your pressed flowers on the heavyweight paper without adhering them. This step is crucial to achieving a visually pleasing design. Experiment with different layouts until you’re satisfied with the balance and flow of your composition.
Step 2: Secure the Design
Once you’re happy with your arrangement, carefully use tweezers to lift each flower and apply a small amount of clear craft adhesive to the backing before pressing it down. Make sure each flower is secured properly, but be mindful not to use excessive adhesive, as this could seep out and detract from the polished look of your artwork.
Step 3: Allow it to Dry
After all the flowers are adhered, set your piece aside in a safe location to dry completely. Once it’s fully dry, gently place it in the floating frame, ensuring that the glass is clean and free of dust. Your botanical artwork is now ready to adorn your wall!
Tips for the Best Result
- Placement: Consider the location of your artwork when choosing your flowers; vibrant colors may be better suited for brighter rooms.
- Alignment: Take your time to ensure everything is aligned before the adhesive sets.
- Drying: Allow ample drying time for the adhesive to ensure everything stays securely in place.
- Avoiding Excess Adhesive: Use a small amount of adhesive on the flowers to avoid bubbles or visible glue marks.
- Color Balance: Mix colors and textures for a rich visual experience.
Customization / Variations
Feel free to experiment with different flower types or sizes to create variations of your artwork. You might choose seasonal flowers like tulips for spring or dried leaves for autumn. You could also play with the arrangement or even paint the backing a specific color that complements your room’s decor.
How to Display Your Finished Project
Once completed, you can hang your pressed flower wall art in your home as a statement piece. Consider placing it where natural light can enhance the colors and details of the flowers. Additionally, this artwork makes for a thoughtful, handmade gift, perfect for any occasion.
Frequently Asked Questions
Can I use fresh flowers instead of pressed ones?
Fresh flowers typically won’t hold up well over time unless they are properly dried and pressed. Ensure your flowers are fully dried to prevent spoiling.
How do I store leftover pressed flowers?
Store any leftover pressed flowers in a dry place, ideally in an airtight container, to maintain their quality for future projects.
What size frame works best?
The frame size depends on your composition’s scale. A larger frame can accommodate more flowers and details, while smaller frames work well for delicate arrangements.
How do I prevent my artwork from fading?
To maintain your artwork’s vibrancy, keep it away from direct sunlight and moisture, which can cause colors to fade and degrade over time.
Conclusion
In conclusion, creating botanical pressed flower wall art is a beautifully rewarding project that infuses your decor with a touch of nature. The unique flair of pressed flowers can elevate any space, making it a striking focal point in your home. If you’re looking for more inspiration or materials for your project, consider checking out resources like Pressed Flower Wall Art on Amazon or a detailed guide on crafting this art style from DIY Vintage-Inspired Pressed Flower Art – Stevie Storck. Enjoy your crafting journey!
Follow Glow Studio DIY for fresh DIY ideas & inspiration!
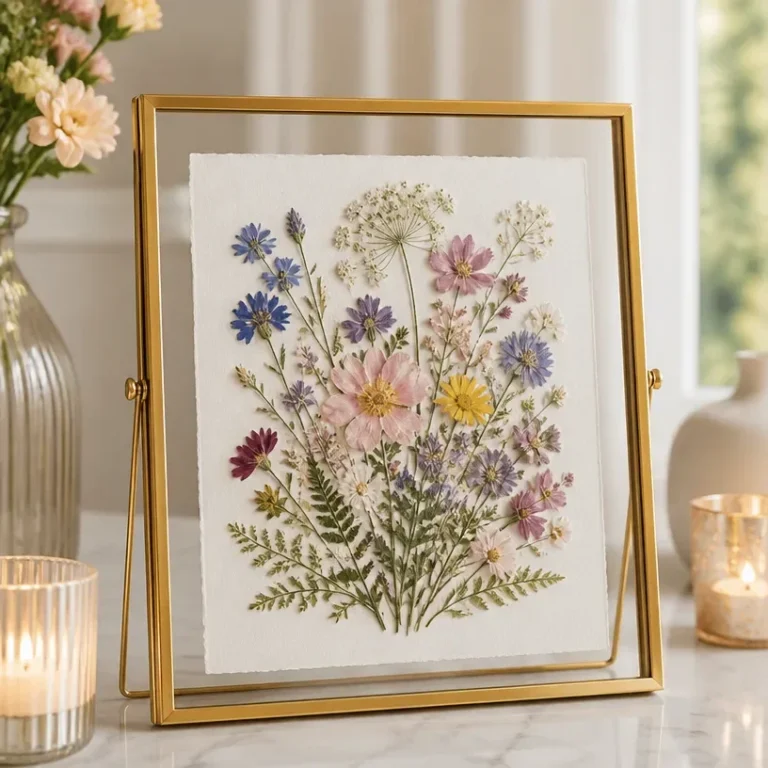
Botanical Pressed Flower Wall Art
Would you like to save this project?
By submitting you agree to receive this project and occasional emails. Unsubscribe anytime.
Materials
Materials for Pressed Flower Wall Art
- 1 batch Pressed flowers Choose flat, fully dried blooms.
- 1 piece Heavyweight paper Serves as the backing for your artwork.
- 1 piece Floating frame Highlights the artwork while keeping it secure.
- 1 piece Tweezers Perfect for handling the delicate flowers without damaging them.
- 1 tube Clear craft adhesive Used to securely affix the flowers to the backing.
Directions
Preparation
- Gather all materials and organize your workspace on a clean surface.
- Plan a balanced botanical composition by arranging your pressed flowers on the heavyweight paper without adhering them.
Securing the Design
- Carefully use tweezers to lift each flower and apply a small amount of clear craft adhesive to the backing before pressing it down.
- Ensure each flower is secured properly without using excessive adhesive.
Finishing Touches
- Allow your artwork to dry completely in a safe location.
- Once dry, place it in the floating frame, ensuring the glass is clean and free of dust.
- Your botanical artwork is now ready to adorn your wall!
Last Step: Don’t forget to leave a rating and comment below! It helps other readers find the best DIY projects — and it helps us too!