Ingredients
Method
Preparation
- Gather all materials and organize your workspace on a clean surface.
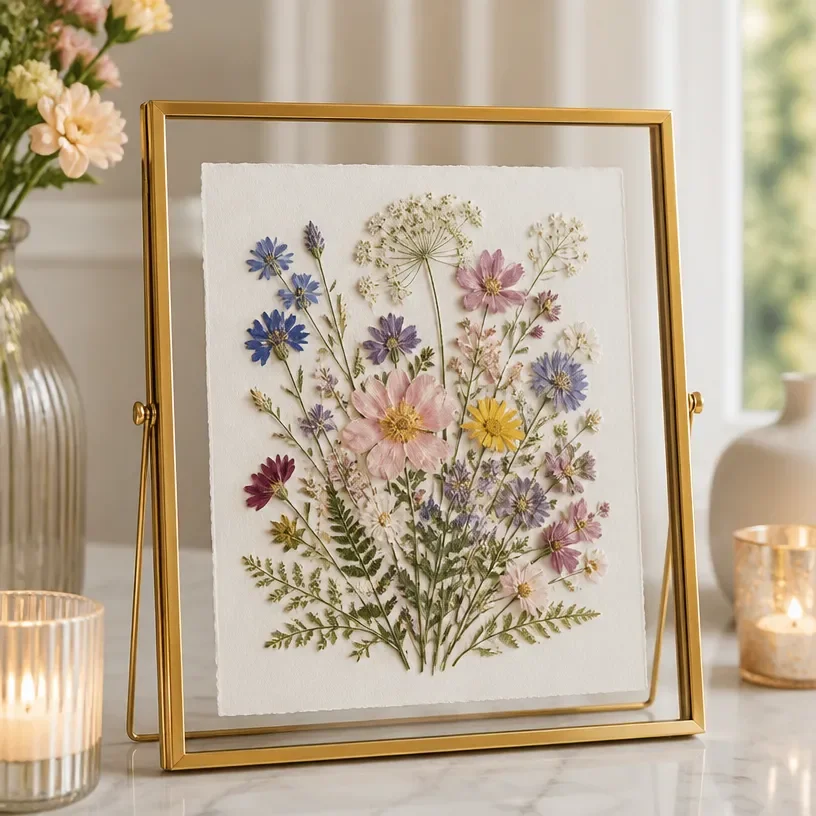
- Plan a balanced botanical composition by arranging your pressed flowers on the heavyweight paper without adhering them.
Securing the Design
- Carefully use tweezers to lift each flower and apply a small amount of clear craft adhesive to the backing before pressing it down.
- Ensure each flower is secured properly without using excessive adhesive.
Finishing Touches
- Allow your artwork to dry completely in a safe location.
- Once dry, place it in the floating frame, ensuring the glass is clean and free of dust.
- Your botanical artwork is now ready to adorn your wall!
Notes
For best results, consider the location of your artwork when choosing flowers, and allow adequate drying time for the adhesive.