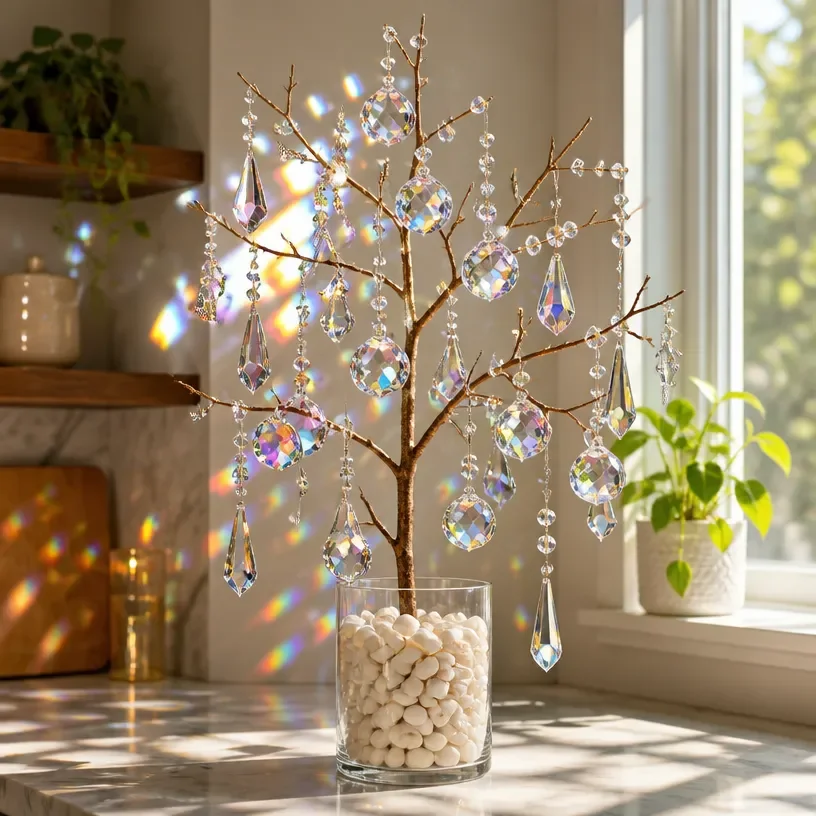
Creating a DIY Rainbow Prism Crystal Tree is a delightful way to add color and charm to your home decor. This eye-catching piece captures and reflects light, casting beautiful rainbows throughout your space. It’s perfect for hanging in your window, brightening up any room, or even as a stunning centerpiece for seasonal decorations. You may also find Diy Crystal Sunburst Mirror Wall Decor useful.
The crystal tree not only serves as a beautiful decor item, but it also allows for personalization through color choices and size variations. If you’re interested in making a stunning yet approachable home decor project, you’ll love the simplicity and beauty of this DIY. You may also find Diy Dried Flower Botanical Wreath For Wall Decor useful.
Why You’ll Love This Project
The Joy of Crafting a Rainbow Prism Crystal Tree
-
Visually Striking: The interplay of light through the crystals adds an enchanting touch to any space, making it a great conversation starter. You may also find Diy Sea Glass Mosaic Mirror For Coastal Wall Decor useful.
-
Customize to Your Taste: You can choose your favorite colors and styles, allowing for a unique personal touch that reflects your home aesthetic.
-
Approachable Technique: This project doesn’t require advanced crafting skills, making it suitable for DIY beginners and experienced crafters alike.
-
Gift Potential: This charming piece makes a heartfelt, handmade gift for loved ones on special occasions.
-
Affordable Materials: Utilizing inexpensive materials, you can create a luxurious-looking decor piece without breaking the bank.
Before You Begin
Preparing your workspace is essential for a successful project. Make sure to protect your surfaces with a drop cloth or old newspapers. Additionally, gather all your materials ahead of time to ensure a smooth crafting experience.
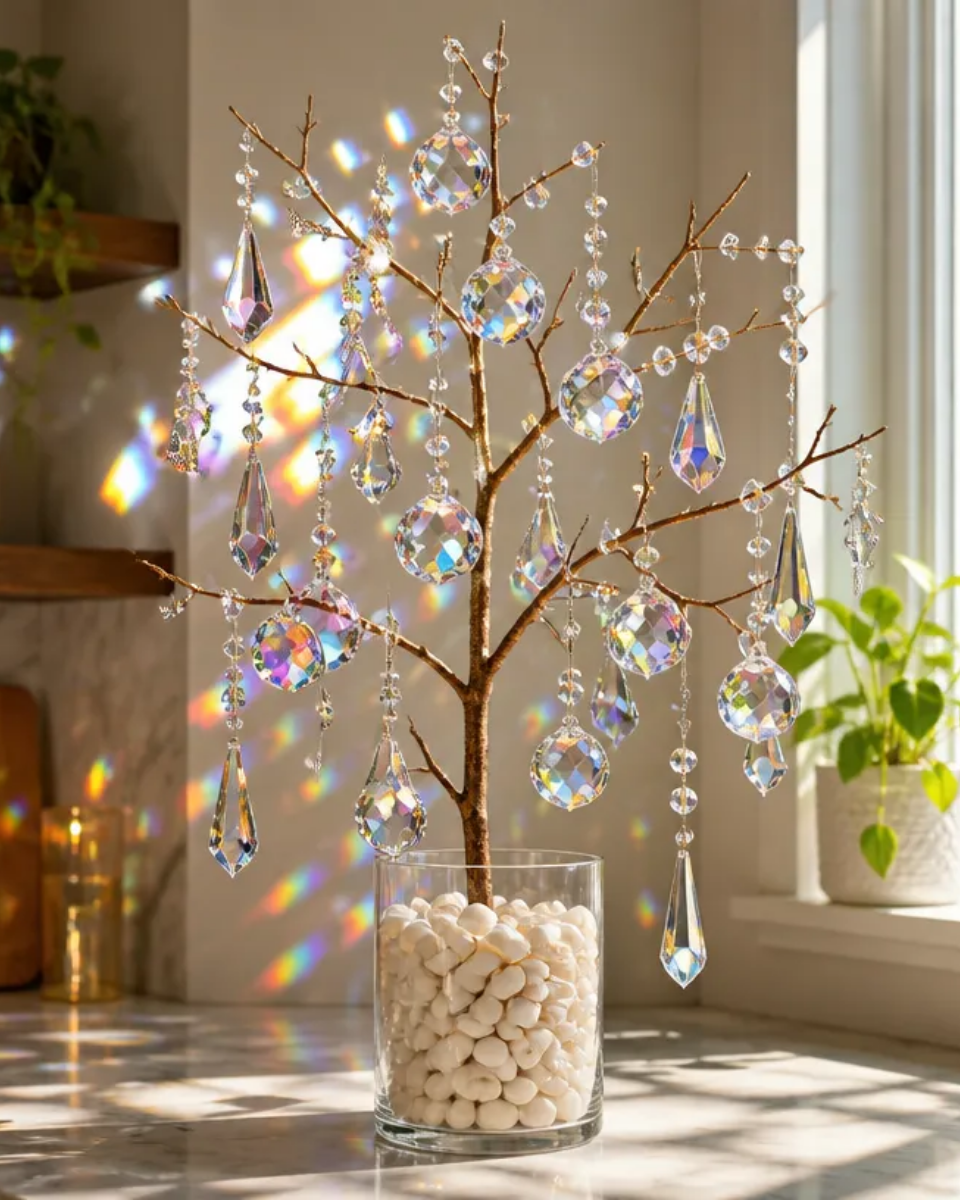
Materials You’ll Need
- Crystal beads these will form the rainbow prism effect and add sparkle.
- Wired tree branches the base shape of your tree is created from these flexible branches.
- Fishing line to hang the crystal beads securely.
- A small pot or base this will hold your tree upright.
- Floral foam or modeling clay used to secure the base of your tree in the pot.
Tools
- Scissors for cutting fishing line to the desired lengths.
- Hot glue gun to attach any additional decorations or secure the branches in place.
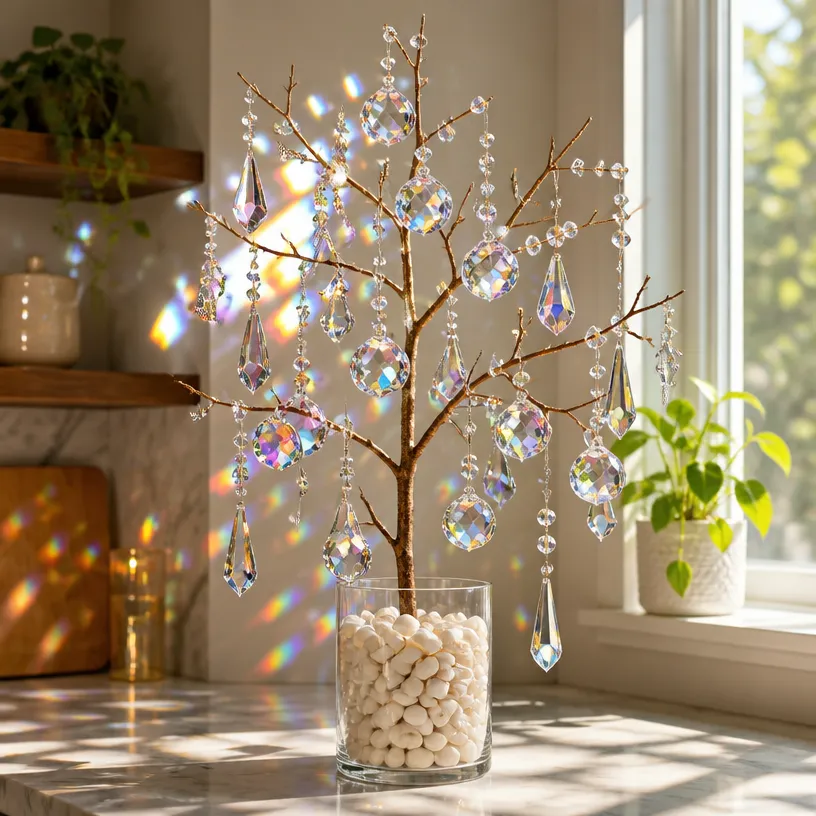
How to Make a Rainbow Prism Crystal Tree
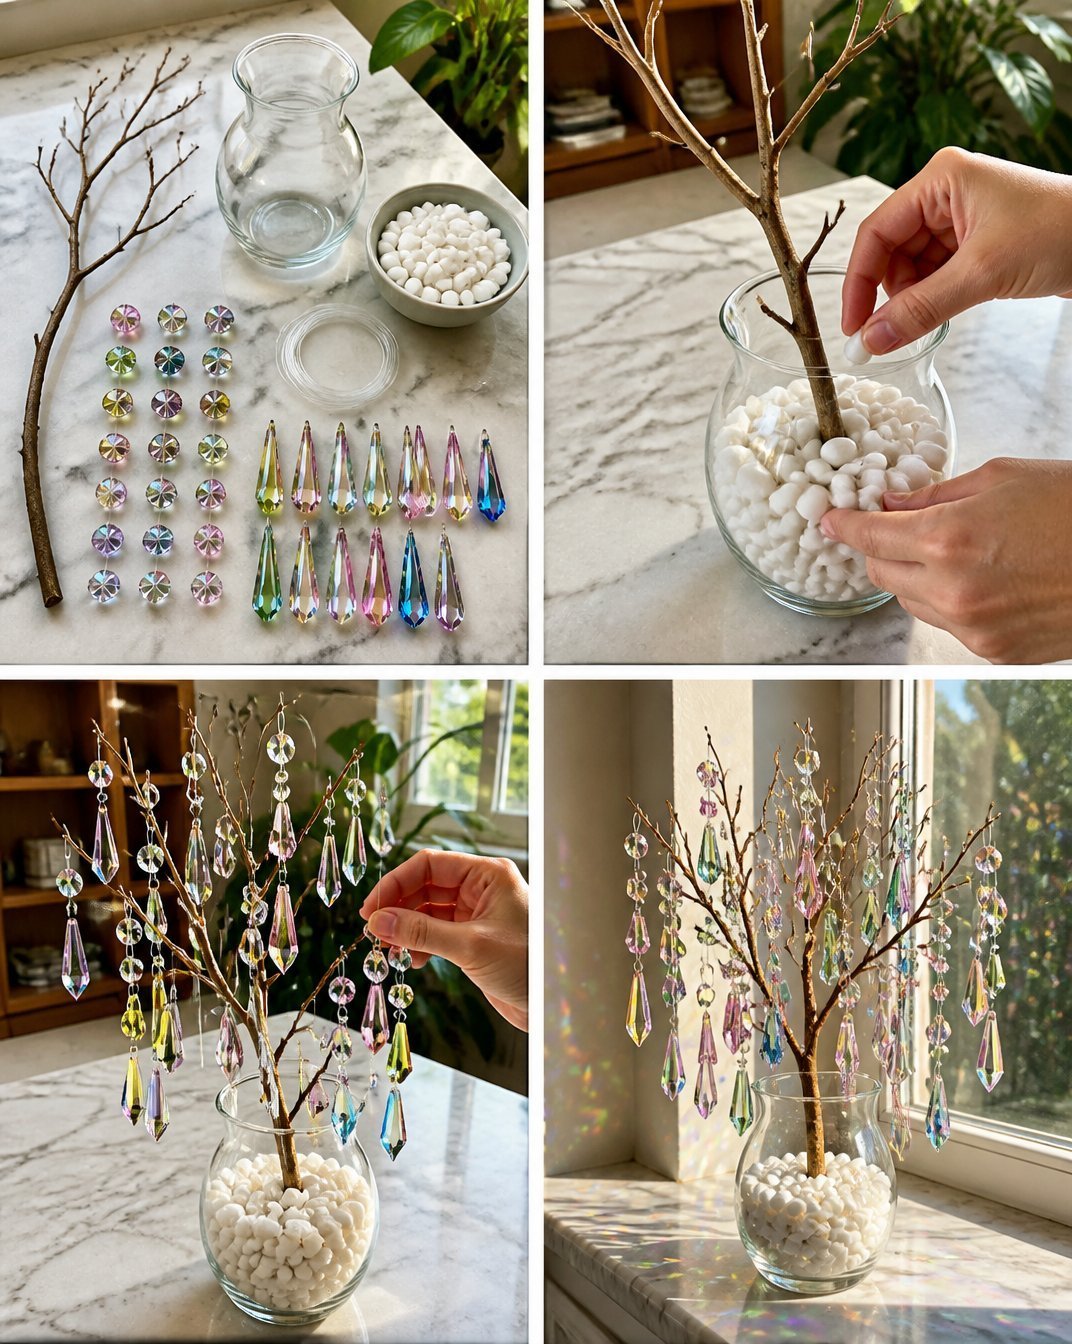
Step 1: Prepare the Base
Begin by securing your tree branches in the small pot using floral foam or modeling clay. Ensure the branches are arranged in a way that mimics the natural shape of a tree.
Step 2: Attach Crystal Beads
Cut various lengths of fishing line and carefully thread the crystal beads onto them. Secure the ends of the fishing line to the branch tips using a hot glue gun, allowing the beads to hang freely and catch the light.
Step 3: Arrange the Tree
Play around with the placement of the branches and beads until you achieve a balanced look. Adjust the heights of the crystal beads to create an eye-catching display, making sure they are evenly distributed.
Step 4: Final Touches
Once you’re happy with your design, take a moment to check that all beads are securely attached. You may add additional decorations if desired, such as small flowers or ribbon to enhance the aesthetic.
Step 5: Display Your Creation
Place your new rainbow prism crystal tree where it can best catch the light, such as near a window or on a shelf. This placement will allow the crystals to reflect beautiful rainbows around your space.
Tips for the Best Result
- Alignment: Take time to adjust your branches and crystals to ensure a pleasing layout.
- Color Balance: Choose a diverse color palette for your crystal beads to enhance the vibrant rainbow effect.
- Handling: Be gentle when attaching the beads to avoid breaking any delicate parts.
- Dry Time: Allow time for hot glue to fully set before moving your project.
Customization / Variations
Feel free to adjust this project based on your personal style. You can switch up the color scheme by using transparent, colored, or iridescent beads, or even embellish your tree with seasonal decorations, like autumn leaves or tiny ornaments for the holidays.
How to Display Your Finished Project
Your DIY Rainbow Prism Crystal Tree can be displayed upright on a side table, hanging from a window, or even as a festive centerpiece during gatherings. Consider using multiple variations for a more dramatic visual impact, mixing sizes and colors to create a stunning collection.
Frequently Asked Questions
Can I use other types of beads?
Yes, you can use various bead types such as acrylic, glass, or even wooden beads depending on the desired aesthetic.
How do I ensure the fishing line is secure?
Make sure to use enough adhesive when attaching the fishing line to the branches, and allow the glue to dry completely before handling.
What if I want a larger tree?
You can use longer branches and more beads to create a larger version of the rainbow prism tree.
How can I fix a bead that falls off?
Reattach the bead with a dot of hot glue, ensuring that the fishing line is wrapped securely around the branch after placement.
Conclusion
In this project, you learned how to create a stunning DIY Rainbow Prism Crystal Tree that can enhance your home decor while adding a splash of color and light. This beautiful piece not only serves as an eye-catching decoration, but it also invites joy and vibrancy into your living space. If you’re looking to refine your craft further, consider exploring additional options like a vibrant stained glass candle lantern or a DIY crystal sunburst mirror, both of which will elevate your decor beautifully.
Follow Glow Studio DIY for fresh DIY ideas & inspiration!
Rainbow Prism Crystal Tree
Would you like to save this project?
By submitting you agree to receive this project and occasional emails. Unsubscribe anytime.
Materials
Materials
- 1 pack Crystal beads For the rainbow prism effect and sparkle.
- 3-4 pieces Wired tree branches Base shape of the tree.
- 1 roll Fishing line To hang the crystal beads securely.
- 1 small pot Small pot or base Holds the tree upright.
- 1 block Floral foam or modeling clay Used to secure the base in the pot.
Tools
- 1 piece Scissors For cutting fishing line.
- 1 piece Hot glue gun To attach additional decorations or secure branches.
Directions
Preparation
- Prepare your workspace by protecting surfaces with a drop cloth or old newspapers.
- Gather all your materials ahead of time.
Create the Base
- Secure your tree branches in the small pot using floral foam or modeling clay.
- Arrange the branches to mimic the natural shape of a tree.
Attach Beads
- Cut various lengths of fishing line and thread the crystal beads onto them.
- Secure the ends of the fishing line to the branch tips using a hot glue gun.
Design Arrangement
- Play around with the placement of branches and beads for balance.
- Adjust the heights of the crystal beads to create an eye-catching display.
Finishing Touches
- Check that all beads are securely attached and add any desired decorations.
Display
- Place the rainbow prism crystal tree where it can catch light, like near a window or on a shelf.
Last Step: Don’t forget to leave a rating and comment below! It helps other readers find the best DIY projects — and it helps us too!