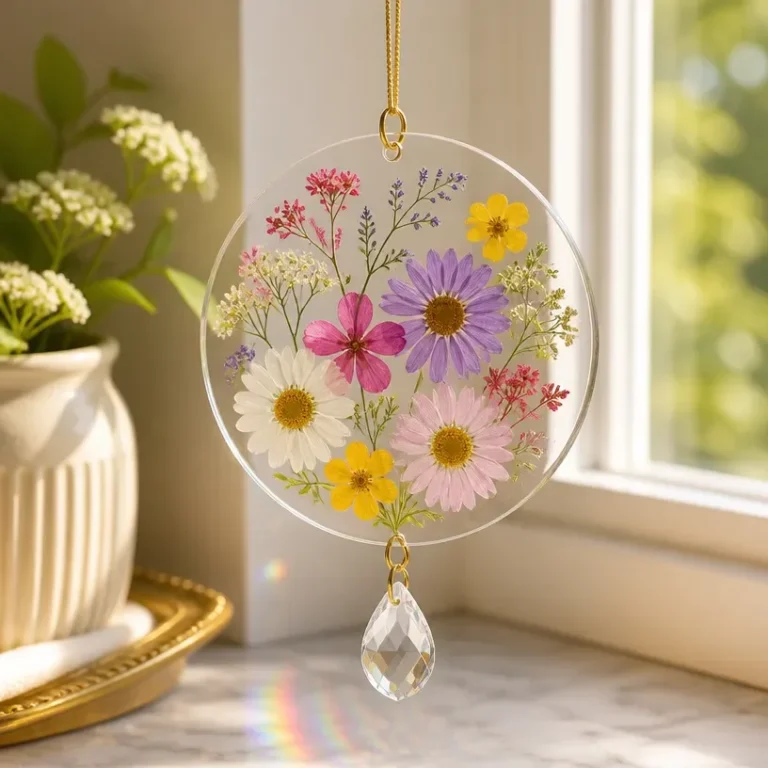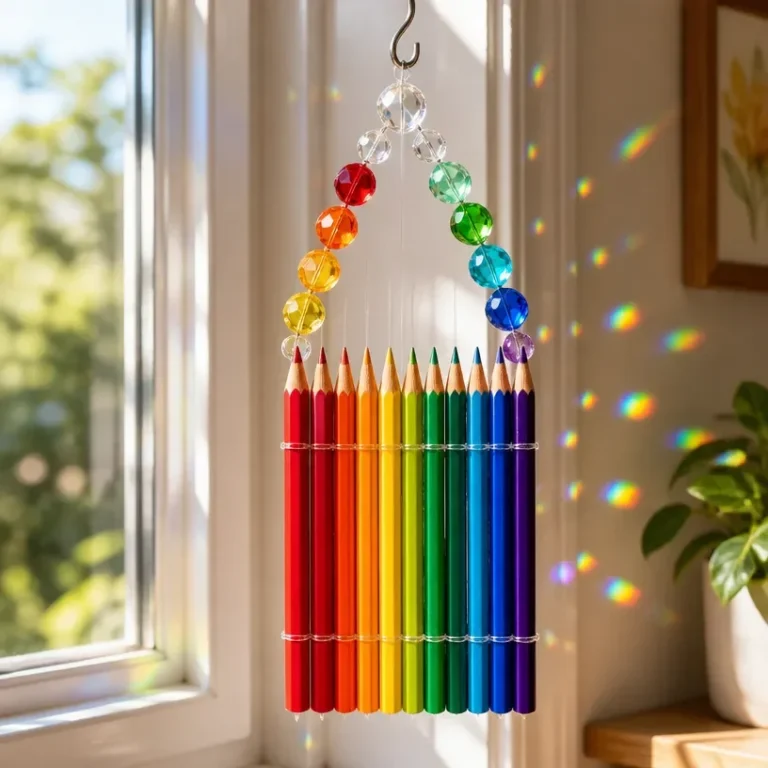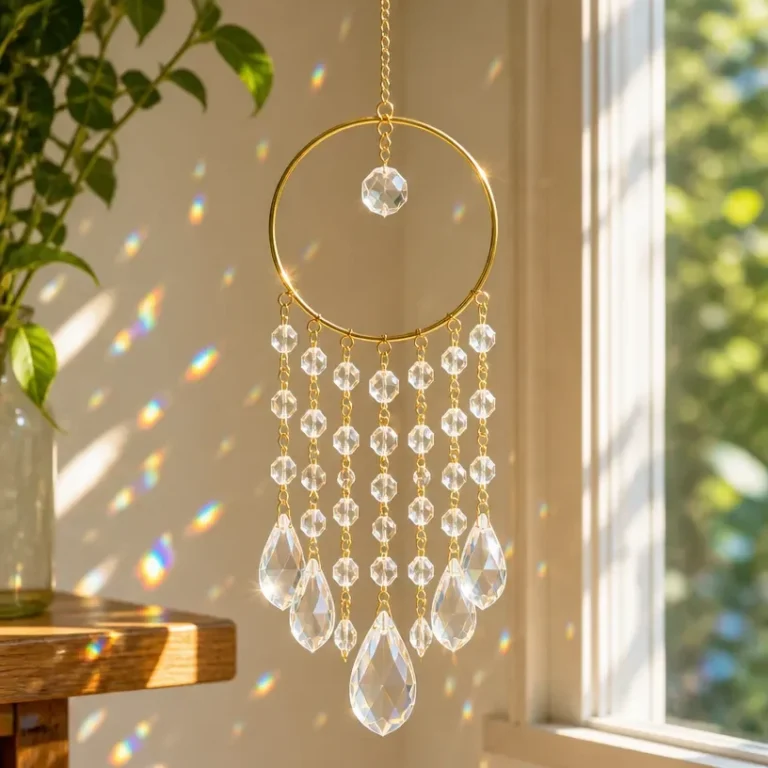
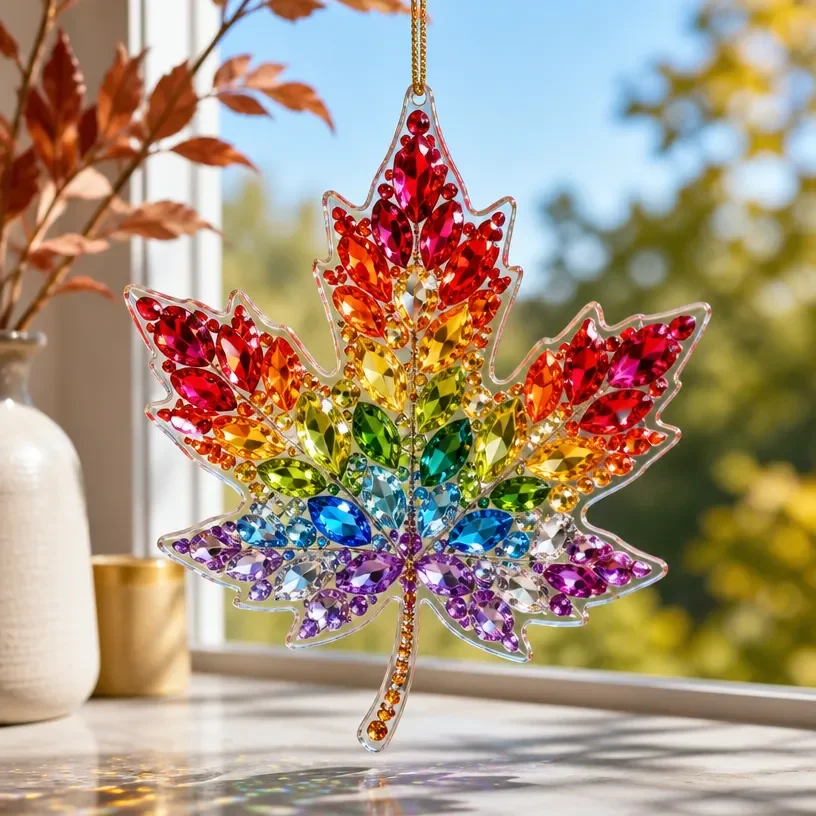
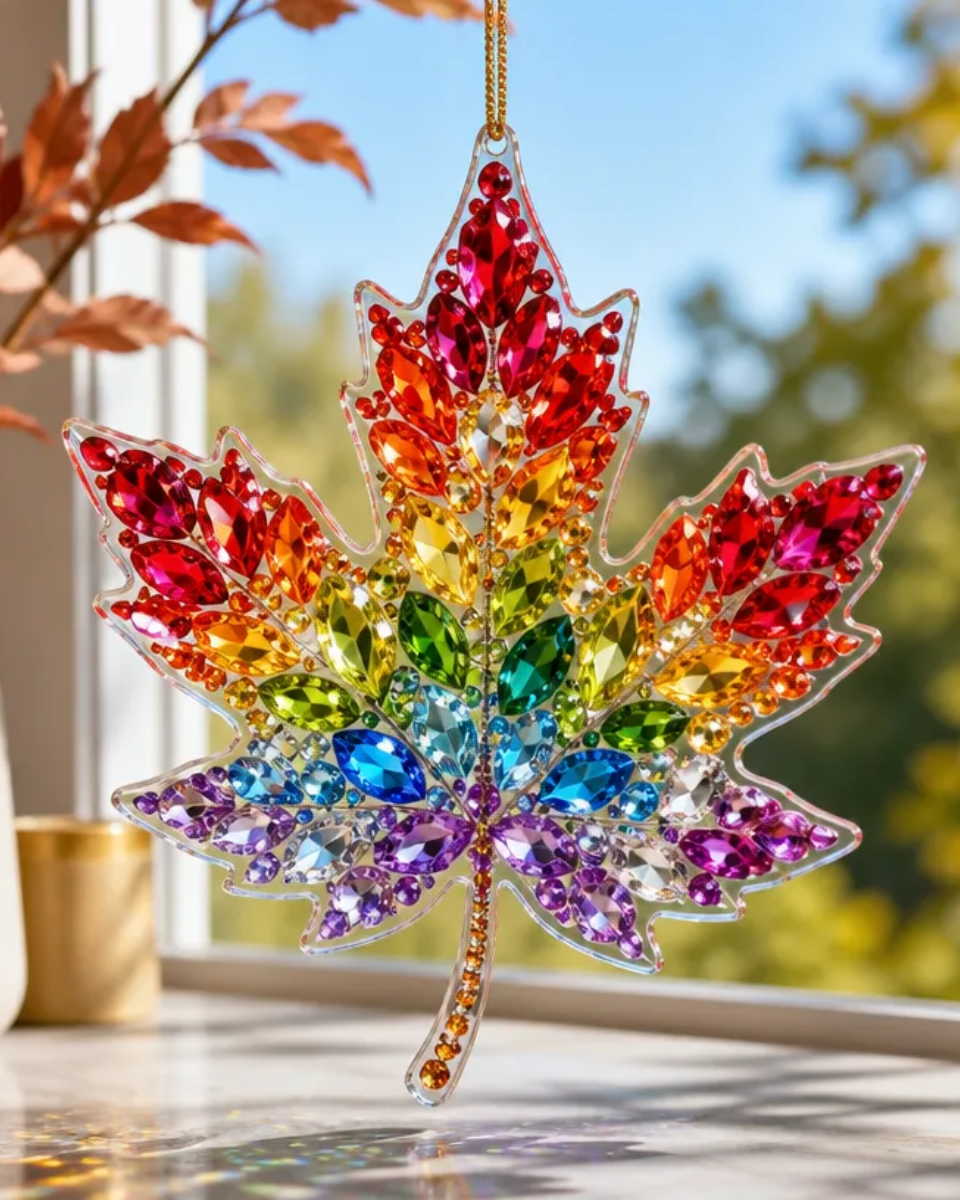
Creating a Rainbow Crystal Autumn Leaf Suncatcher is a delightful way to bring the beauty of nature into your home. These stunning pieces capture sunlight and reflect vibrant colors, making them perfect for brightening up any space. You can hang them in windows, gardens, or even use them as unique decorations for special occasions. The intermingling hues and crystalline designs provide a mesmerizing charm that elevates any decor. You may also find How To Make A Rainbow Crystal Beaded Suncatcher useful.
With just a few materials and some creativity, you can craft a beautiful suncatcher that embodies the warmth and colors of autumn. For inspiration on various suncatcher styles, check out other DIY options such as this prismatic rainbow crystal suncatcher.
Why You’ll Love This Project
The Joy of Crafting
There are numerous reasons to make your own suncatcher: You may also find How To Make Rainbow Crystal Suncatcher useful.
- Customizable Design: Use your preferred colors and materials to personalize your suncatcher for your home or as a gift.
- Seasonal Decor: This project perfectly embodies the essence of autumn with its vibrant leaf motifs and colors.
- Meaningful Gift: Handmade suncatchers are thoughtful and unique gifts for friends and family.
- Fun to Create: The process of arranging leaves and watching the light catch on the crystals is both fun and relaxing.
- Beautiful Aesthetic: The final product serves as a stunning piece of decor that enhances the light in your living space.
Before You Begin
It’s essential to prepare your workspace and materials before starting the project. Make sure to protect your work surface with newspaper or a silicone mat, especially when working with adhesives and decorations. Gather all your materials nearby to ensure that you can focus on crafting without interruption. You may also find Diy Crystal And Pearl Hanging Heart Suncatcher Tutorial useful.
You may also find Diy Crystal Beaded Window Garland Suncatcher useful.
Materials You’ll Need
- Pressed leaves select autumn leaves that are flat and fully dried for best results.
- Clear acrylic disc serves as the base for showcasing your leaves.
- String or fishing line for hanging your suncatcher once it’s complete.
- Craft adhesive to secure your leaves in place on the acrylic disc.
- Acrylic crystals add sparkle and enhance the light reflection through your project.

Tools
- Scissors for cutting the string and adjusting leaves as necessary.
- Paintbrush optional, for spreading adhesive more evenly.
How to Make the Project
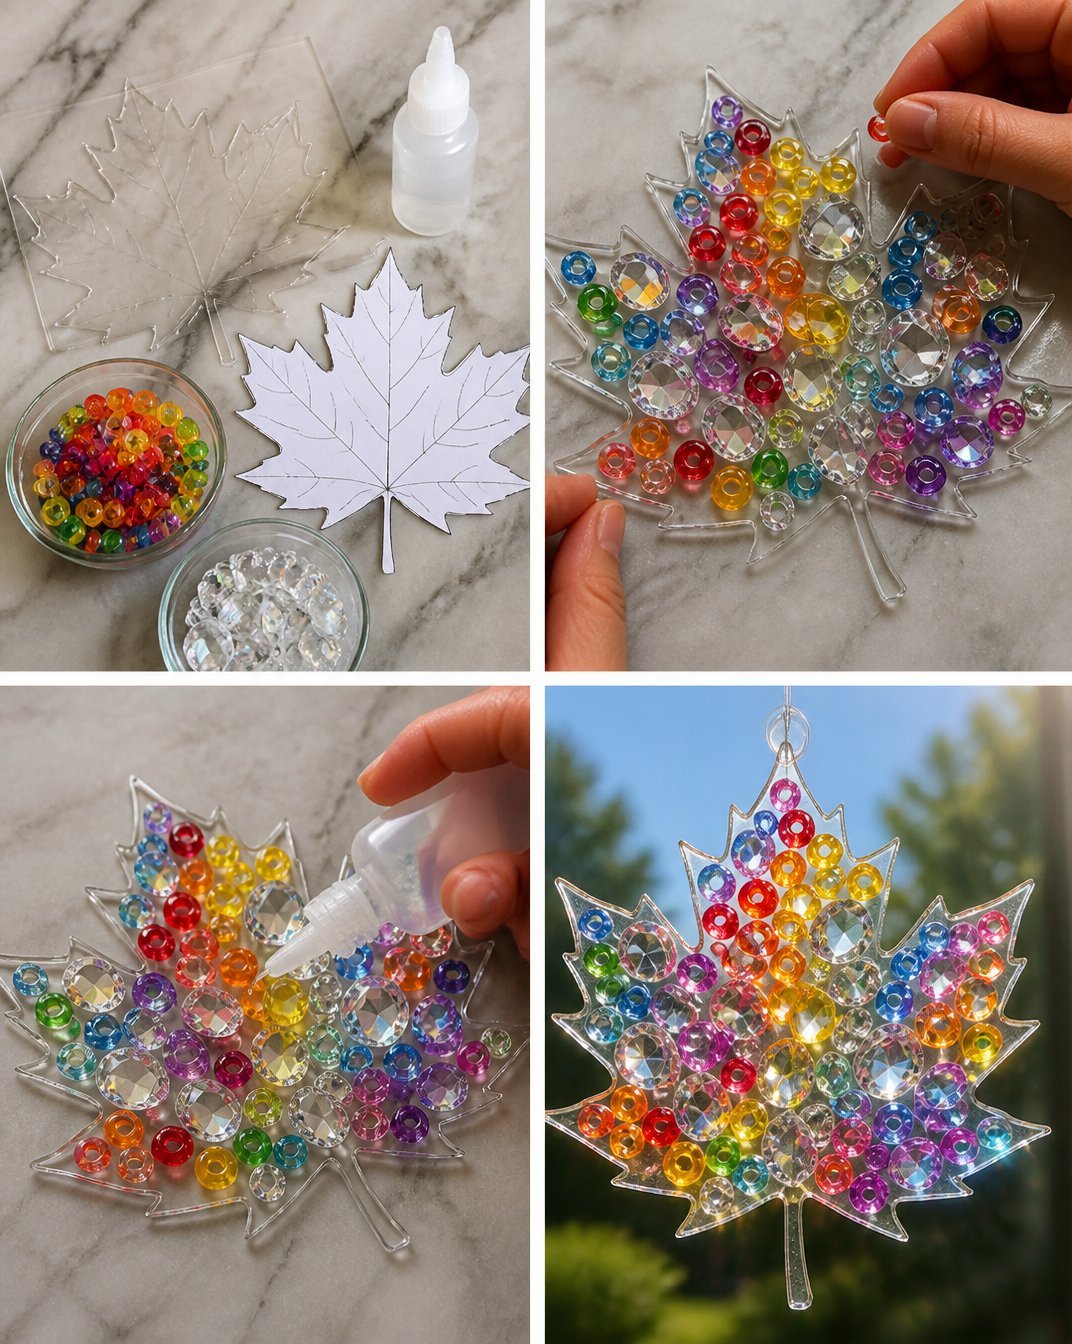
Step 1: Arrange the Pressed Leaves
Start by placing your pressed leaves on the clear acrylic disc to find an arrangement that you like. Consider overlapping the leaves slightly and mixing colors for a more dynamic look.
Step 2: Secure the Design
Once you’re satisfied with the arrangement, use craft adhesive to secure each leaf to the acrylic disc. Make sure to apply enough adhesive to keep the leaves in place but avoid excess that can create a mess.
Step 3: Attach the Crystals
After the leaves are attached and the adhesive has dried, it’s time to add the acrylic crystals. Glue them strategically between the leaves to enhance the overall design. Their reflective quality will help create beautiful light patterns when the suncatcher is hung.
Step 4: Prepare for Hanging
Cut a suitable length of string or fishing line, then attach one end securely to the top of the acrylic disc. This will allow you to hang your suncatcher effortlessly.
Step 5: Let it Dry
Allow the entire piece to dry completely, following the manufacturer’s instructions for the adhesive used. This step is crucial to ensure the stability of your creation.
Tips for the Best Result
- Choose Flat Leaves: Only use leaves that are completely flattened; this will enhance the overall appearance and prevent awkward shapes.
- Avoid Overcrowding: Ensure there’s enough negative space in the design so that each leaf is visible and appreciated.
- Test Adhesive Drying Time: Always check the adhesive drying time to prevent any mishaps when hanging your suncatcher.
Customization / Variations
You can personalize your suncatcher to match various themes or seasons by changing:
- The color palette of the leaves and crystals.
- Types of botanical elements used, such as flowers or different types of leaves.
- The shape and size of the acrylic disc to your preference.
How to Display Your Suncatcher
Once your Rainbow Crystal Autumn Leaf Suncatcher is complete, hang it in a sunlit window where it can capture and refract light. It adds warmth and color to any room, making it a focal point of beauty. Additionally, consider gifting it to a friend or loved one as a heartwarming, handmade touch to their decor.
Frequently Asked Questions
Frequently Asked Questions
Can I use fresh leaves instead of pressed ones?
Fresh leaves might not have the same aesthetic appeal as pressed leaves and can wilt over time.
What if my crystals do not stick?
Ensure the surface is clean and use a strong craft adhesive designed for clear materials.
How do I clean my suncatcher?
Gently dust with a soft cloth and avoid using water, as moisture can damage the leaves.
Can I use other plants?
Yes! Feel free to experiment with other flat botanicals like flowers, as long as they are properly dried.
How can I hang my suncatcher?
Use a suction cup hook on your window or a simple nail if hanging from a wall.
Conclusion
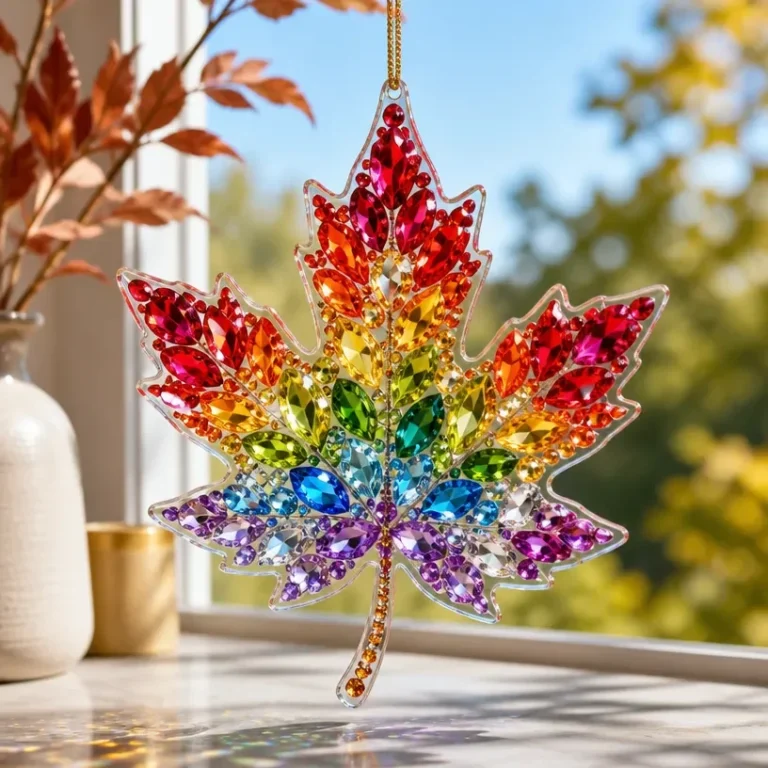
In making a Rainbow Crystal Autumn Leaf Suncatcher, you’ve created a beautiful piece of decor that captures the essence of autumn. The unique blend of colors and textures will not only brighten your space but might also inspire others. For more options to explore seasonal decor, consider checking out fall suncatchers available on Amazon or browse the best-selling garden suncatchers.
Follow Glow Studio DIY for fresh DIY ideas & inspiration!
Rainbow Crystal Autumn Leaf Suncatcher
Would you like to save this project?
By submitting you agree to receive this project and occasional emails. Unsubscribe anytime.
Materials
Materials
- 5 pieces Pressed leaves – select autumn leaves that are flat and fully dried for best results. Choose vibrant colors for a stunning effect.
- 1 piece Clear acrylic disc – serves as the base for showcasing your leaves. Size can vary based on desired dimensions.
- 1 piece String or fishing line – for hanging your suncatcher once it’s complete. Length depends on hanging preference.
- 1 bottle Craft adhesive – to secure your leaves in place on the acrylic disc. Use a strong adhesive for best results.
- 10 pieces Acrylic crystals – add sparkle and enhance the light reflection. Select various sizes for a dynamic look.
Tools
- 1 piece Scissors – for cutting the string and adjusting leaves as necessary.
- 1 piece Paintbrush – optional, for spreading adhesive more evenly. Helpful for working with larger amounts of adhesive.
Directions
Preparation
- Prepare your workspace and gather all materials.
- Arrange the pressed leaves on the clear acrylic disc to find an arrangement that you like.
Assembly
- Once satisfied with the arrangement, secure each leaf to the acrylic disc using craft adhesive.
- After the leaves are attached, glue acrylic crystals strategically between the leaves.
- Cut a suitable length of string or fishing line and attach it securely to the top of the acrylic disc.
- Allow the entire piece to dry completely, following the adhesive's instructions.
Last Step: Don’t forget to leave a rating and comment below! It helps other readers find the best DIY projects — and it helps us too!