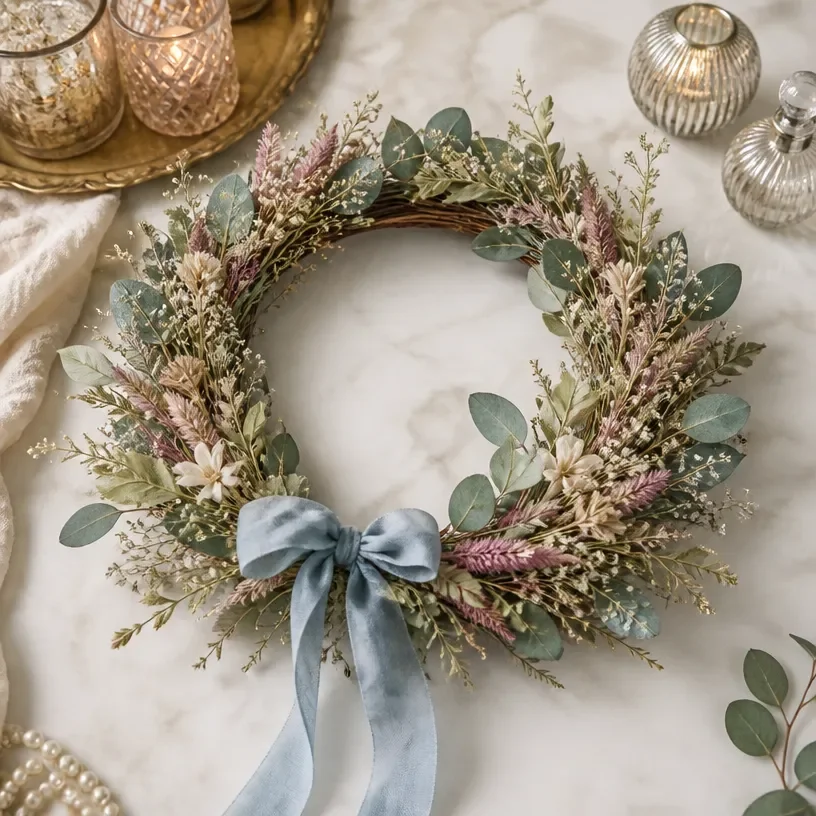
Creating a dried flower botanical wreath is a beautiful way to bring the charm of nature into your home decor. The final result is not only visually appealing but also makes a perfect statement piece for your front door or interior walls. With an array of dried flowers and greenery, you can craft a wreath that complements your aesthetic and adds a personal touch to your space.
This DIY project is straightforward and approachable, allowing you to express your creativity while working with eco-friendly materials. The unique textures and colors of dried elements will create depth and interest, resulting in a piece that can be cherished for seasons to come.
Why You’ll Love This Project
Beautiful Display
The finished dried flower wreath becomes a stunning focal point in any room, enhancing your decor with a touch of natural beauty.
Customizable Design
You have the freedom to choose flowers and greenery that resonate with your style, ensuring that your wreath is uniquely yours.
Seasonal Versatility
This project is perfect for celebrating various seasons or holidays by simply changing the flowers or colors used.
Inexpensive Materials
Dried flowers and greenery are often affordable and can be sourced locally or even foraged, making this cost-effective.
Gift Potential
A handmade wreath makes for a thoughtful gift, perfect for housewarmings or special occasions.
Materials You’ll Need
- Grapevine or metal wreath base
- Dried flowers
- Dried greenery
- Floral wire
- Ribbon
Tools
While this project does not require special tools, having a pair of scissors handy will help you cut the floral wire and ribbon as needed.
How to Make the Project
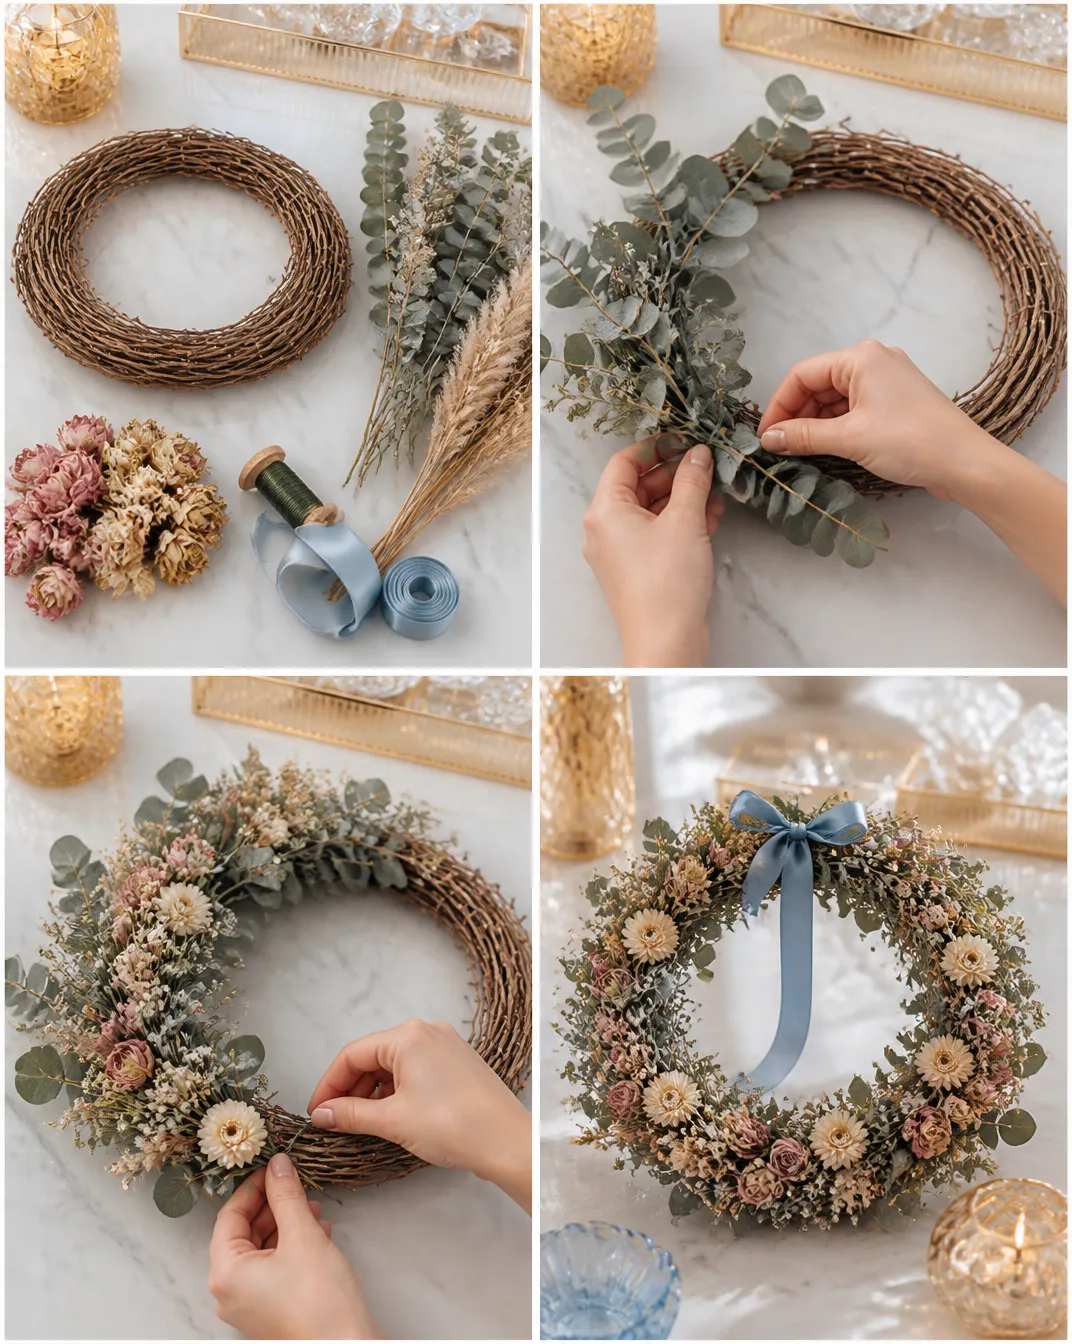
Step 1: Build the Greenery Base
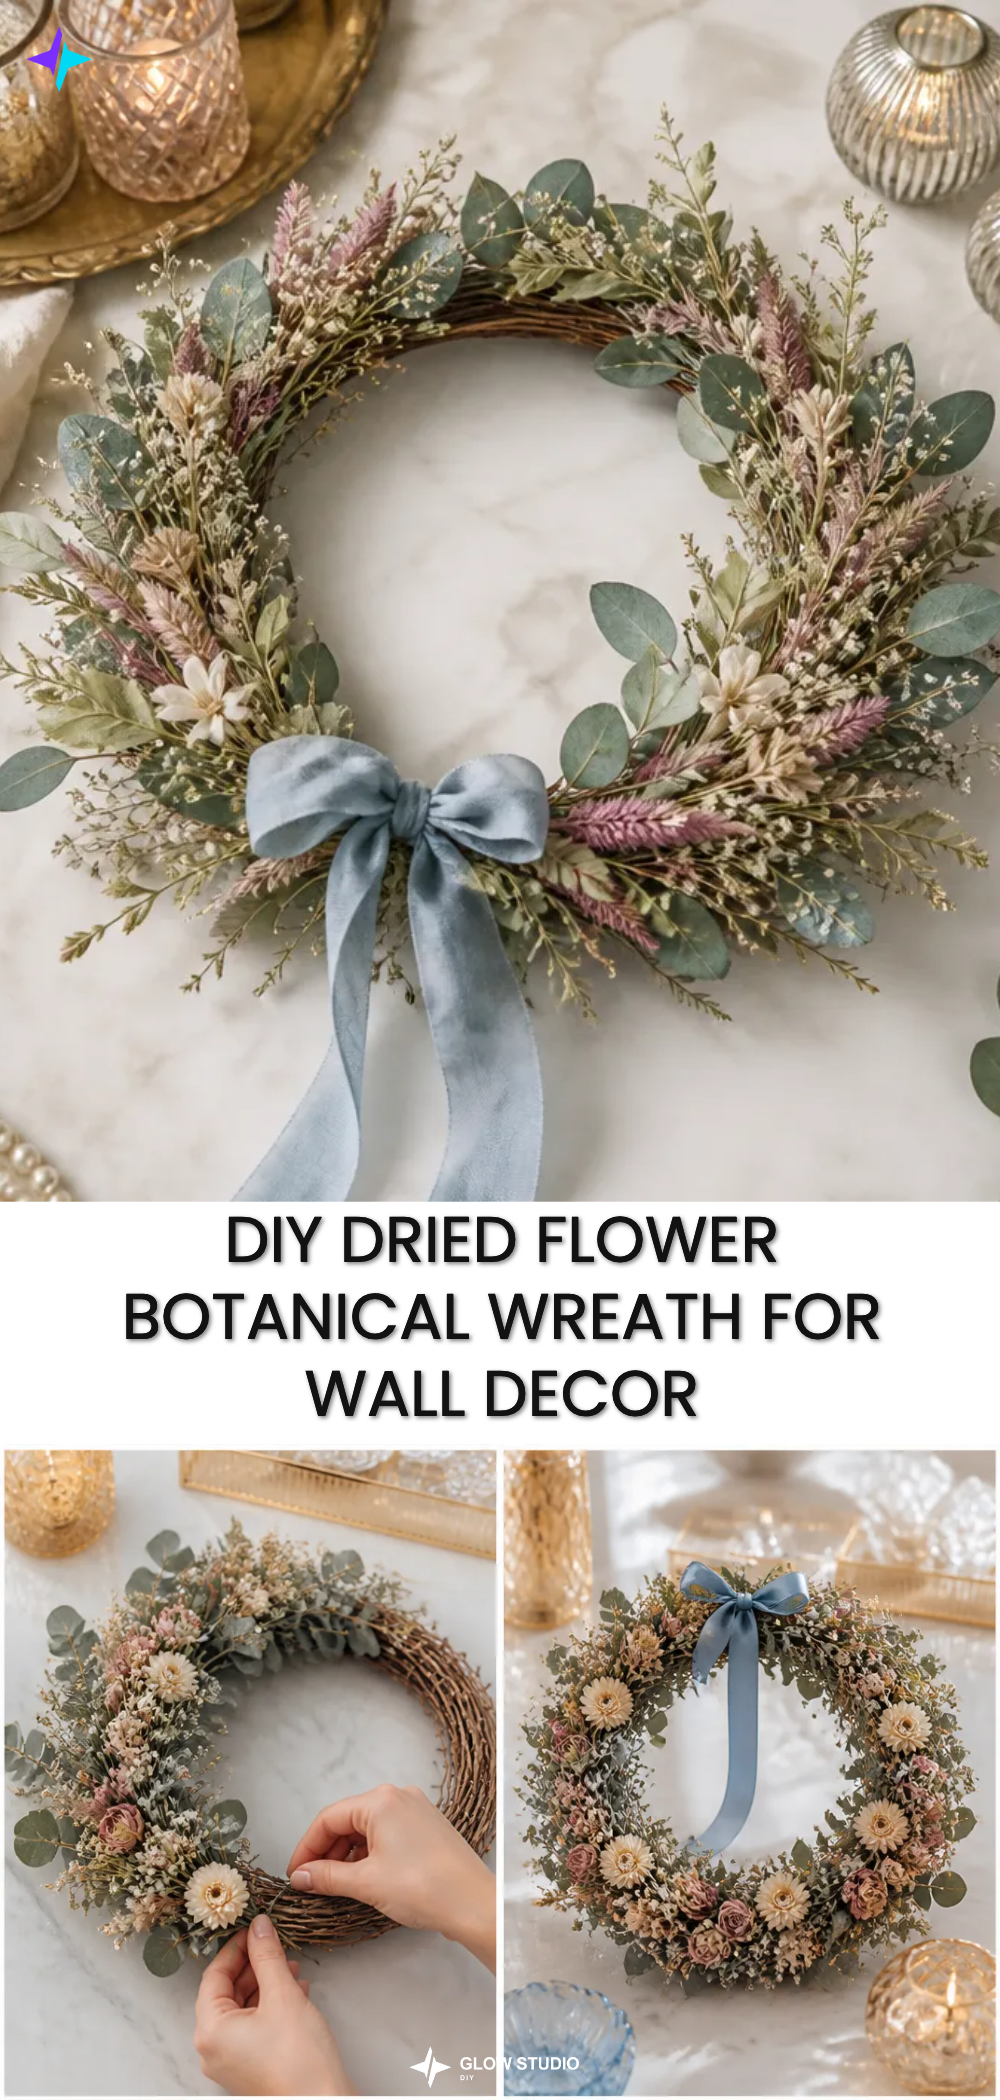
Start by arranging your dried greenery around the wreath base. This will create a foundation for your floral arrangement. Ensure the greenery is evenly distributed to form a balanced base. Secure the stems as you go, using floral wire to hold them in place.
Step 2: Layer the Dried Flowers
Next, layer the dried flowers into a balanced arrangement. Mix different types and colors of flowers to create visual interest. Step back occasionally to check how the arrangement looks from a distance and adjust as necessary.
Step 3: Secure Everything with Floral Wire
Once you’re satisfied with the flower placement, use floral wire to secure all elements firmly. Wrap the wire around the stems and the wreath base, ensuring everything is tightly held together.
Step 4: Finish with Ribbon
For an extra touch, finish your wreath by tying a beautiful ribbon around the top. This will not only camouflage the floral wire but also add elegance and a pop of color.
Tips for the Best Result
- Experiment with Placement: Before securing everything, take time to rearrange flowers and greenery until you’re happy with the design.
- Choose Dried Flowers Wisely: Select a variety of textures and shapes to enhance visual interest.
- Use Enough Wire: Don’t skimp on the floral wire; ensuring everything is secured well will give your wreath longevity.
- Be Mindful of Color Balance: When selecting flowers, consider how they complement each other to avoid clashing colors.
Customization / Variations
- Seasonal Themes: Consider changing flowers according to the seasons; warm hues for autumn, pastels for spring, or festive colors for the winter holidays.
- Different Base Shapes: Explore using different base shapes like hearts for Valentine’s Day or circles for a classic look.
- Unique Ribbons: Vary the style and material of ribbons, like burlap for rustic looks or satin for a more formal appearance.
Ideas for Styling Your Handmade Decor
Display your dried flower wreath on your front door for a welcoming touch, or hang it in a cozy corner of your living room. Pair it with complementary decor, like candles or seasonal decorations, to enhance its charm. You could also gift it to a friend, adding a lovely personal touch to special occasions.
Frequently Asked Questions
Can I use fresh flowers instead of dried?
Fresh flowers won’t hold their shape or color as well as dried varieties. If you prefer using fresh flowers, consider creating the wreath during the season of those blooms.
How do I hang the wreath?
Use a door hook or a sturdy nail to hang your wreath. If using a design with ribbon, you can simply loop the ribbon over the hook.
What if some flowers start to shed?
Over time, it’s normal for some dried flowers to shed. Gently shake the wreath outside to remove any loose petals.
Can I customize the size of the wreath?
Absolutely! Use larger or smaller bases depending on the look you want. Just remember to adjust the amount of flowers and greenery accordingly.
Conclusion
Crafting a dried flower botanical wreath is a fulfilling project that results in a stunning and display-worthy piece. It beautifully enhances any space with its natural charm and personalization options. For those looking to expand their collection, consider exploring various styles from sources like Creekside Farms or finding inspiration at Botanical Tales. Enjoy the process of creating a timeless piece that brings warmth and beauty to your home.
Follow Glow Studio DIY for fresh DIY ideas & inspiration!
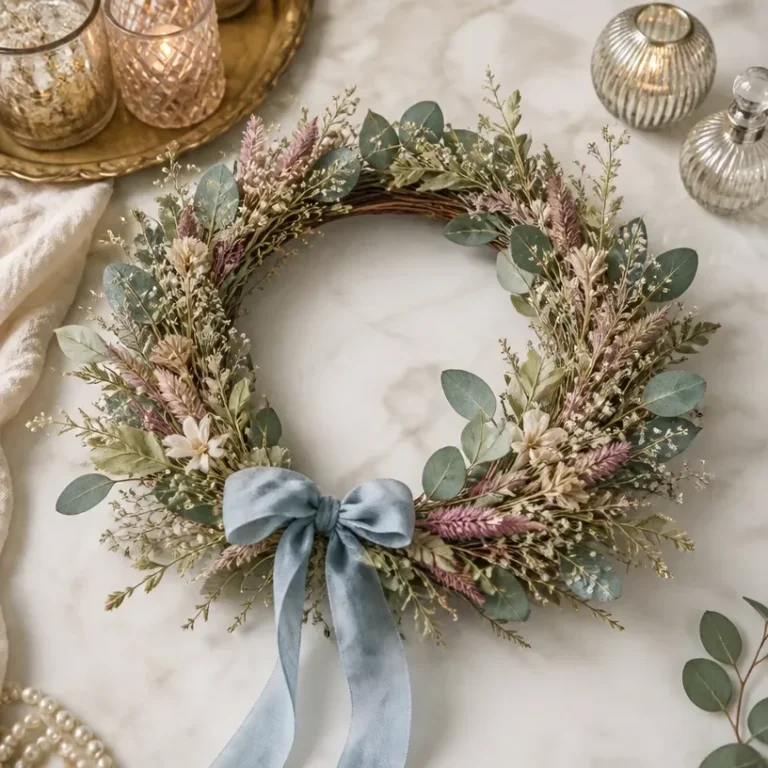
Dried Flower Botanical Wreath
Would you like to save this project?
By submitting you agree to receive this project and occasional emails. Unsubscribe anytime.
Materials
Wreath Base
- 1 Grapevine or metal wreath base Choose a base that suits your style.
Dried Elements
- various pieces Dried flowers Select a mix of different shapes and textures.
- various pieces Dried greenery Accumulate a variety to form a balanced base.
Finishing Touches
- 1 roll Floral wire Used to secure the arrangement.
- 1 piece Ribbon Choose a ribbon to finish the wreath.
Directions
Building the Greenery Base
- Arrange your dried greenery around the wreath base to create a foundation.
- Secure the stems using floral wire, ensuring they are evenly distributed.
Layering the Dried Flowers
- Layer your dried flowers into a balanced arrangement.
- Mix different types and colors for visual interest, adjusting as necessary.
Securing the Arrangement
- Once satisfied with the placement, use floral wire to secure all elements firmly.
Finishing Touch
- Tie a beautiful ribbon around the top to finish the wreath.
Last Step: Don’t forget to leave a rating and comment below! It helps other readers find the best DIY projects — and it helps us too!