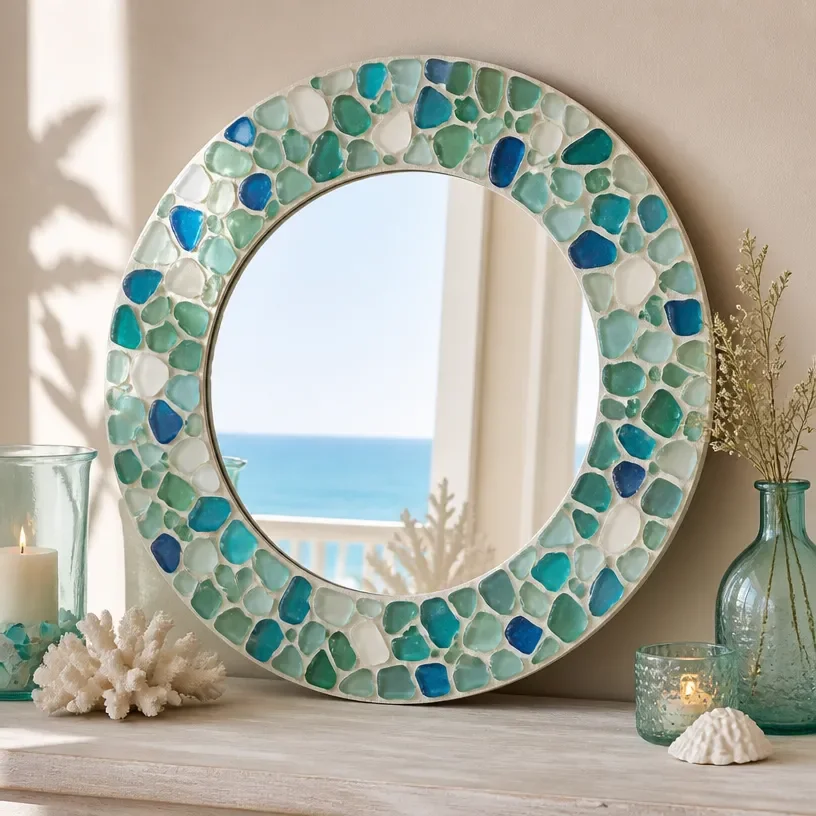
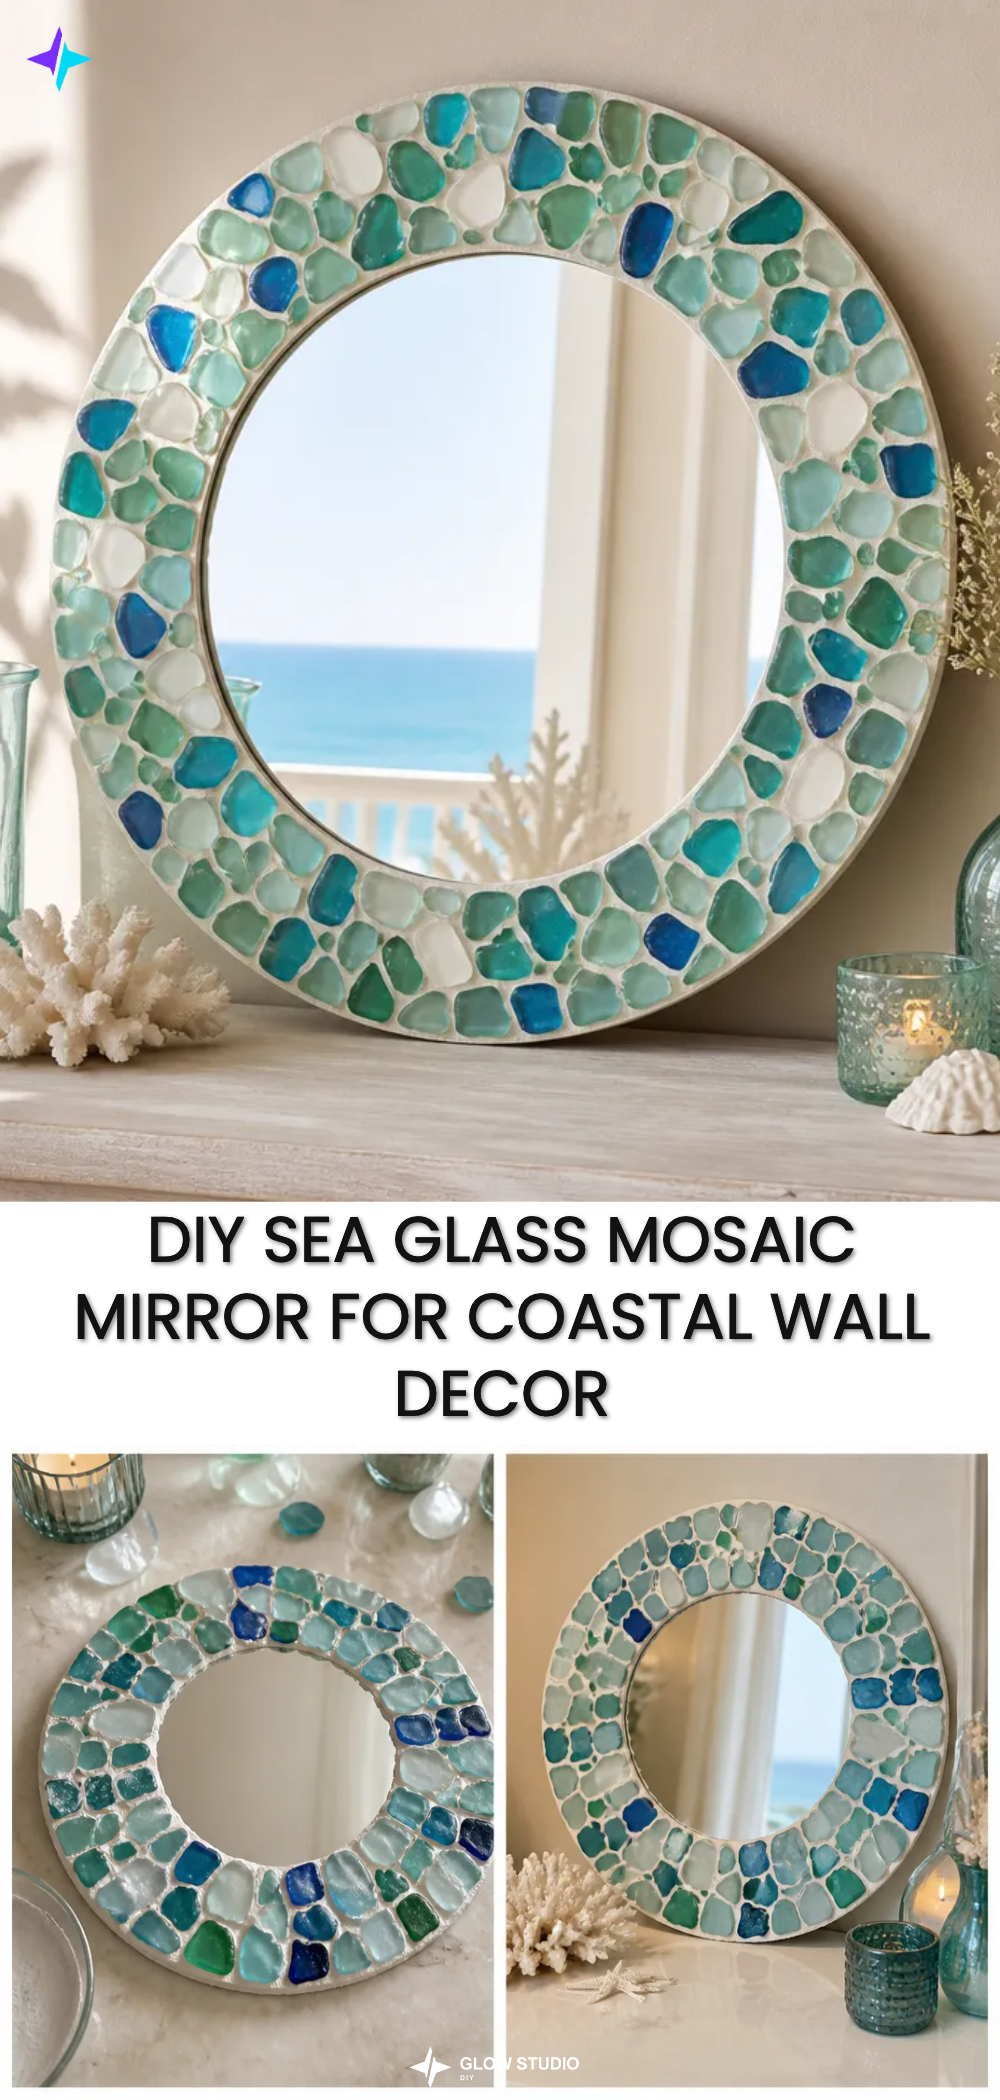
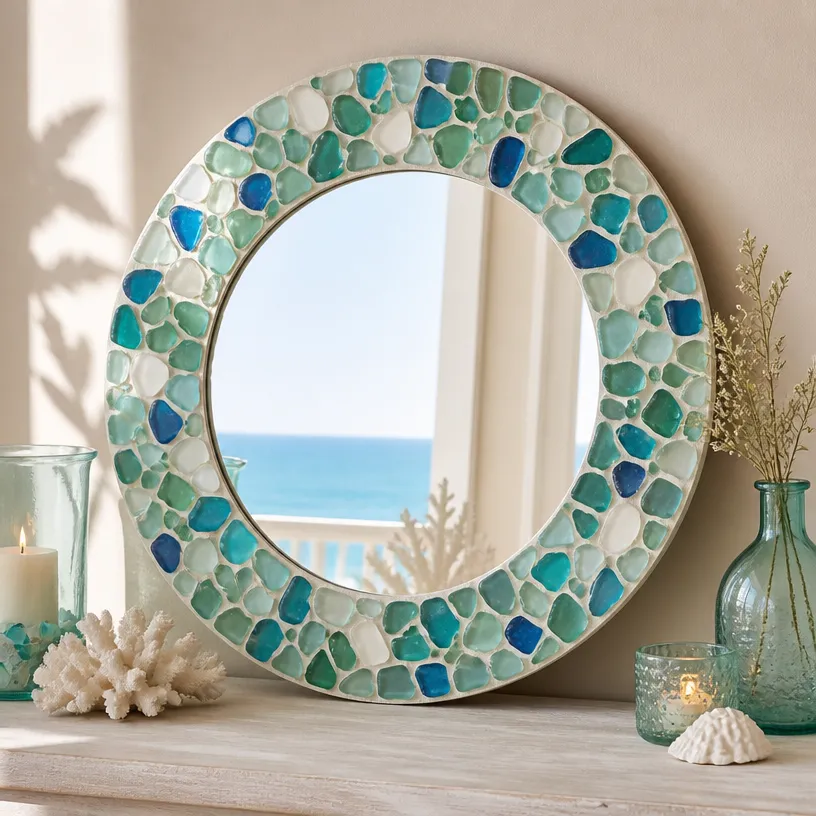
Creating a DIY Sea Glass Mosaic Mirror is a delightful and visually appealing project that allows you to bring the beauty of the ocean into your home. The finished product features stunning, colorful sea glass pieces that reflect light beautifully, making it perfect for brightening up any room. This mirror can serve as an eye-catching focal point on your wall or as a beautiful decorative element on a dresser or vanity.
With just a few simple materials and clear instructions, you can craft a unique piece that showcases your personal style. Whether you choose to create a serene blue palette or an array of vibrant colors, this project offers the opportunity for customization.
Why You’ll Love This Project
This project has multiple benefits that make it a wonderful choice for crafters of all levels:
- Display-worthy finished result: The shiny surface of the mirror combined with the sparkling sea glass creates a stunning visual effect that is sure to impress.
- Approachable technique: Even if you are new to DIY, the steps involved are simple and easy to follow, allowing you to confidently create something beautiful.
- Customizable materials: Whether you decide on specific colors of sea glass or choose different shapes, the project allows for personal expression and creativity.
- Ideal for gifting: This beautifully crafted mirror makes a meaningful and personal gift for friends or family.
- Inexpensive materials: The supplies needed are budget-friendly, making this project accessible for everyone.
Before You Begin
Before you start crafting your sea glass mosaic mirror, it’s helpful to prepare your workspace and materials:
- Clean the mirror: Make sure your plain mirror is free from dust and debris to ensure good adhesion of the sea glass.
- Prepare your materials: Organize your craft sea glass, adhesive, and grout within easy reach. This will streamline the process and ensure you have everything you need at your fingertips.
- Protect your work surface: Lay down newspaper or a craft mat to catch any spills or stray adhesive, protecting your workspace.
Materials You’ll Need
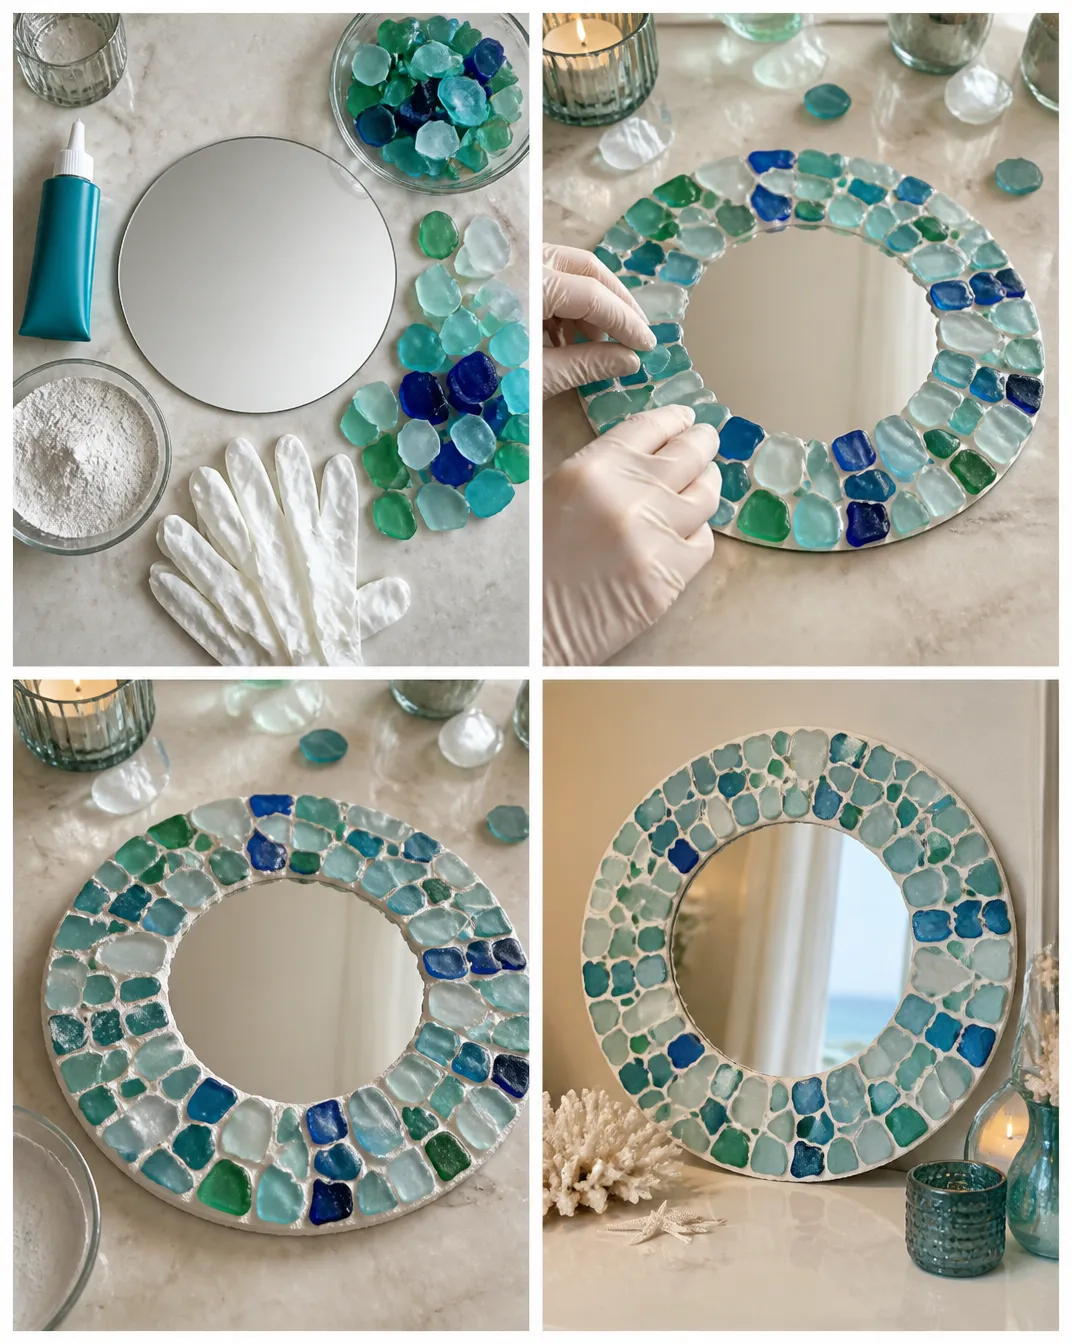
- Plain mirror
- Craft sea glass
- Strong glass-compatible adhesive (to secure the pieces)
- Grout suitable for craft mosaics (for filling gaps if desired)
- Protective gloves (to keep your hands clean during the project)
Tools
No special tools are required for this project beyond your hands and perhaps a small spatula for smoothing grout.
How to Make the Project
Step 1: Arrange the Sea Glass
Begin by arranging the craft sea glass around the mirror’s edge. Take your time and experiment with different placements. Once you’re happy with the layout, use the strong adhesive to secure each piece to the mirror.
Step 2: Allow to Set
After you’ve adhered all the sea glass pieces, allow the adhesive to set. It’s essential to follow the manufacturer’s instructions for drying time; typically, this means letting it sit for at least several hours or overnight.
Step 3: Apply Grout (if applicable)
If your design calls for it, carefully apply grout to the spaces between the sea glass pieces. Use a small spatula or your fingers, wearing gloves, to fill in gaps and create a polished look.
Step 4: Clean the Surface
After applying grout, gently clean the surface of the sea glass with a damp cloth to remove any excess. This step ensures that the glass remains clear and vibrant without any residue.
Step 5: Cure Completely
Allow your project to cure completely according to the adhesive and grout manufacturer’s instructions. This curing process is vital for ensuring your mirror remains intact and beautiful for years to come.
Tips for the Best Result
- Placement: Take time to plan your design before gluing. This will save you time and help prevent mistakes.
- Avoid excess adhesive: Too much adhesive can seep out from under the sea glass, making the project look messy.
- Use a variety of shapes and colors: This adds more dimension and visual interest to your mirror.
- Handle with care: Sea glass can be delicate. Make sure to handle each piece gently to avoid breakage.
Customization / Variations
Feel free to get creative! You can alter the colors of the sea glass to match your decor, use unique shapes for added flair, or even incorporate other elements such as shells or beads to give your mirror a more eclectic feel.
How to Display Your Finished Project
Once your DIY Sea Glass Mosaic Mirror is complete, consider displaying it in a well-lit area to showcase the colors in the glass. It can be hung on a wall in the bathroom or hallway to amplify natural light, or placed on a shelf or vanity as a statement piece.
Care and Storage
To maintain your mirror, dust it gently with a soft cloth. Avoid using harsh chemicals or excessive moisture to keep both the glass and grout in great condition.
Frequently Asked Questions
Q: Can I use different types of glass?
A: Yes, you can mix and match various types of glass as long as they are suitable for mosaics.
Q: How long should I allow the adhesive to dry?
A: Follow the manufacturer’s instructions on the adhesive for drying times.
Q: Is there a way to fix mistakes if I place a piece incorrectly?
A: You can gently pry off a piece with a spatula or similar tool if the adhesive hasn’t fully cured.
Q: How can I customize the mirror further?
A: Incorporate color themes or even use different shapes and textures of glass to enhance the design.
Q: Can I use this technique on other surfaces?
A: Yes, you can apply this mosaic technique to various surfaces, such as trays or furniture.
Q: What if I don’t have grout?
A: Grout adds a finished look, but it’s optional. You can skip it if you prefer a more minimalist style.
Conclusion
Your completed DIY Sea Glass Mosaic Mirror is not only a beautiful addition to your home but also a testament to your creative effort. The vibrant sea glass will reflect light and color, enhancing any space it occupies. For further inspiration on similar projects, check out this informative guide on Mosaic Mirrors or explore unique ideas on crafting with sea glass by visiting How to Make a Sea Glass Mirror. Enjoy showcasing your new masterpiece!
Follow Glow Studio DIY for fresh DIY ideas & inspiration!
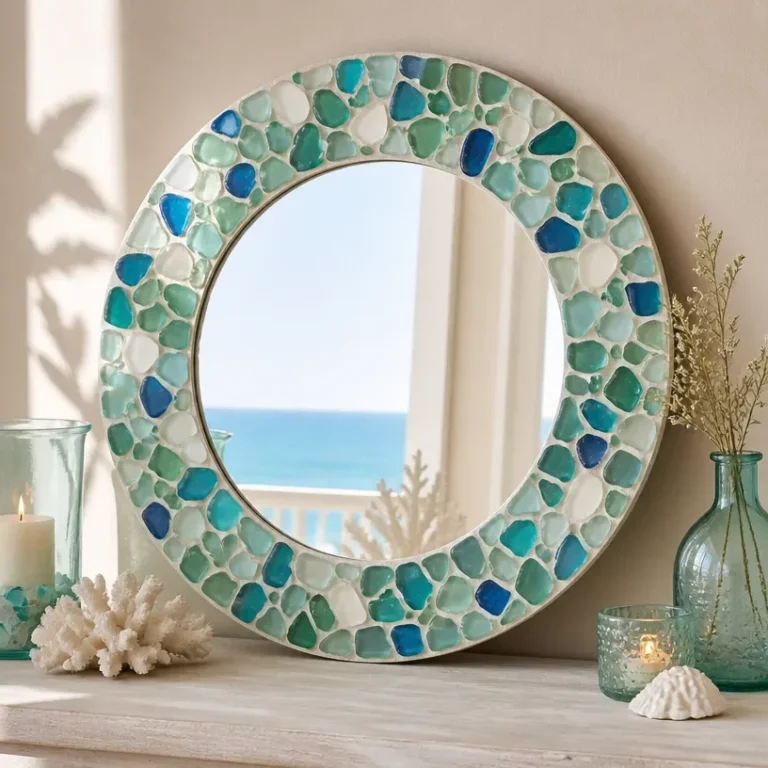
DIY Sea Glass Mosaic Mirror
Would you like to save this project?
By submitting you agree to receive this project and occasional emails. Unsubscribe anytime.
Materials
Materials
- 1 piece Plain mirror
- 1 bag Craft sea glass
- 1 tube Strong glass-compatible adhesive
- 1 package Grout suitable for craft mosaics
- 1 pair Protective gloves
Tools
- 1 optional Small spatula
Directions
Preparation
- Clean the mirror to ensure it's free from dust and debris.
- Organize your craft sea glass, adhesive, and grout within easy reach.
- Lay down newspaper or a craft mat to protect your work surface.
Assembling the Mirror
- Arrange the sea glass around the mirror's edge to design your layout.
- Use the strong adhesive to secure each piece of sea glass to the mirror.
- Allow the adhesive to set based on the manufacturer's instructions.
- If using grout, carefully apply it to the spaces between the sea glass pieces.
- Gently clean the surface of the sea glass with a damp cloth to remove excess grout.
- Allow the project to cure completely following the adhesive and grout manufacturer's instructions.
Last Step: Don’t forget to leave a rating and comment below! It helps other readers find the best DIY projects — and it helps us too!