Go Back
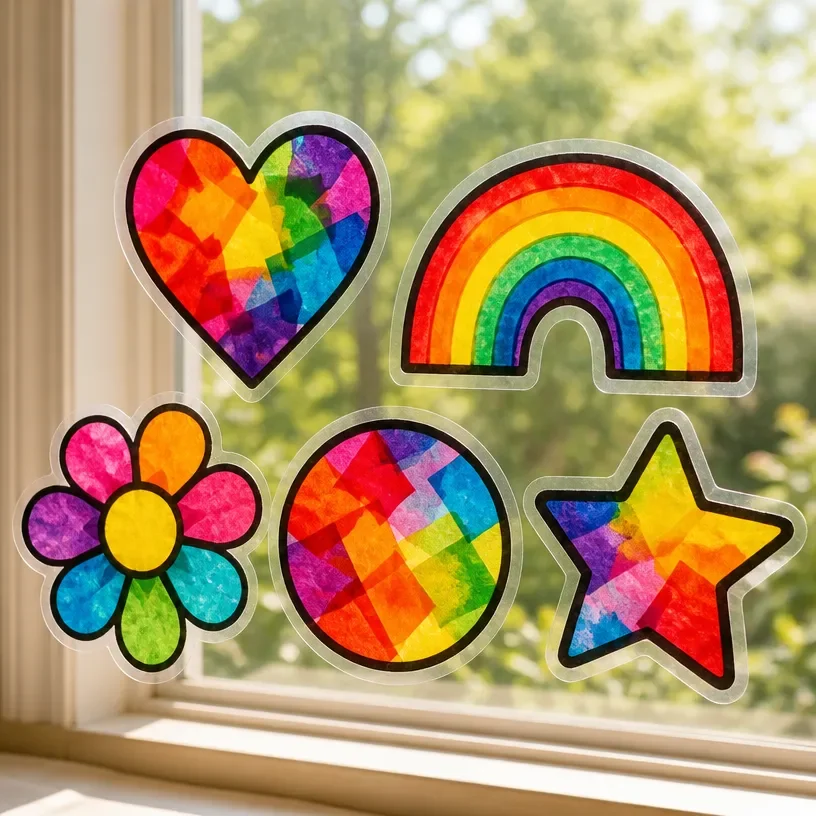
Vibrant DIY tissue paper sun catchers hanging in a sunny window.

Tissue Paper Sun Catchers

A delightful project to create vibrant tissue paper sun catchers that bring color and light into your home.
Prep Time 20 minutes
Total Time 20 minutes
Servings: 1 project
Course: Craft

Ingredients
  

Materials Needed
  • Colorful sheets Tissue paper To create your design.
  • 1 sheet Clear contact paper Serves as the base for the sun catcher.
  • 1 Scissors For cutting the tissue paper and contact paper.
  • 1 Pencil To trace shapes if needed.
  • 1 optional Frame For a more structured look.
Tools Needed
  • 1 Craft knife For trimming edges if precision is needed.
  • 1 Ruler To help measure and cut straight edges, especially helpful for frames.

Method
 

Preparation
  1. Cut a piece of clear contact paper to your desired size.
  2. Tear or cut the tissue paper into various shapes and sizes.
Design Arrangement
  1. Place the tissue paper pieces on the sticky side of the contact paper. Experiment with your layout.
  2. Once satisfied, carefully place another piece of contact paper on top to seal it.
Final Steps
  1. Trim around the edges of your sun catcher to create a clean shape.
  2. Hang your sun catcher in a sunny window.

Notes

Use bright colors for best results. Check for air bubbles during the process and experiment with different layering techniques for visual effects.