Go Back
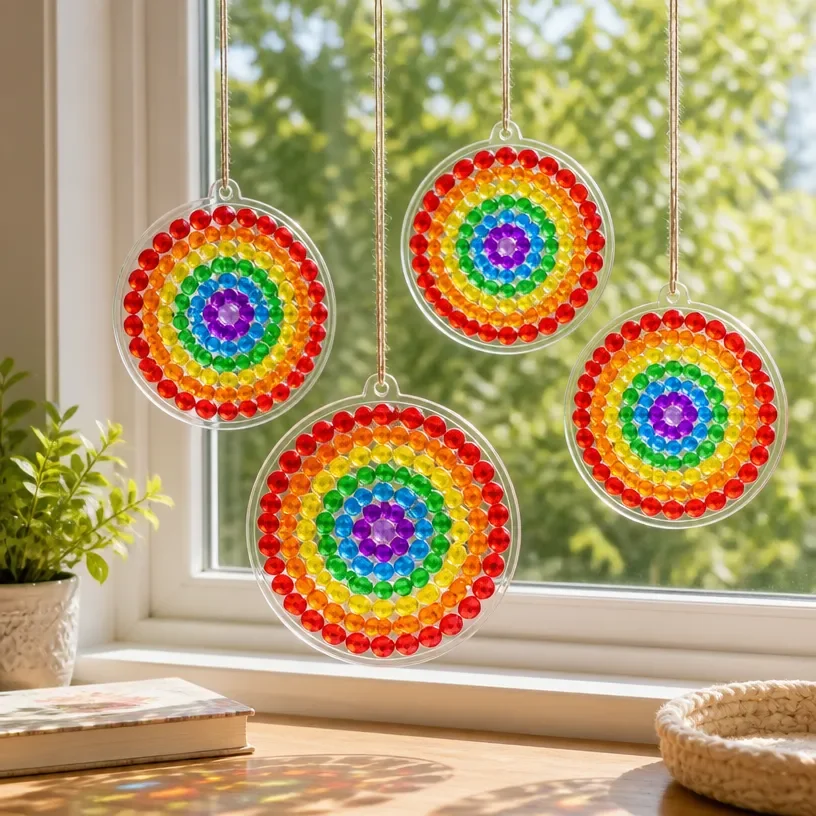
Colorful DIY stained glass sun catchers brightening a window

Stained Glass Sun Catchers

Create beautiful stained glass sun catchers to enhance your home’s natural light with bursts of color.
Prep Time 30 minutes
Total Time 30 minutes
Servings: 1 suncatcher
Course: Craft, DIY
Cuisine: Art

Ingredients
  

Materials
  • 1 set Clear acrylic discs These form the transparent base of your suncatcher.
  • Assorted pieces Colored glass pieces or translucent plastic Select a variety of colors for an eye-catching display.
  • 1 bottle Black adhesive (or black glue) Used to create the 'lead' lines that separate your glass segments.
  • 1 tool Scissors or glass cutter To trim your materials to the desired size.
  • 1 tool Paintbrush For applying adhesive evenly.
  • Optional Embellishments like beads or crystals For added sparkle.
Tools
  • 1 tool Utility knife or craft knife Helpful for cutting any shapes into your materials.
  • 1 tool Ruler For measuring and achieving straight lines.
  • 1 tool Pencil For marking measurements or designs before cutting.

Method
 

Preparation
  1. Step 1: Plan Your Design - Begin by sketching out your desired design on paper to visualize the overall look.
  2. Step 2: Prepare Your Glass - Use your utility knife or scissors to carefully cut your colored glass or plastic into shapes.
  3. Step 3: Arrange the Pieces - Lay out your cut pieces on the clear acrylic disc and adjust the design until satisfied.
Assembly
  1. Step 4: Secure the Pieces - Apply black adhesive around the edges of each glass piece to hold them in place.
  2. Step 5: Allow to Dry - Let the adhesive cure according to the manufacturer's instructions.
  3. Step 6: Display Your Creation - Once fully dry, hang your stained glass sun catcher in a window or garden.

Notes

Tips for the Best Result: Align carefully to ensure a professional finish. Use a light touch when applying adhesive.