Go Back
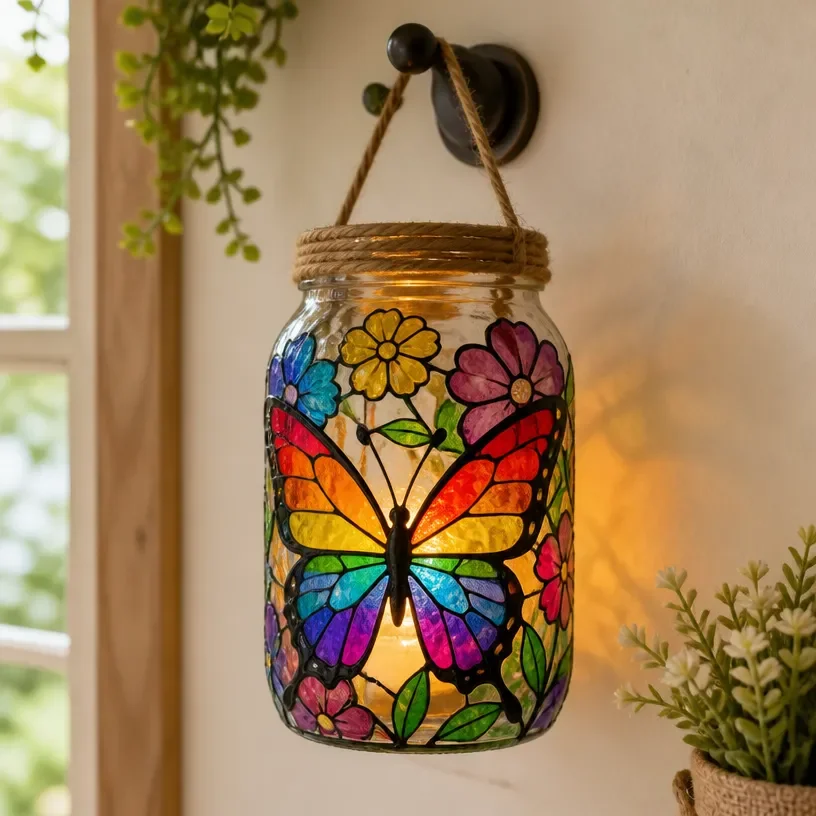
DIY stained glass rainbow butterfly jar wall decor project

Stained Glass Rainbow Butterfly Jar

Create a colorful and artistic stained glass butterfly jar that brightens any space and serves as a unique decorative piece.
Prep Time 30 minutes
Total Time 1 hour
Servings: 1 jar
Course: Craft, DIY

Ingredients
  

Basic Materials
  • 1 piece Clear glass jar This serves as the base for your stained glass design.
  • several sheets Colored glass sheets Choose a variety of colors for a rainbow effect.
  • 1 bottle Glass adhesive Ensure it is clear-drying for best results.
  • 1 brush Paintbrush Used for applying adhesive evenly.
  • 1 set Butterfly templates Helpful for cutting accurate designs.
  • 1 piece Glass cutter Necessary for shaping the colored glass.
  • optional length Wire For adding accents or hanging the jar.

Method
 

Preparation
  1. Clean your glass jar thoroughly to ensure there are no smudges or dust particles that will interfere with the adhesive.
  2. Using your glass cutter, carefully cut out the necessary shapes from your colored glass sheets following the butterfly templates.
Assembly
  1. Apply a thin layer of adhesive to the back of each glass piece and press them onto the jar in your desired arrangement.
  2. Allow it to dry completely according to the manufacturer's instructions.
  3. Once everything is secure, you can use wire to create a hanging mechanism or add decorative elements around the jar.

Notes

Dust the jar gently to keep it clean. Store in a cool, dry place away from direct sunlight when not displayed. This project may require adult supervision when children are involved due to the use of glass and cutting tools.