Go Back
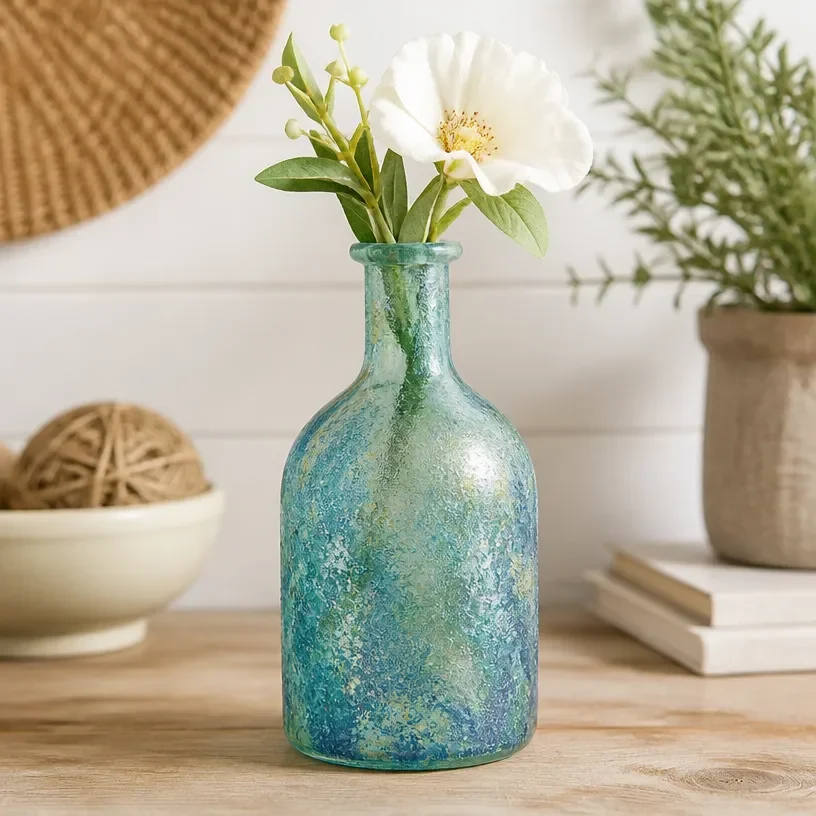
Beautiful sea glass vase designed for modern home decor with fresh flowers.

Sea Glass Bud Vase

Create a stunning Sea Glass Bud Vase with easy steps, using vibrant colors of sea glass to add a coastal charm to your home decor.
Prep Time 30 minutes
Total Time 30 minutes
Servings: 1 vase
Course: Crafts, DIY
Cuisine: Coastal Decor

Ingredients
  

Materials
  • 1 piece Clear glass vase The base for your sea glass design.
  • as needed various Sea glass Various colors and shapes for an authentic look.
  • 1 bottle Acrylic sealer or adhesive To bond the sea glass to the vase.
  • 1 piece Paintbrush For applying adhesive smoothly.
  • 1 pack Cotton swabs To clean up any excess adhesive.
  • optional pieces Decorative elements Such as dried flowers or twine for added charm.
Tools
  • 1 piece Scissors For trimming twine or other decorative elements.
  • 1 piece Tweezers To handle small pieces of sea glass delicately.

Method
 

Preparation
  1. Clean your clear glass vase thoroughly to ensure that the adhesive adheres properly.
  2. Arrange the sea glass pieces on the vase to determine your desired design.
Application
  1. Apply a thin layer of adhesive onto the vase where the sea glass will be placed.
  2. Carefully press each piece of sea glass onto the vase, holding it in place for a few seconds.
Finishing Touches
  1. Use cotton swabs to gently remove any excess adhesive that may squeeze out from beneath the sea glass.
  2. Allow to dry completely as per the adhesive manufacturer’s instructions.
  3. Once dried, add any additional decorations like twine or dried flowers.

Notes

Ensure a well-ventilated workspace while working with adhesives. Mix different shapes and colors of sea glass for a more dynamic look.