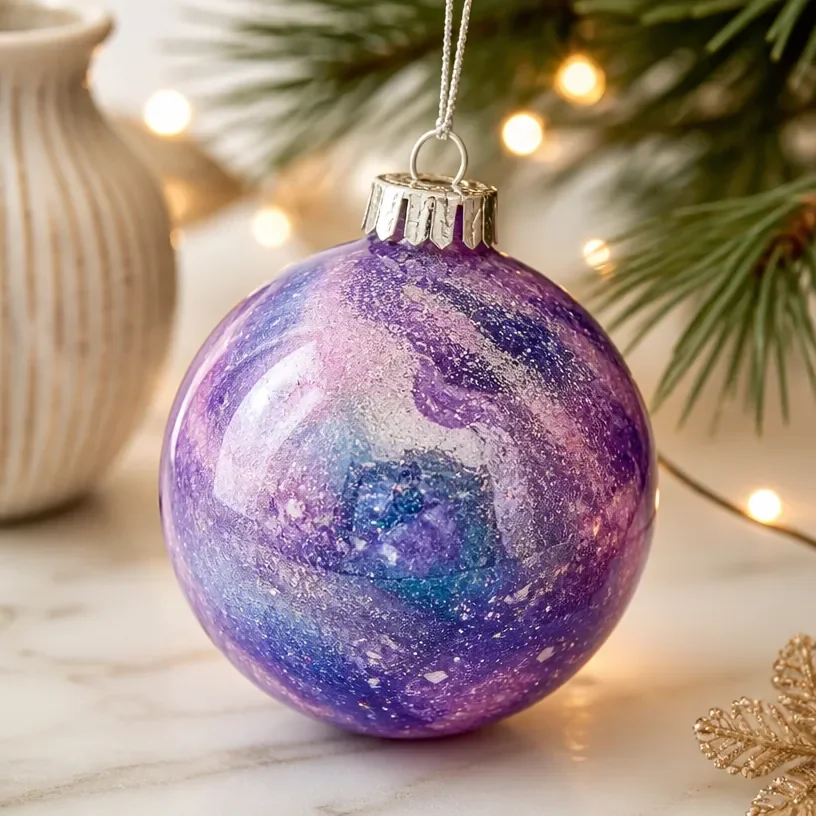
Ingredients
Method
Project Steps
- Step 1: Arrange the Glass Pieces - Start by arranging your opalescent glass and decorative beads on the clear acrylic disc to visualize your design. Experiment with different layouts before you attach anything permanently.
- Step 2: Secure the Design - Once satisfied with the arrangement, use your adhesive to secure the glass pieces onto the acrylic base. Be sure to use enough adhesive for a strong hold, but avoid excess that may ooze out the sides.
- Step 3: Add Embellishments - After the main pieces are secured and the adhesive has dried, embellish your ornament with additional beads or crystals. Apply them in a way that complements the existing design.
- Step 4: Attach Hanging Ribbon - Cut a length of satin ribbon and secure it through a hole drilled or placed at the top of your acrylic disc. This will allow you to hang your celestial ornament with ease.
- Step 5: Final Drying - Allow your finished ornament to dry completely as per the manufacturer's instructions on the adhesive. This ensures all parts are securely attached and ready for display.
Notes
To achieve a polished finish, keep your working area neat and tidy. Consider using LED lights behind your ornament for an enchanting illuminated effect in the evening. Test the placement of your ornament before hanging to ensure that the reflections play nicely in the light.