Ingredients
Method
Preparation
- Start by cleaning the glass jar thoroughly with soap and water, drying it completely.
- Organize your materials in advance to save time during the project.
Painting the Jar
- Using a paintbrush, apply the glow-in-the-dark paint to the inside of the jar, creating patterns or simply covering the entire surface.
- Follow the manufacturer’s drying instructions after application.
Adding Decorations
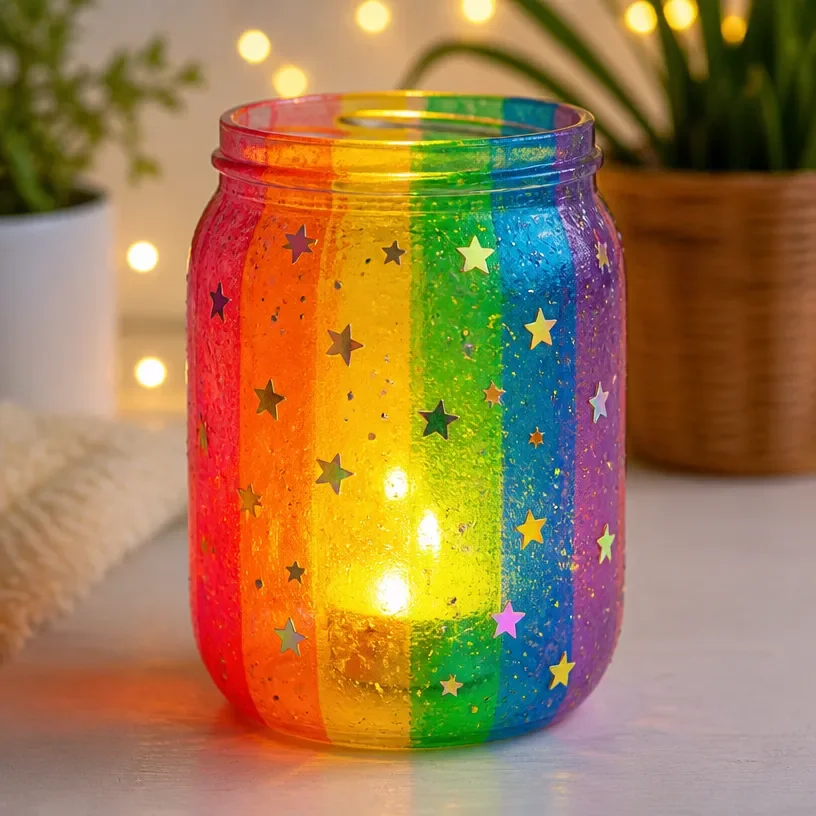
- Once the paint is dry, add additional embellishments like glitter or stickers to personalize your lantern.
Assembling the Lantern
- Once your design is complete and fully dried, place an LED tealight candle inside the jar.
Display
- Find a perfect spot to display your lantern and enjoy the enchanting glow that emanates from your creation.
Notes
To achieve the best results, consider applying multiple layers of paint for a more intense glow and experiment with different colors. Store it in a dry place and handle with care to maintain its appearance.