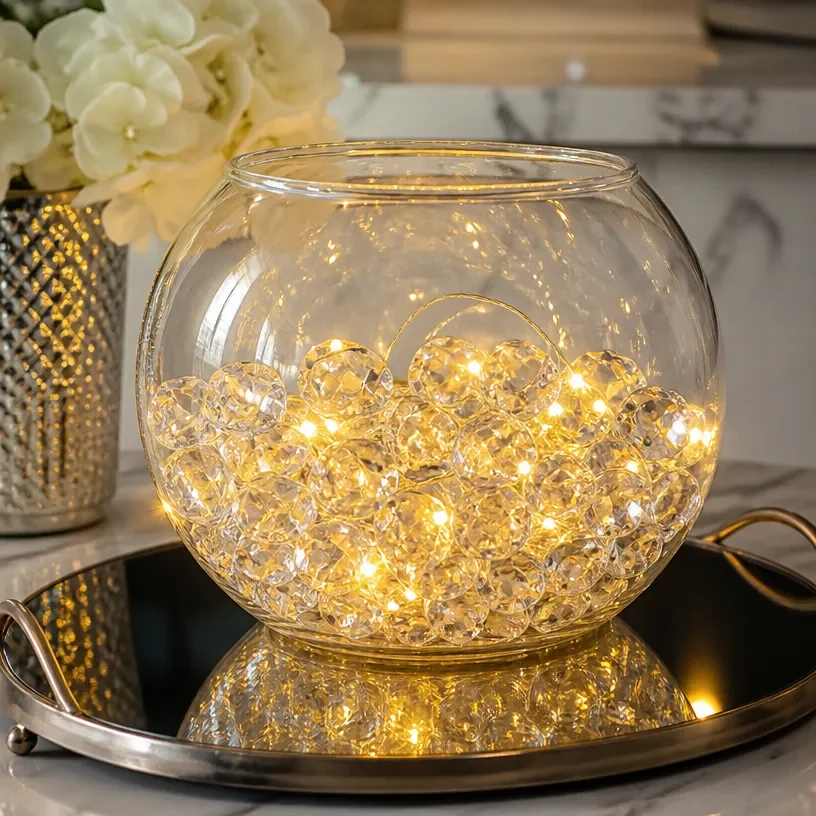
Ingredients
Method
Preparation
- Lay down a drop cloth or old newspaper to protect your work surface.
- Gather all materials in one spot to ensure efficiency while crafting.
- Ensure good ventilation if you're using adhesives or sealants.
Creating the Centerpiece
- Begin by selecting your acrylic orb and clean it thoroughly.
- Lay out your decorative crystals or beads around the orb to visualize your design.
- Using a hot glue gun, carefully adhere each crystal to the surface of the orb.
- Place the orb on your decorative tray or dish. If using LED fairy lights, weave them around the base.
- Make any minor adjustments to placement or add any additional embellishments.
Notes
For best results, vary crystal sizes for dynamic look. Allow adhesives to dry fully before handling. Use clear adhesives for less visible bonds.