Go Back
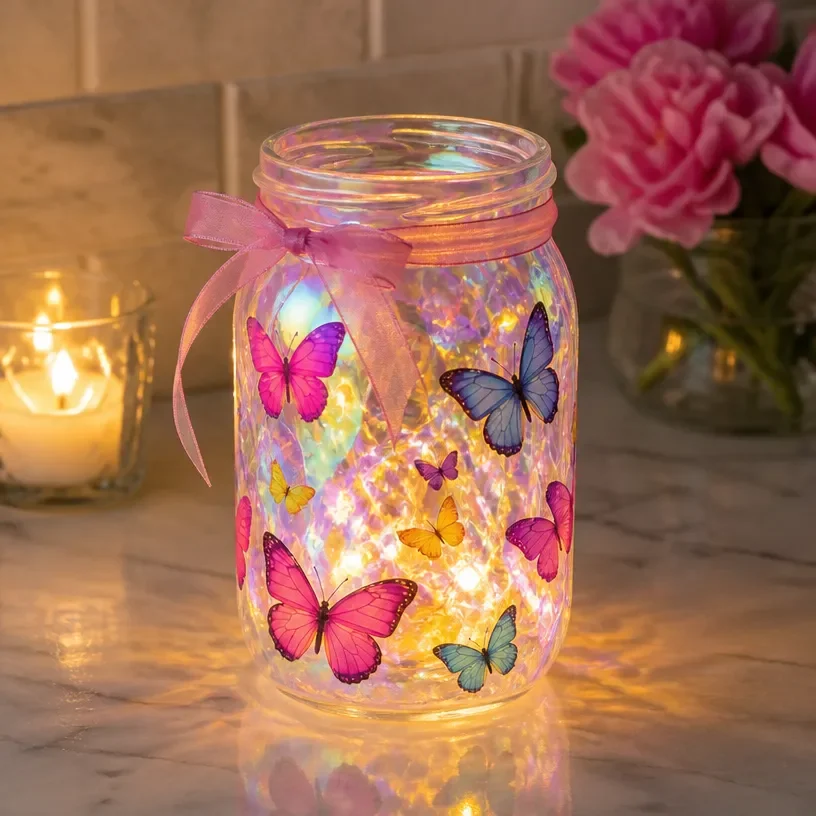
DIY butterfly jar with color-changing glow for unique home decoration

DIY Butterfly Jar with Color-Changing Glow

Create a captivating DIY Butterfly Jar that glows with colorful lights, perfect for home decor or as a thoughtful gift.
Prep Time 30 minutes
Total Time 30 minutes
Servings: 1 jar

Ingredients
  

Materials
  • 1 clear glass jar Clear glass jar Serves as the base for your butterfly jar.
  • 1 set Battery-operated LED lights Create the color-changing glow safely.
  • 1 strip Color-changing LED light strip (optional) Gives added variety to your lighting.
  • several Butterfly decorations (plastic or paper) Bring your design to life.
  • 1 bottle Adhesive or mod podge Secures your decorative elements onto the jar.
  • 1 brush Paintbrush For applying adhesive evenly.
  • optional Glitter or decorative paper Enhances the visual appeal.
Tools
  • 1 piece Scissors For trimming decorative paper, if required.
  • 1 piece Craft knife For precision cutting of intricate designs, like butterflies.
  • 1 piece Ruler Helps in measuring your decorative elements to fit the jar.

Method
 

Preparation
  1. Start by cleaning your glass jar thoroughly to ensure it's free from dust and fingerprints.
Designing
  1. Cut out butterfly shapes from your decorative paper or select your plastic butterflies. Personalize them with glitter or paint for added flair.
  2. Using your adhesive, attach the butterflies to the outside of the jar. Arrange them in a balanced way. Allow the adhesive to dry completely.
Assembly
  1. Insert the battery-operated LED light inside the jar. If using a color-changing light strip, position it snugly.
  2. Close the jar and test the lights to ensure everything is working correctly.

Notes

Choose colors for your butterflies that contrast well with the jar for maximized visibility. Use different types of lights for varied effects. Ensure all elements are firmly secured and the adhesive has dried before showcasing.