Go Back
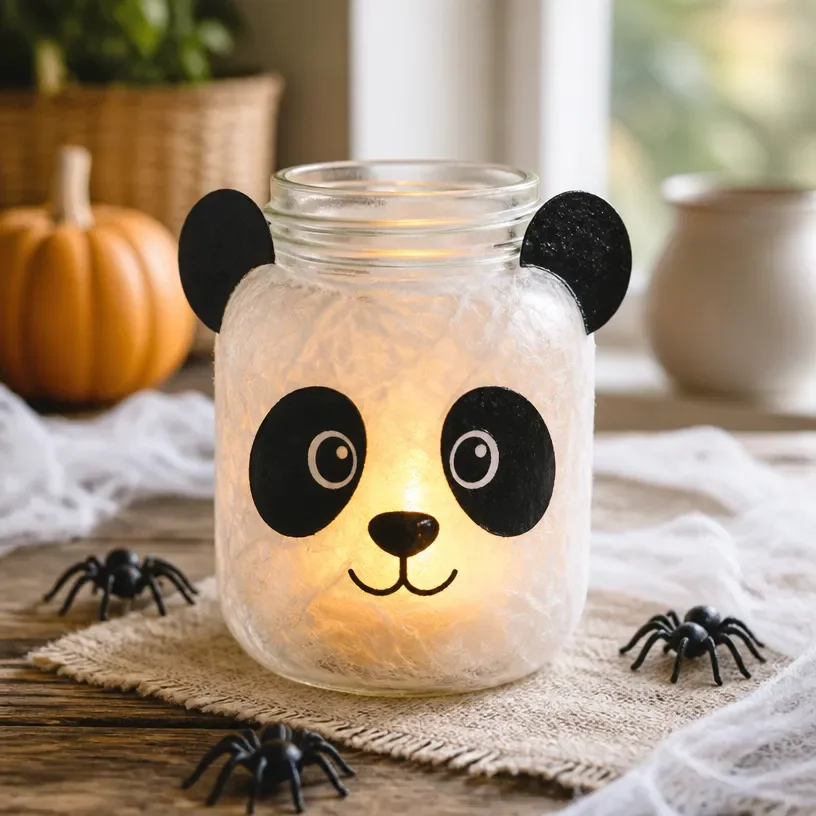
DIY crystal panda lantern for Halloween decorations

Crystal Panda Lantern

Create a whimsical and charming Crystal Panda Lantern that enhances your Halloween decor while showcasing your DIY skills.
Prep Time 30 minutes
Total Time 30 minutes
Servings: 1 lantern
Course: DIY Project, Halloween Decor
Cuisine: Craft

Ingredients
  

Main Materials
  • 2 pieces Clear acrylic discs These will serve as the core structure for your lantern.
  • 1 bottle Black acrylic paint For painting the panda design.
  • 1 piece Battery-operated LED tea light To safely illuminate your lantern.
  • 1 bottle Mod Podge For sealing and securing elements in place.
  • 1 piece Brushed foam brushes For a smooth application of paint and sealant.
  • 1 pair Craft scissors To cut any additional decorative elements.
  • Optional Embellishments like glitter or stickers For personal flair.

Method
 

Crafting Steps
  1. Step 1: Design Your Panda - Lightly sketch your panda design on one of the clear acrylic discs with a pencil.
  2. Step 2: Paint the Panda - Using black acrylic paint and a brush, paint over your sketched design and allow it to dry completely.
  3. Step 3: Assemble the Lantern - Apply a layer of Mod Podge around the edge of another acrylic disc and place the first disc on top.
  4. Step 4: Secure the Light Source - Place the battery-operated LED tea light in the center of the lantern.
  5. Step 5: Seal the Design - Apply a coat of Mod Podge over the entire surface of the lantern to seal your artwork.

Notes

Take your time during painting, and for a more vibrant finish, consider applying multiple layers of paint. Ensure the LED light is centered for optimal illumination.