Go Back
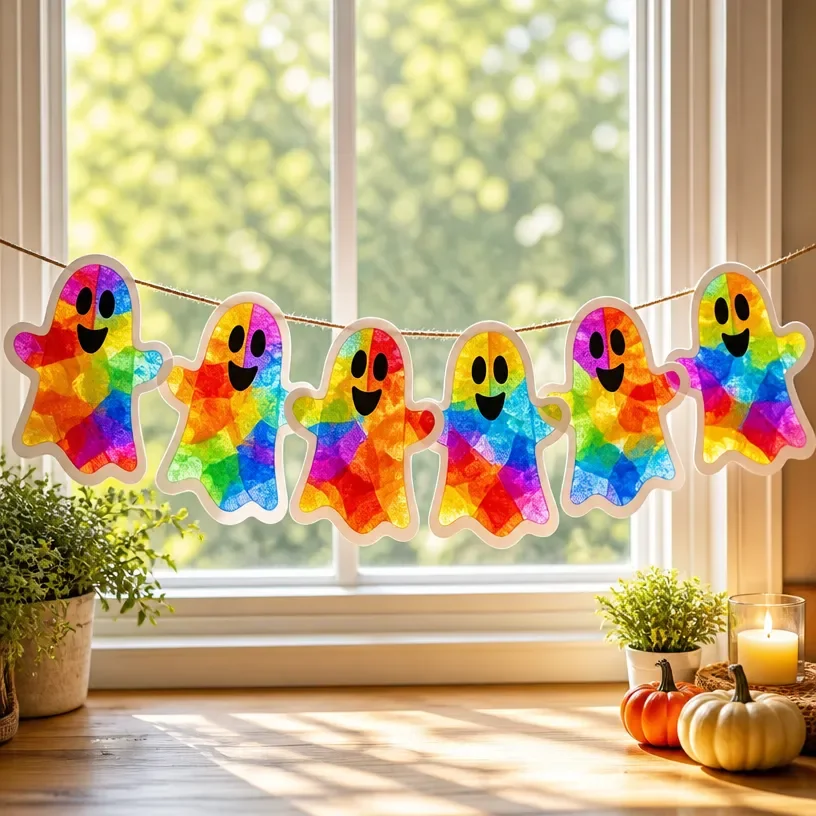
DIY Rainbow Stained Glass Ghost Window Garland for Halloween decor project

Rainbow Stained Glass Ghost Window Garland

Create a whimsical and colorful garland that captures the Halloween spirit with a stained glass aesthetic, perfect for decorating windows and doorways.
Prep Time 30 minutes
Total Time 30 minutes
Servings: 1 garland
Course: Craft, Decor
Cuisine: Halloween

Ingredients
  

Materials
  • 1 sheet Clear plastic sheet or overhead transparency film Serves as the base for your stained glass effect.
  • 1 set Glass paint or transparent colored acrylic paint Creates the vibrant stained glass look.
  • 1 pen Black glass marker or outline pen Used to delineate the 'grout' lines between colors.
  • 1 pair Scissors For cutting the sheets to your desired sizes.
  • 1 length String or clear fishing line For hanging your finished garland.
Tools
  • 1 set Paintbrushes For applying the glass paint smoothly.
  • 1 1 Pencil To sketch out your design before painting.
  • 1 1 Ruler For measuring and cutting the plastic sheets accurately.

Method
 

Preparation
  1. Prepare your workspace by protecting surfaces with old newspaper or a plastic covering.
  2. Sketch your ghost designs on paper.
  3. Outline the designs on clear plastic sheets using a pencil.
Painting
  1. Using paintbrushes and glass paint, fill in your ghost outlines, allowing each layer to dry thoroughly.
  2. Once the colors are dry, outline the ghosts with a black glass marker to enhance the design.
Cutting and Assembling
  1. Carefully cut around the ghost outlines with scissors, leaving space for handling.
  2. Cut lengths of string or fishing line; tie or tape the ghosts along the line, spacing them evenly.

Notes

Let each layer of paint dry completely to avoid bleeding. Experiment with facial expressions or add accessories for customization. You can also incorporate other shapes like pumpkins or bats for variations.