Go Back
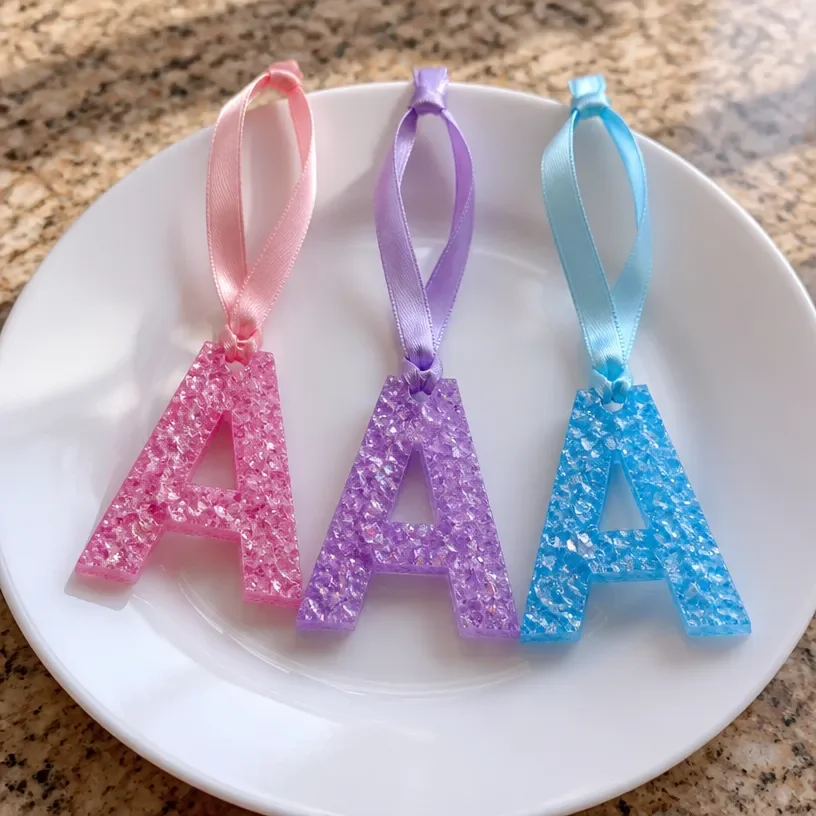
Personalized crystal ornament featuring initial design for a beautiful keepsake

Personalized Crystal Initial Ornament

Create a stunning personalized crystal initial ornament to add a touch of sparkle to your holiday decor or as a unique keepsake.
Prep Time 30 minutes
Total Time 30 minutes
Servings: 1 ornament
Course: Craft, Holiday Decor
Cuisine: Crafting, DIY

Ingredients
  

Materials
  • 1 piece Clear acrylic disc Forms the base for the crystals.
  • Variety pieces Colored crystals Choose a variety that matches your desired design.
  • 1 bottle Strong craft glue A strong craft glue that dries clear works best.
  • 1 piece Ribbon or twine For hanging the ornament.
  • 1 piece Scissors To trim the ribbon as needed.
Tools
  • 1 piece Tweezers For precise placement of the crystals.
  • 1 piece Craft knife If any adjustments are needed to the acrylic disc.
  • 1 piece Ruler To measure ribbon lengths accurately.

Method
 

Preparation
  1. Lay your clear acrylic disc flat on your workspace.
Design
  1. Use tweezers to arrange colored crystals in the shape of the desired initial.
  2. Plan your design before gluing anything down.
Assembly
  1. Apply a small amount of adhesive to the bottom of each crystal and press it onto the acrylic disc.
  2. Allow glue to dry according to the manufacturer’s instructions.
Finishing Touches
  1. Cut a length of ribbon or twine and securely tie it at the top of the acrylic disc for hanging.
  2. Inspect the ornament for any loose crystals or glue residue.
  3. Make adjustments as necessary.

Notes

Customizable with different colors or shapes of crystals. Dust with a soft cloth to keep clean and store in a cool, dry place when not in use.