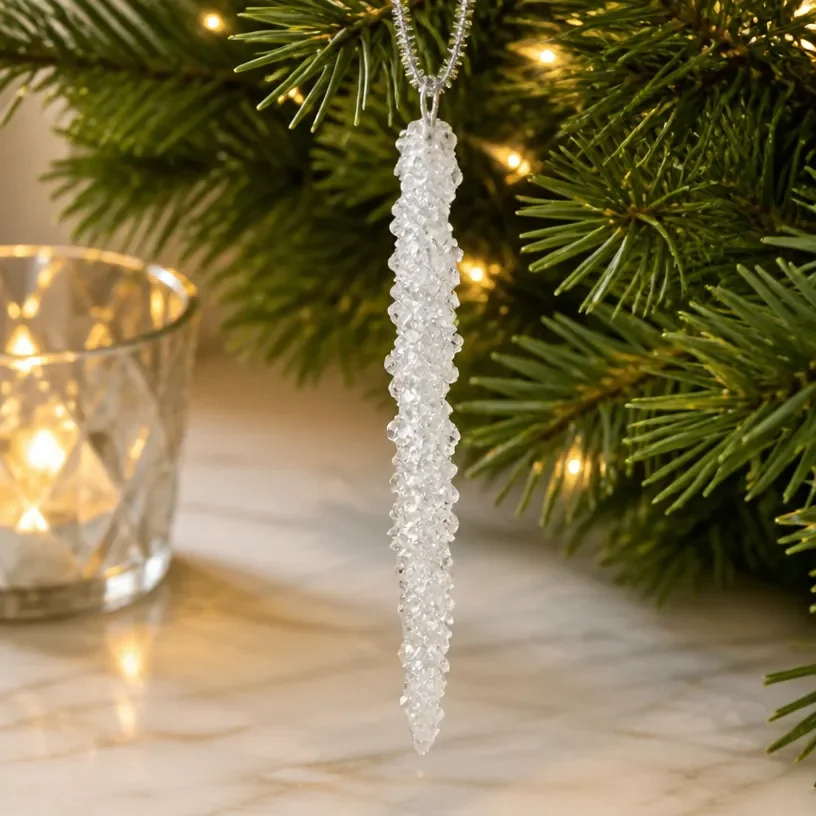
Ingredients
Method
Preparation
- Prepare your workspace by protecting surfaces. Organize your materials and tools.
Making the Ornament
- Start by cleaning the clear acrylic disc to ensure it is free from dust and fingerprints.
- Position the glass crystals on the disc as per your desired design. Ensure they are snug against the base.
- Using your adhesive glue, attach each glass crystal to the disc. Apply enough glue to create a secure bond without spilling over the edges and allow it to dry completely.
- Once the crystals are securely attached and the glue is dry, use wire or string to create a loop at the top of the ornament for hanging.
- If desired, apply glitter around the edges or add a decorative ribbon to enhance your icicle ornament.
Notes
Allow sufficient time for glue to dry thoroughly. Wipe away any excess glue immediately to maintain a clean look. Feel free to experiment with color palettes and embellishments.